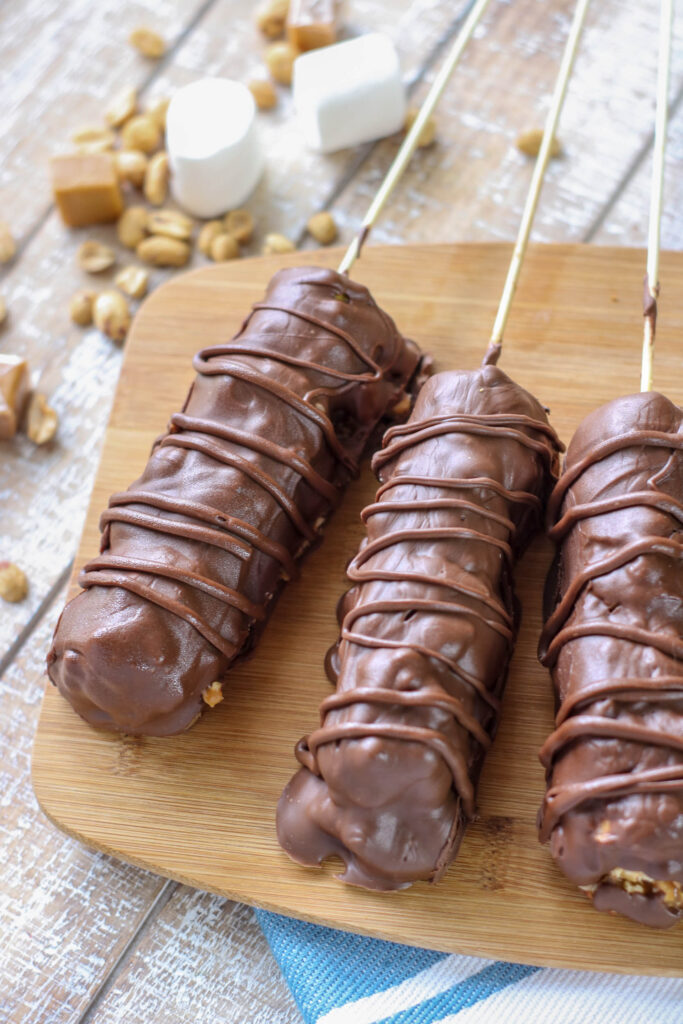
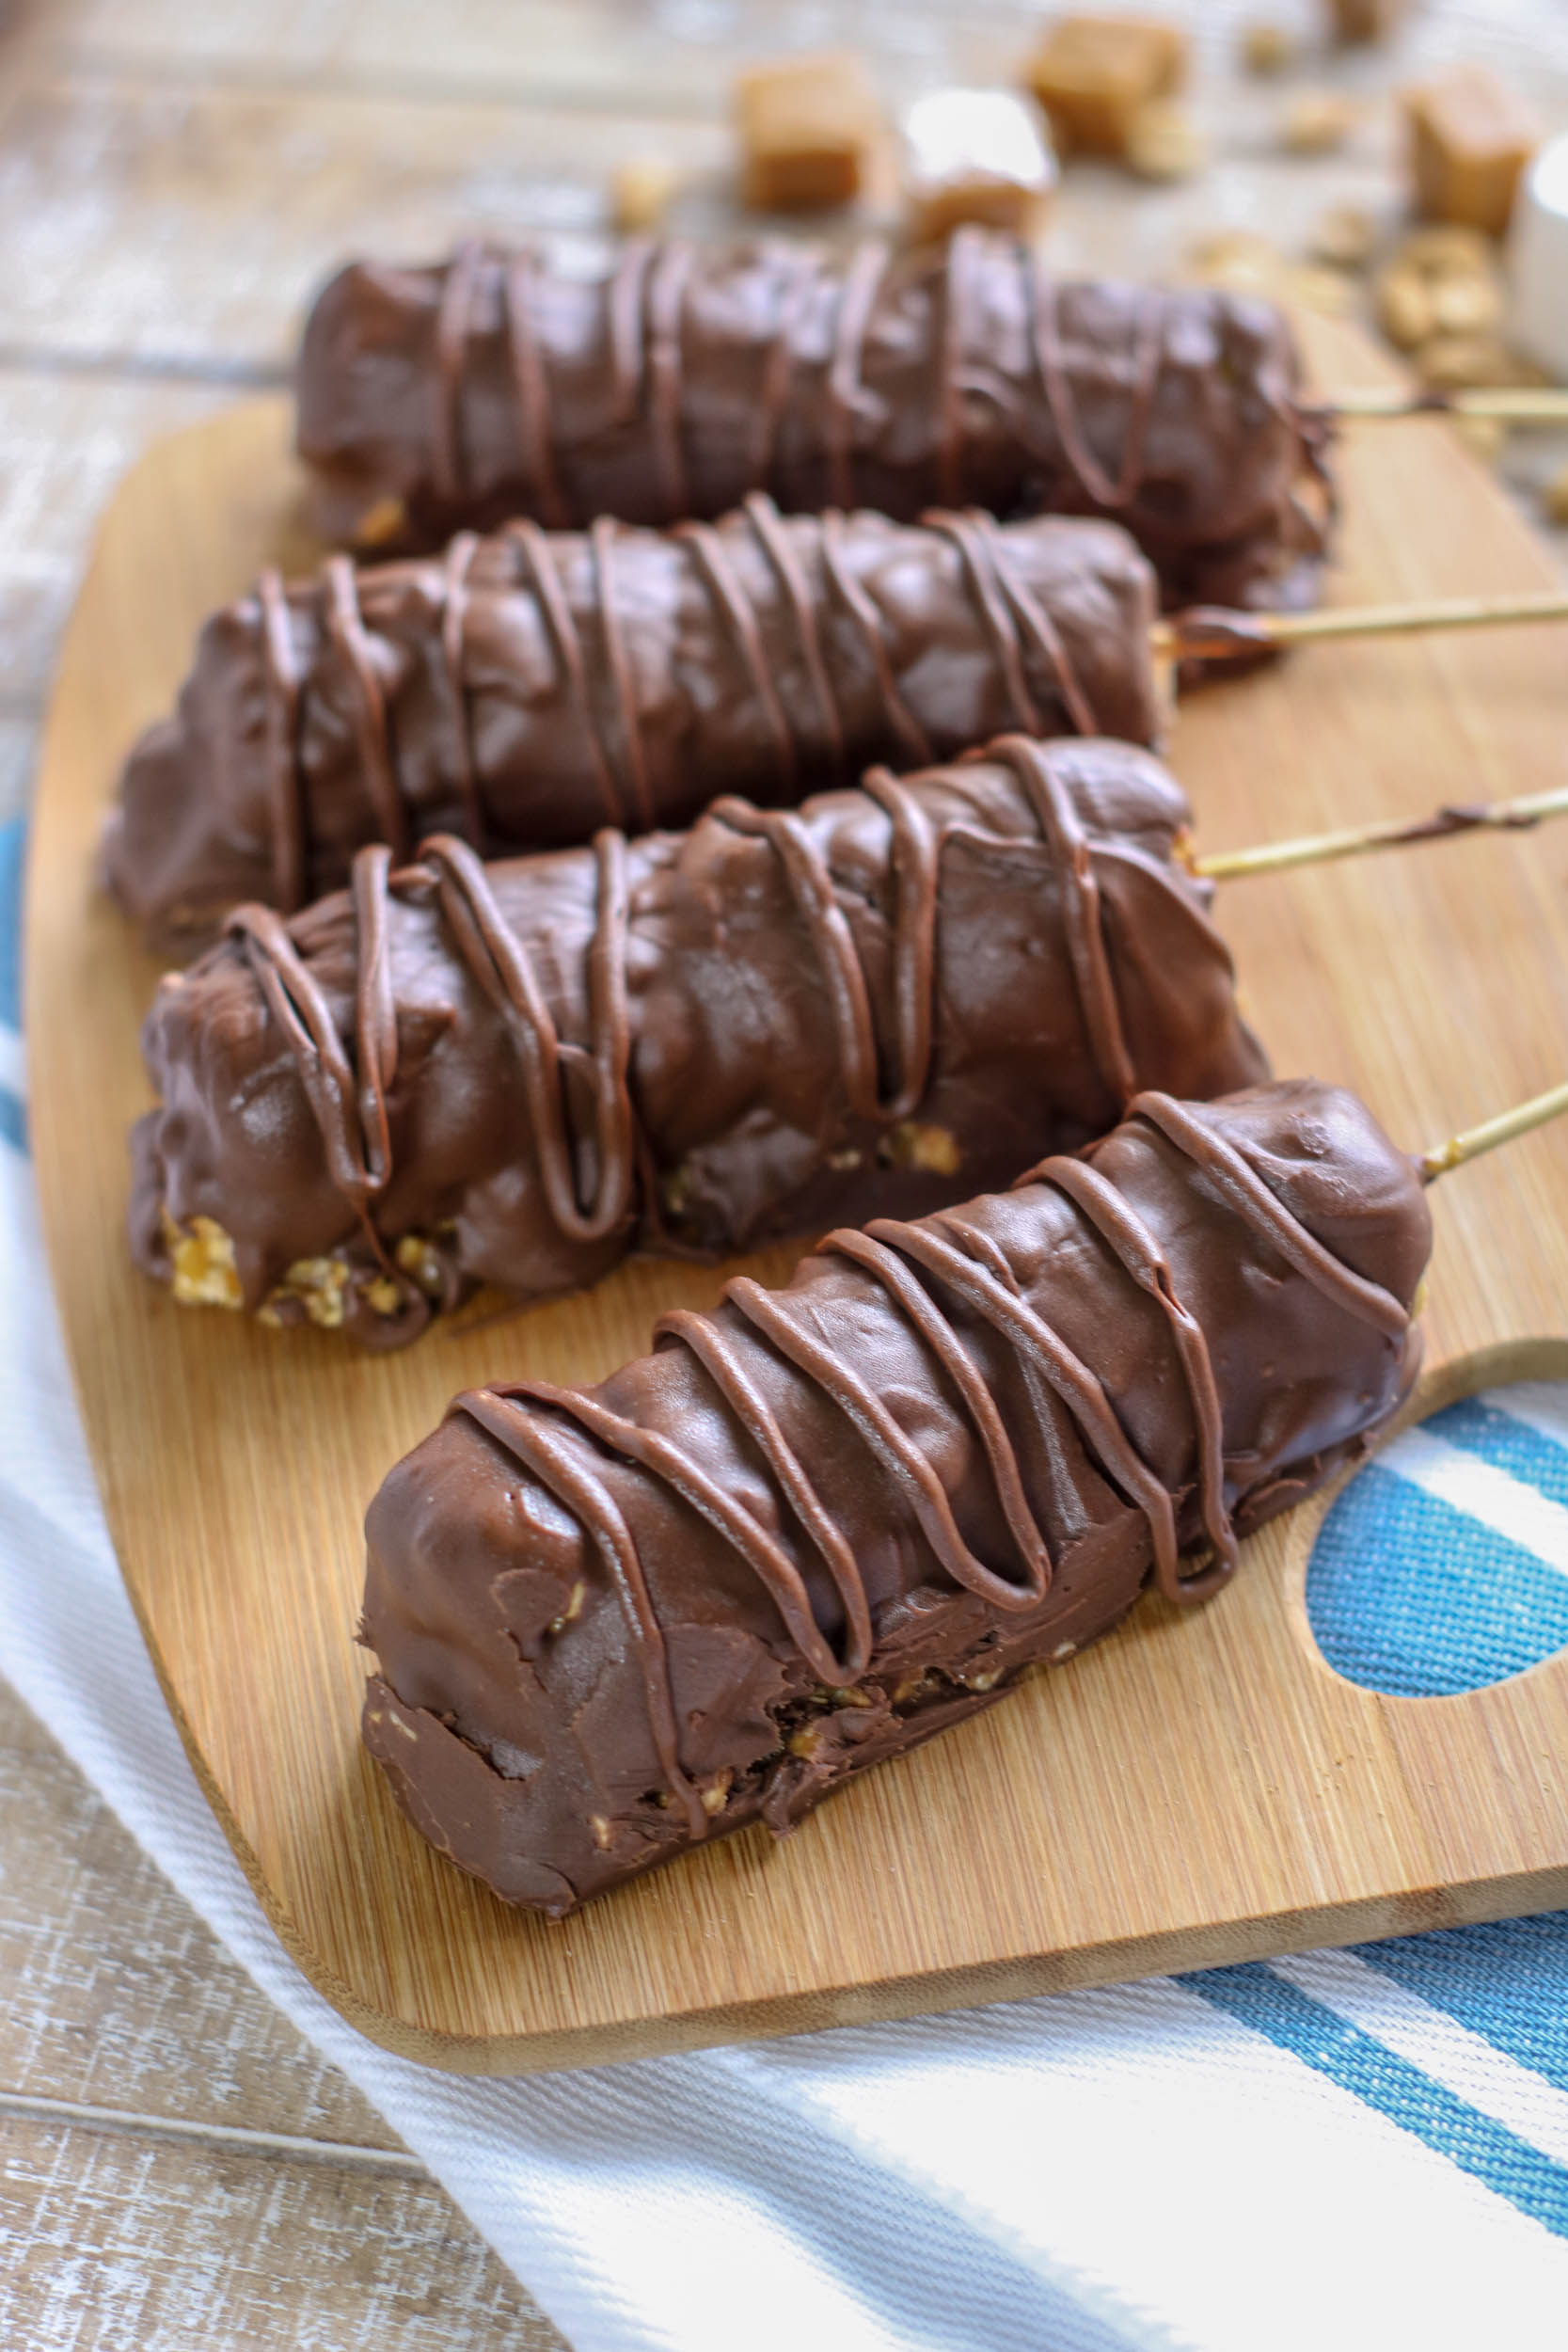
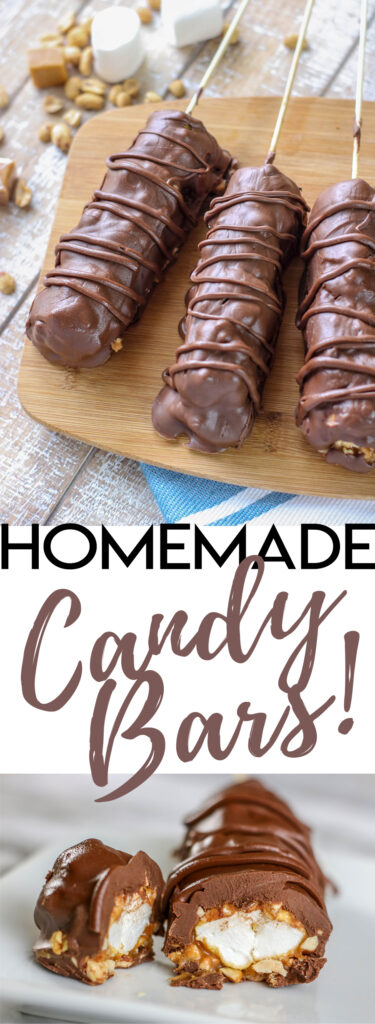
Ever wondered how to make homemade candy bars? You’re going to love the ease of these Chocolate Caramel Marshmallow Pops. They’re so simple to make and not too mention super fun to eat! Who doesn’t like to eat dessert off of a stick?!
Chocolate Caramel Marshmallow Pops Recipe
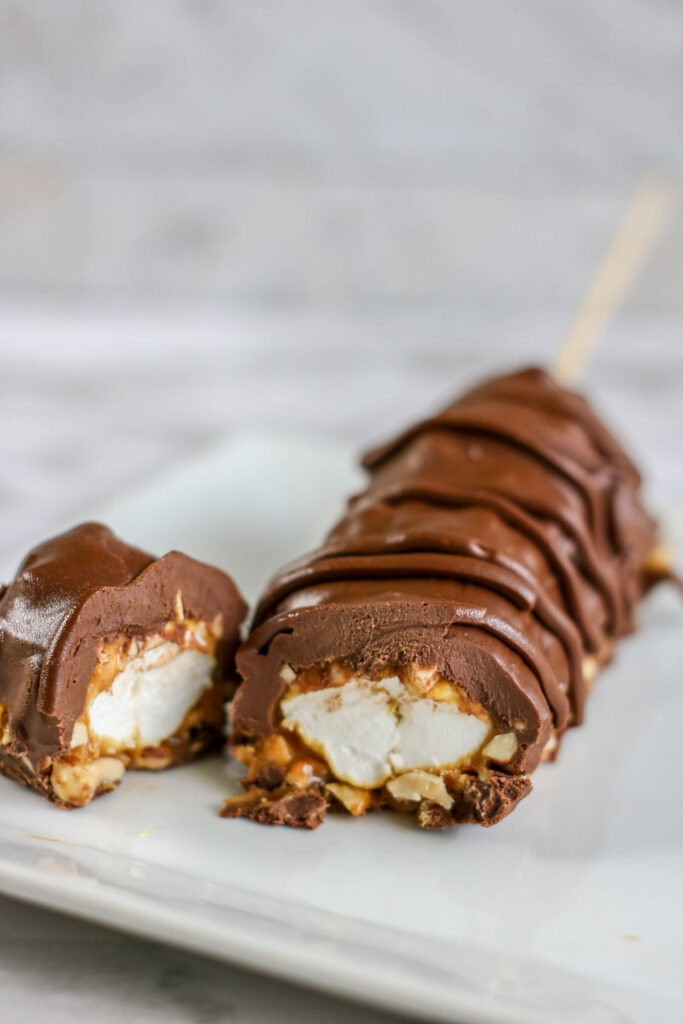
One of the best parts of this delicious dessert is that feeling that you get when you taste the marshmallow and caramel hidden on the inside…it’s like a perfectly-sized candy bar with a twist…and I can’t wait to make more to snack on!
This is perfect for summer treats or winter, too. Just do me a favor and promise that you’re going to make them. They’re too good to miss!
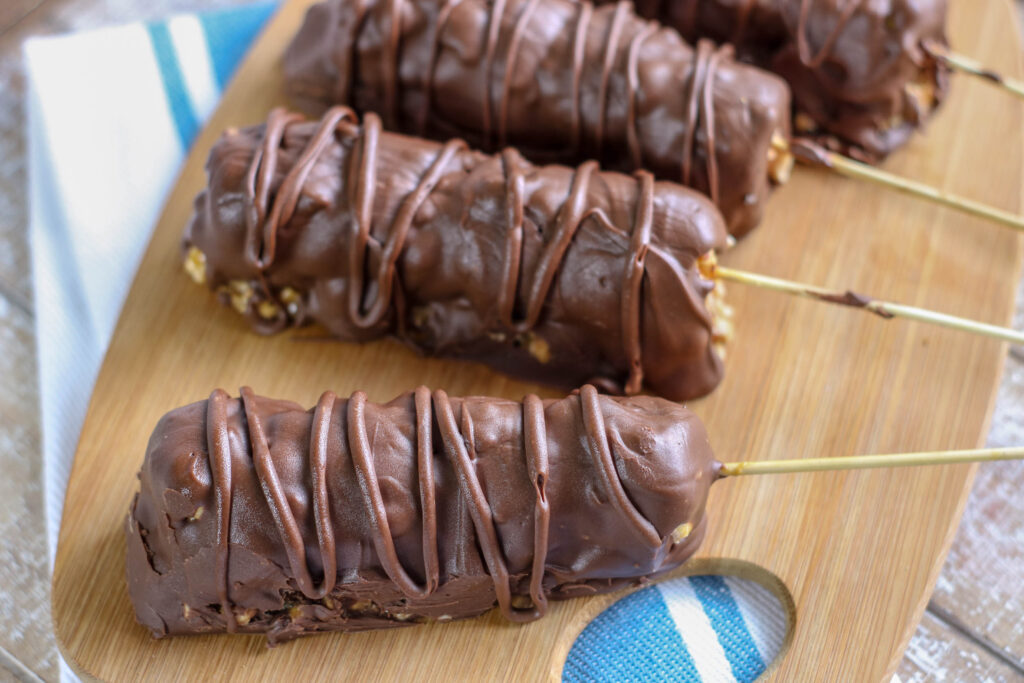
The ingredients are simple, but quick word of caution… use a 10″ wooden skewer or a cake pop/lollipop stick that is AT LEAST 8″ long.
The short cake pop sticks won’t work because you’ll have nothing left over to hold onto!
Printable Recipe:
Chocolate Caramel Marshmallow Pops
Equipment
- Wooden skewers or treat sticks at least 8" – 12" long
- Wax Paper
Ingredients
- 24 regular-size marshmallows
- 1 bag milk chocolate chips (11.5 ounce bag)
- 1 bag individually wrapped caramels I used a bag of Kraft Caramels, unwrapped
- 2 – 3 tablespoons heavy cream
- 1 cup roasted peanuts coarsely chopped
- 1 teaspoon coconut oil
Instructions
- Press four marshmallows onto a wooden skewer or treat stick with a twisting motion. Use a 10″ wooden skewer or a cake pop/lollipop stick that is AT LEAST 8″ long (otherwise they are too short) Set aside on waxed or parchment paper.
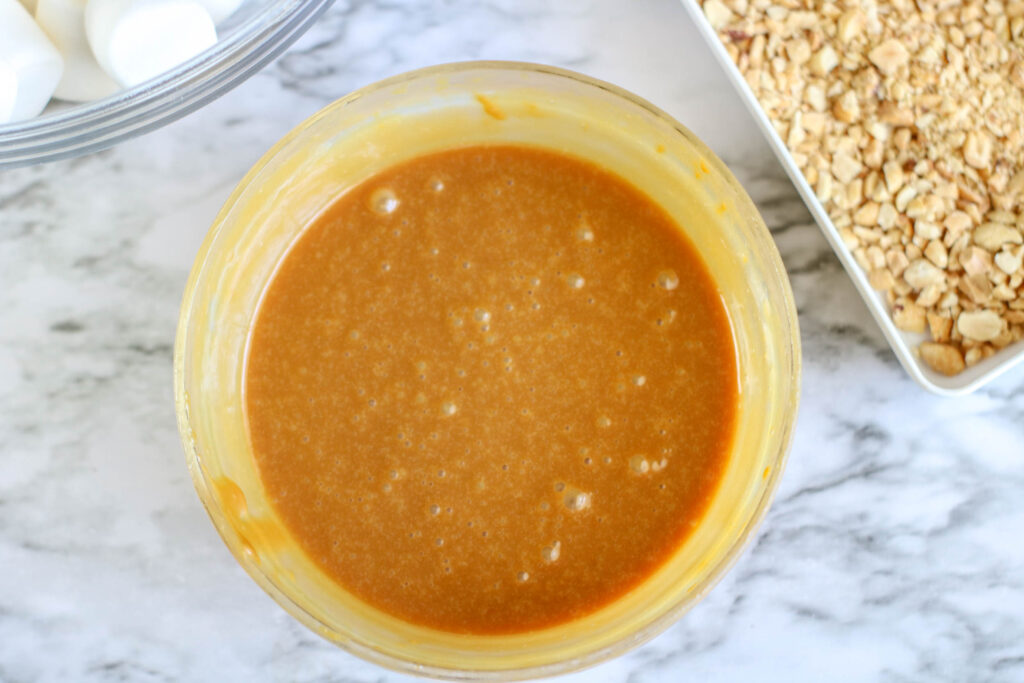
- Add unwrapped Kraft Caramels and whipping cream to a microwave-safe bowl. Melt the caramel in the microwave according to package directions giving special care not to overheat the candy.
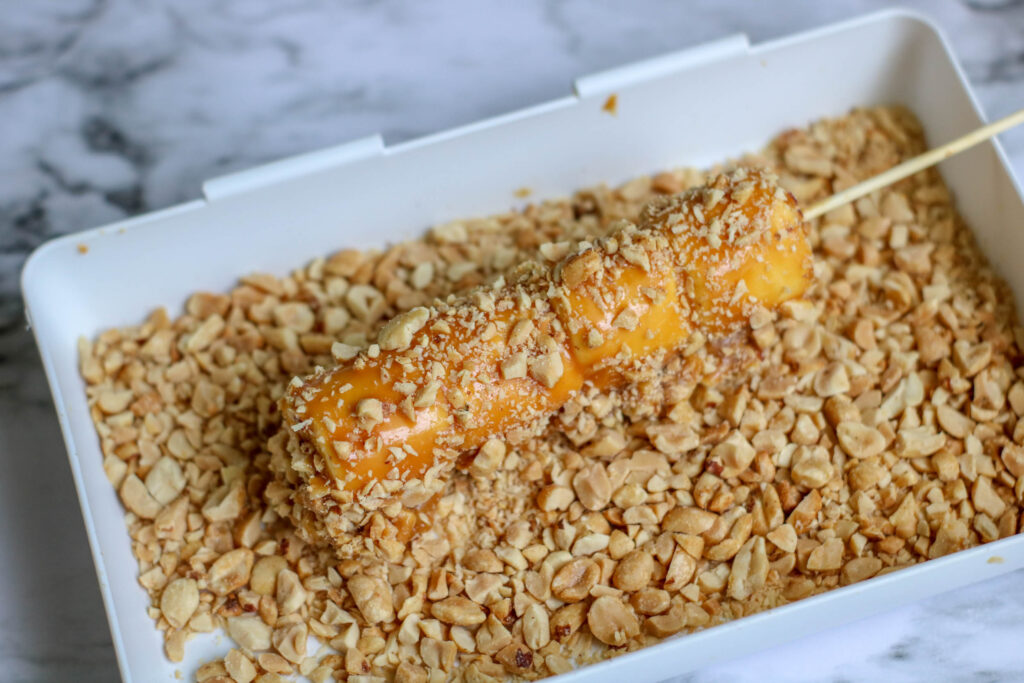
- Pour caramel over the marshmallows, coating completely and allowing the excess to run back into the bowl.
- Roll the coated marshmallows in chopped roasted peanuts. Place marshmallow pop on waxed paper until set.
- Melt the milk chocolate in the microwave according to package directions giving special care not to overheat the candy. If the candy is overheated, it will be too thick. You can add 1 teaspoon of vegetable shortening or coconut oil to help thin the chocolate but do not add any other type of liquid as the candy will seize and harden.
- Pour chocolate over the marshmallows, coating completely and allowing the excess to run back into the bowl. Place on waxed paper and refrigerate until set.
- Transfer remaining melted milk chocolate to a piping bag or zip-top freezer bag. Snip the corner of the bag and drizzle melted candy over the marshmallows. Allow the marshmallows to rest on waxed paper until set before packaging or serving.
- Serve immediately, or within a few days. Best if stored in an airtight container in the refrigerator.
How to make homemade marshmallow pops (picture tutorial!)
- Press four marshmallows onto a 10″ wooden skewer or cake pop/lollipop stick that is AT LEAST 8″ long (the short ones won’t work) with a twisting motion. Set aside on waxed paper.
- Add caramel and whipping cream to a microwave-safe bowl. Melt the caramel in the microwave according to package directions giving special care not to overheat the candy.
- Pour caramel over the marshmallows, coating completely and allowing the excess to run back into the bowl.
- Roll the coated marshmallows in chopped peanuts. Place marshmallow pop on waxed paper until set.
- Melt the milk chocolate in the microwave according to package directions giving special care not to overheat the candy. If the candy is overheated, it will be too thick. You can add 1 teaspoon of vegetable shortening or coconut oil to help thin the chocolate but do not add any other type of liquid as the candy will seize and harden.
- Pour chocolate over the marshmallows, coating completely and allowing the excess to run back into the bowl. Place on waxed paper and refrigerate until set.
- Transfer melted milk chocolate to a piping bag or zip-top freezer bag. Snip the corner of the bag and drizzle melted candy over the marshmallows.
- Allow the marshmallows to rest on waxed paper until set before packaging or serving. Best if stored in an airtight container in the refrigerator.
And that’s it! I mean, who wouldn’t want to dive headfirst into these beautiful treats?? YUM.

If you’ve always wanted to make candy bars at home, this recipe is the easiest way to do it! ENJOY!
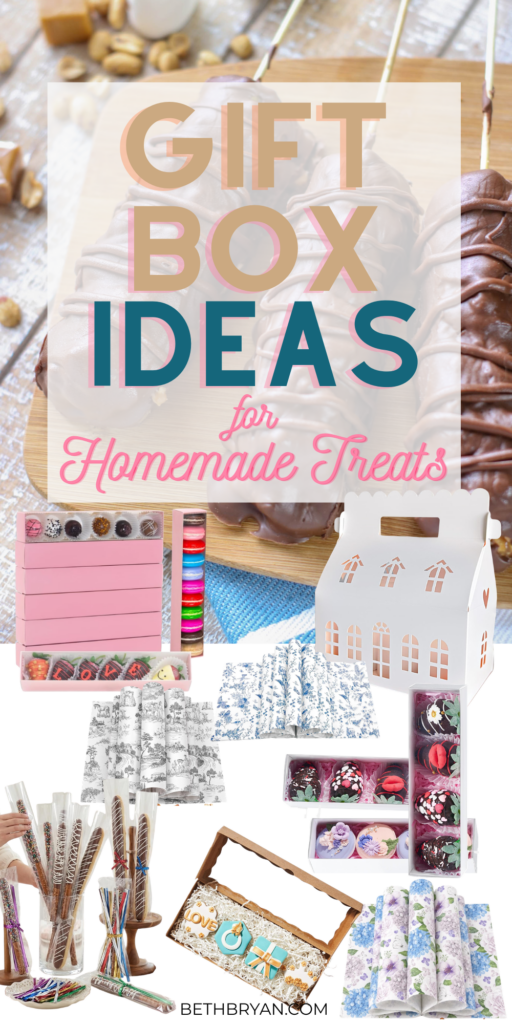
Sweet Gift Packaging Ideas for Homemade Treats
Making this candy for holiday gifts? Package them in decorative boxes with ribbon, add a printable label, and you’ve got the perfect homemade present. Here are some cute gift packaging ideas for your homemade candy bars. Remember to verify whatever you buy is roomy enough to hold your treat + skewer.
- Clear 3″ x 11″ Treat Bags tied with a pretty ribbon and a printable label to hand out as favors at a birthday party or baby shower.
- Long, Skinny Gift boxes with fancy floral waxed paper tied with a cute bow to give as Teacher Appreciation gifts.
- Place several inside a large Christmas gift box with a festive ribbon and gift tag to give as neighbor gifts!
SHOP ALL CANDY GIFT BOX PACKAGING HERE

Want more candy making recipes? Here you go!