When I decided to finish out the attic as an office and a playroom, I knew I didn’t want to waste any of the precious floor space with excess furniture. Garrett’s playroom at the old house had tons of little furniture pieces scattered here and there, and after a while it all just seemed to contribute to the clutteriness of the room. Since this room was going to be my new home office, I knew I had to figure out a way to tame the clutter all over the floor for my sanity’s sake.
Memorabilia-type clutter on the bookshelves, well… that’s another story. 😉
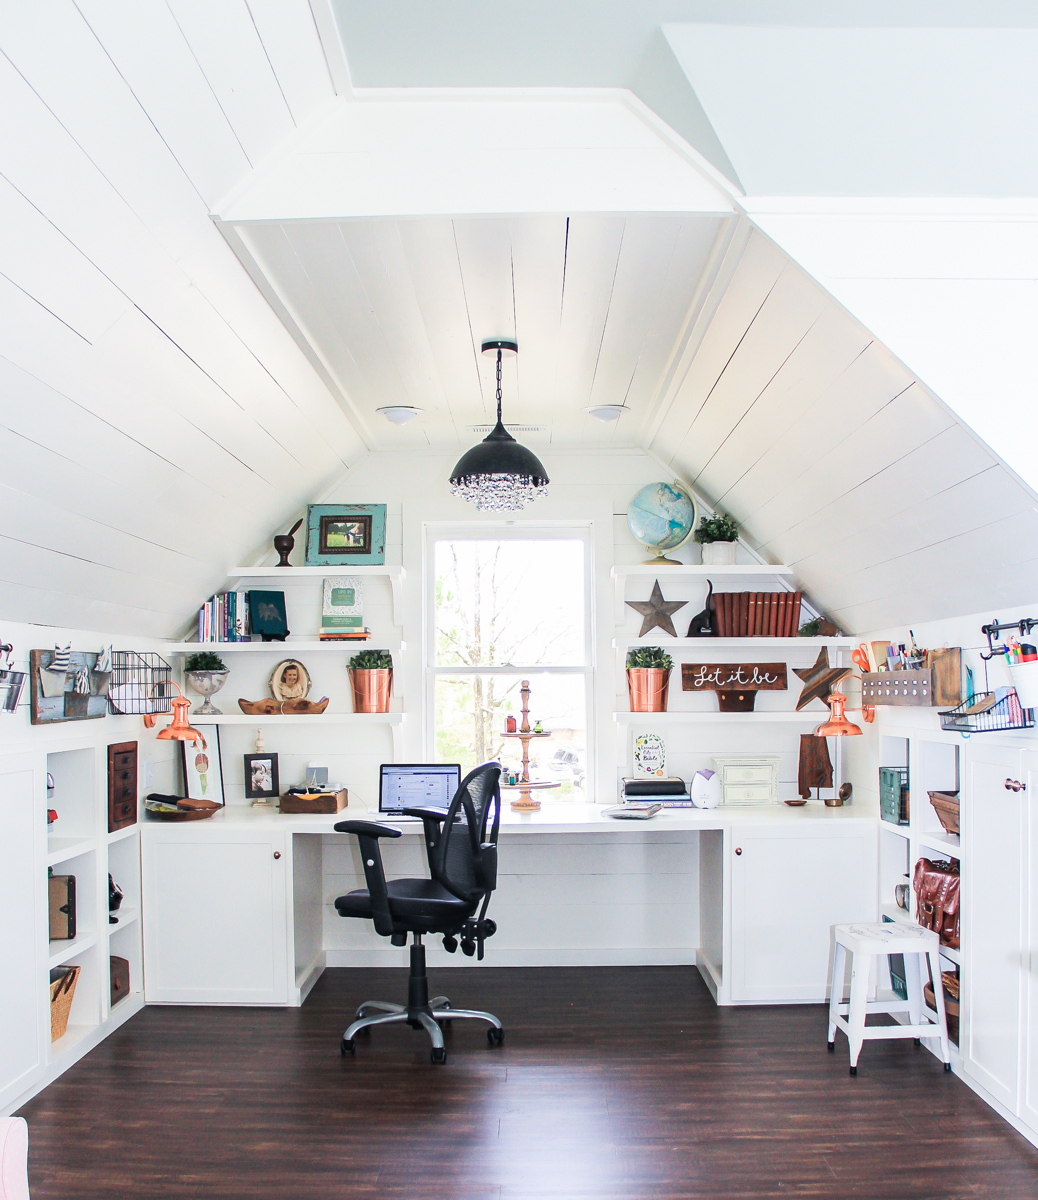
The room is a typical F.R.O.G (which stands for “finished room over garage”) attic space that a lot of homes have. It’s long and narrow with a sloping roofline that comes right down to the floor.
My vision was to build in as many cubbies as humanly possible underneath the knee-wall (that’s the short wall under the angled roofline) so that we could hide all those toys back underneath the dark depths of the roof.
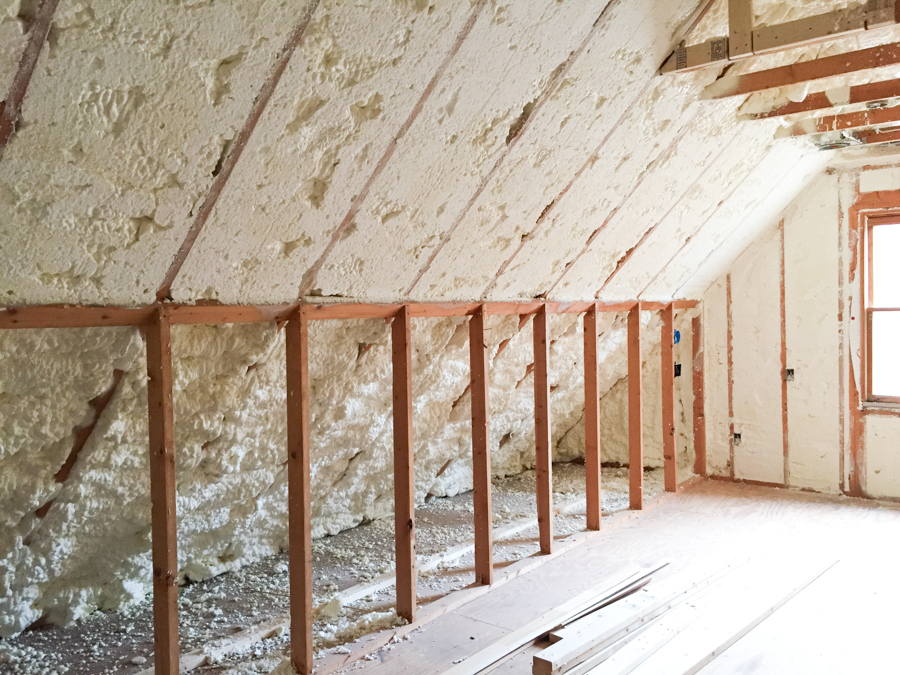
I drew up the plans and sent them to my builder, who set to work building those cubbies out of plywood.
We chose Purebond plywood for the cubbies/desk/book nook and shelving because:
- it’s a SUPER high quality sanded hardwood plywood without many knots or imperfections, which makes it easy to paint with a smooth finish
- it’s sturdy and will hold up to my kids climbing on it like monkeys
- it’s formaldehyde-free, unlike lots of other types of plywood and MDF, so it’s better on the lungs than other products
- and it’s what all my favorite bloggers use for their major projects. 🙂
He ran into a bit of trouble when it came time to construct the cubbies. Here’s what happened…
The knee-wall studs in the attic were not set at an exact equal distant apart, so he had to measure and custom build each cabinet to fit between the differently-spaced studs. This took WAY more time and effort than he anticipated, and I’m sure gave him some major headaches during the construction of them.
In hindsight, he would have been better off to just rip out the old wall and build a new one with precise measurements between each stud so that he could just build the same size cubby over and over again. If you guys ever do an attic remodel with cubbies, take that into consideration. It might seem like an extra step to rebuild the wall, but the hassle it will save you in the long run will be worth it.
Since he custom-built the cubbies in his own workshop, so he had bring them to my house on a trailer and carry each one up the stairs to the attic. This worked well, except they were super heavy and required a bit of maneuvering to get them into place. He supported the back of each one with a 2×4 on the floor and just slid them right into place.
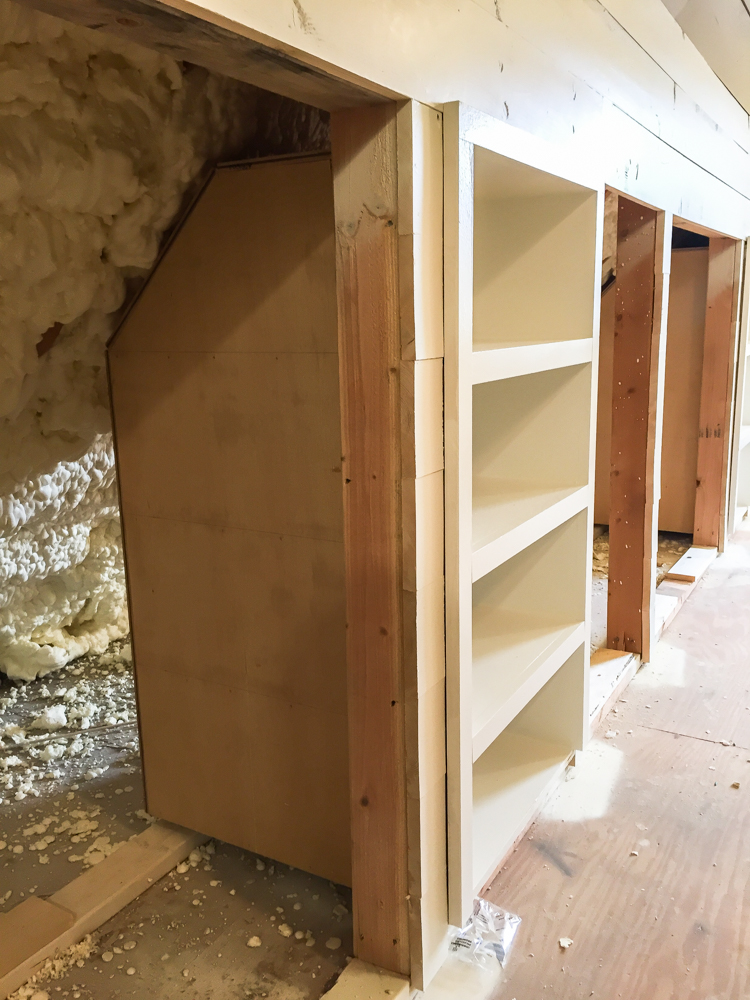
He had already added the trim on 3 sides but left the bottom trim off so that he could just add one solid piece along the bottom after the flooring was installed that served as both trim and a baseboard. Once each cubby was in it’s permanent home, he attached each one to the wall with finish nails. 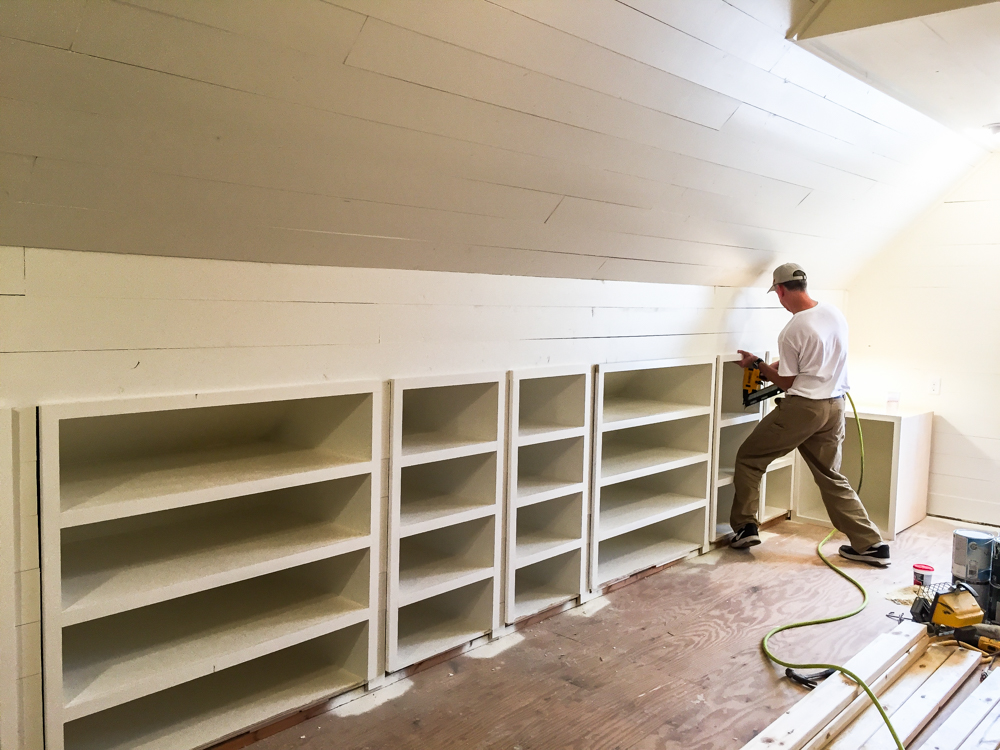
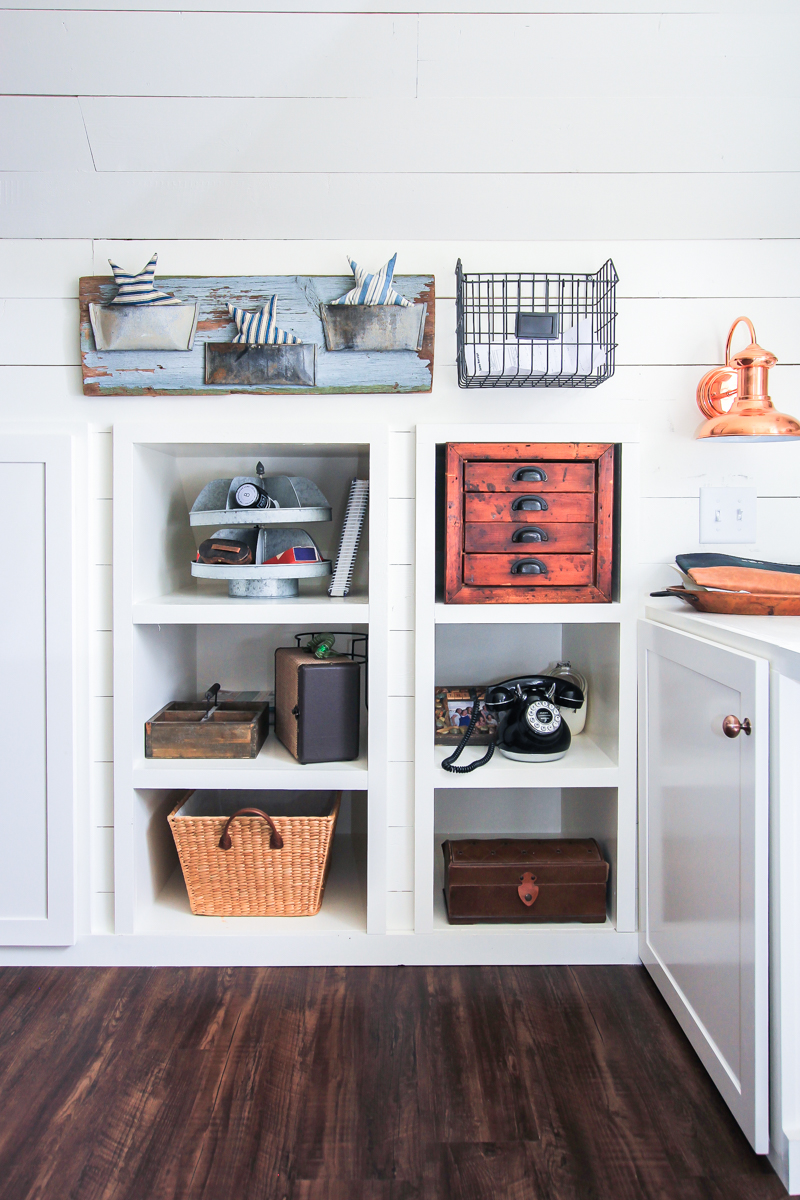
And here is the finished result with the cabinet doors covering up all the piles’o toys that we have already heaped in this room…
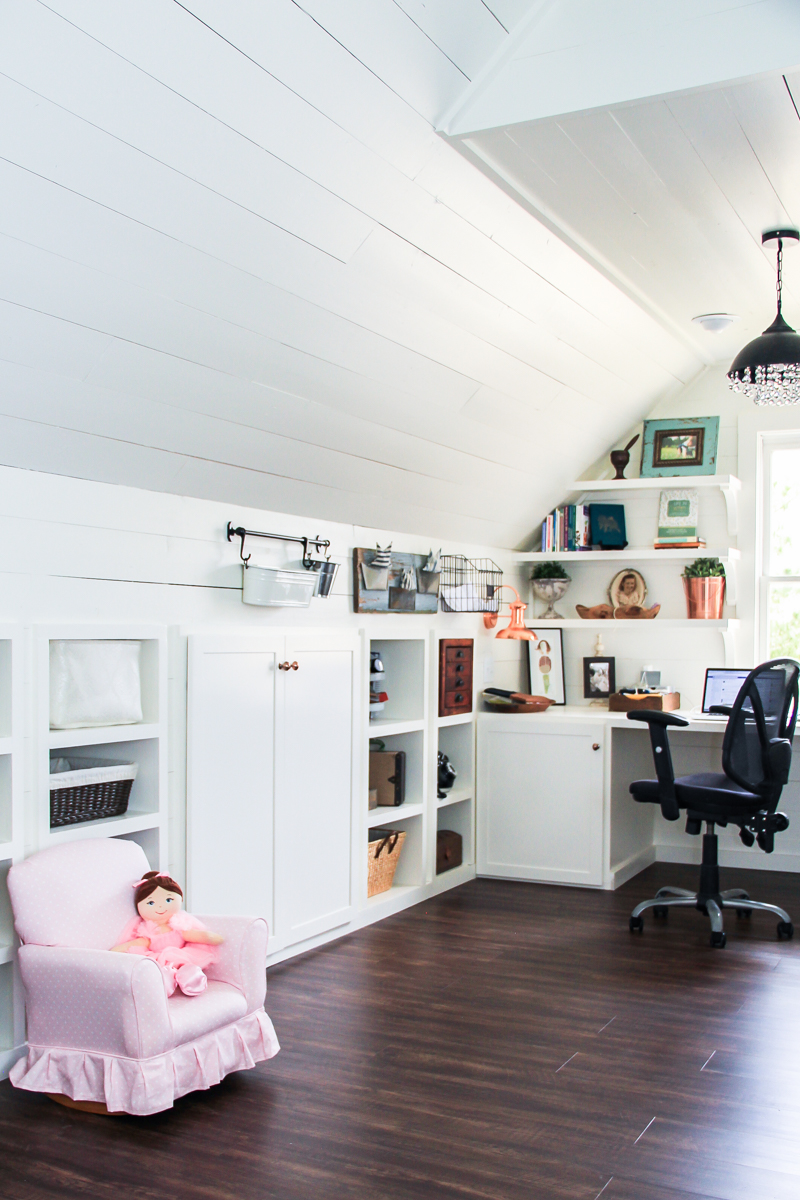
TONS of cubby storage all neatly hidden behind cabinet doors so it doesn’t look cluttered all the time. I am so excited about this room!
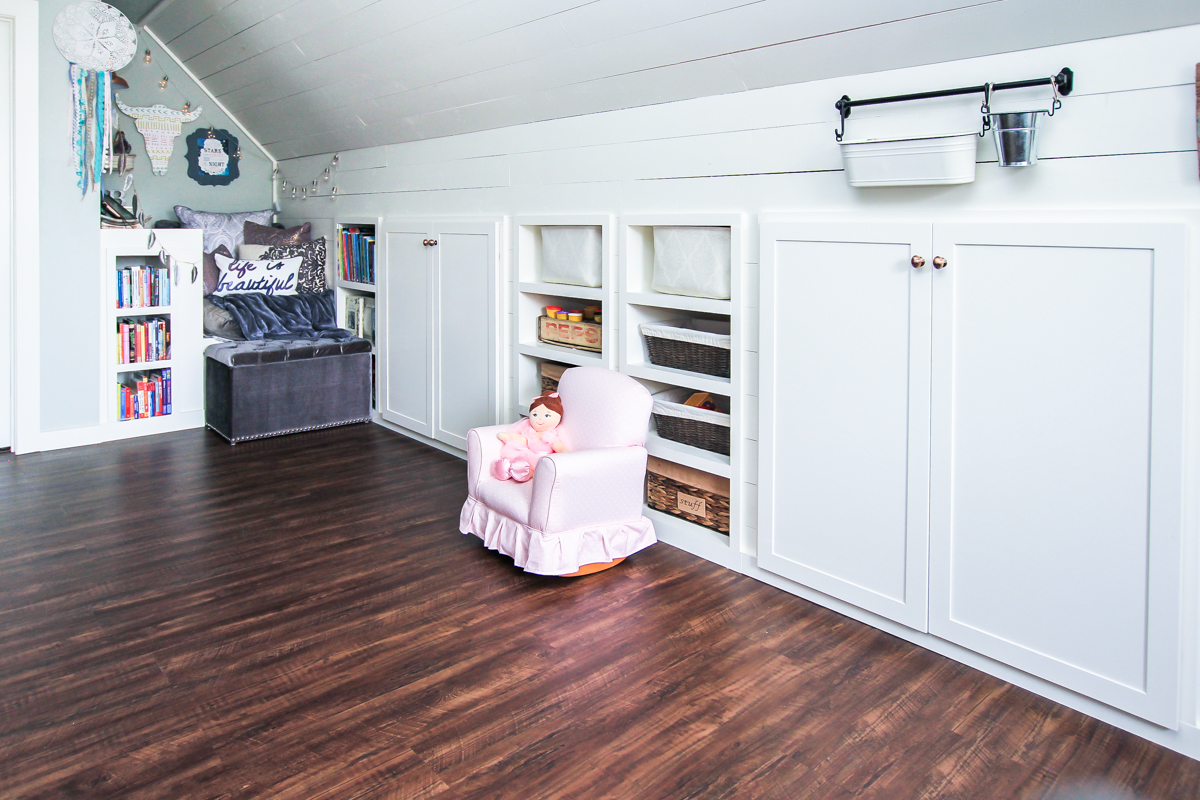
The cabinet doors were custom-built by a local cabinet shop, so once they were ready Heath installed them along with all the hardware that I had picked out from D. Lawless Hardware.
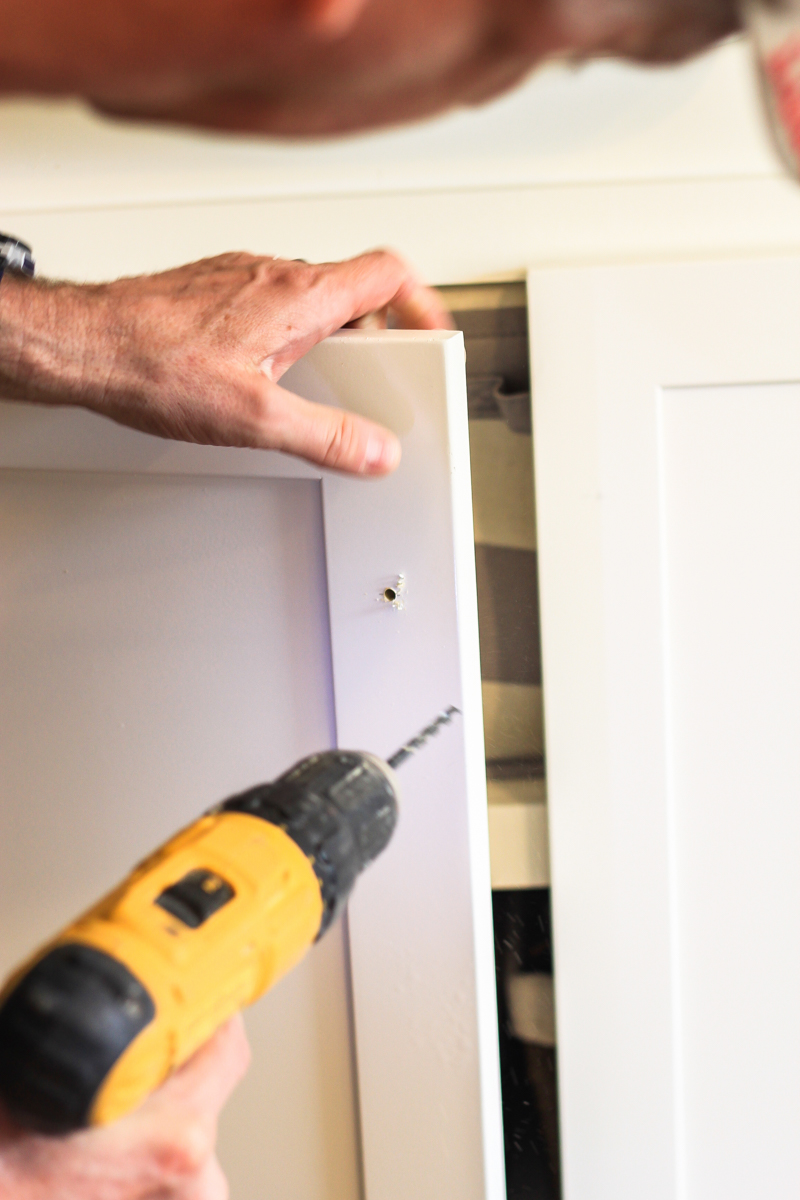
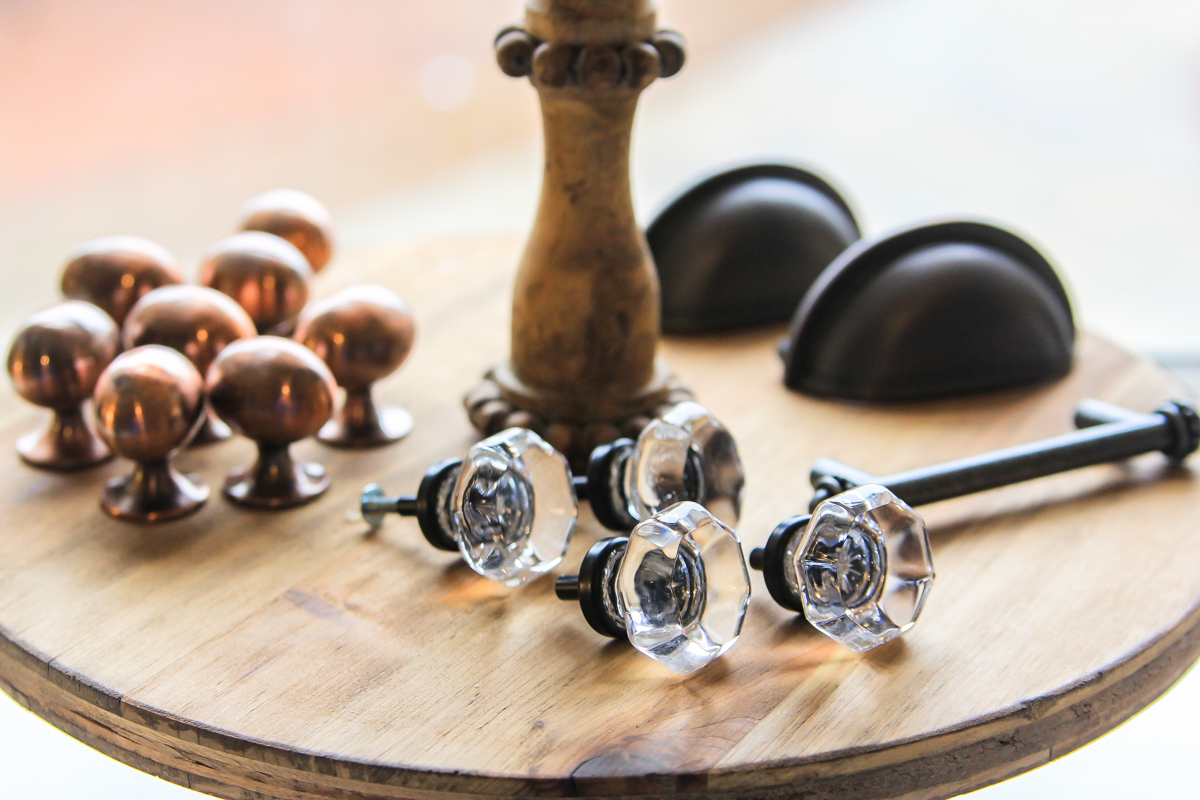
For the record, Derrick Lawless is THE nicest guy to work with, and he has been so helpful in choosing the right hinges and knobs for my room. Here are the knobs and pulls I chose to finish out this space.
I chose these soft-close (aka Euro) hinges for the cabinets doors, and they are perfect! I wanted these hinges because they close so slowly that little fingers cannot accidentally get slammed in them. All you have to do is give them a little nudge and they automatically shut themselves, which is perfect for my son who forgets to close the cabinet doors all the time. Here’s a quick video to show you what I’m talking about…
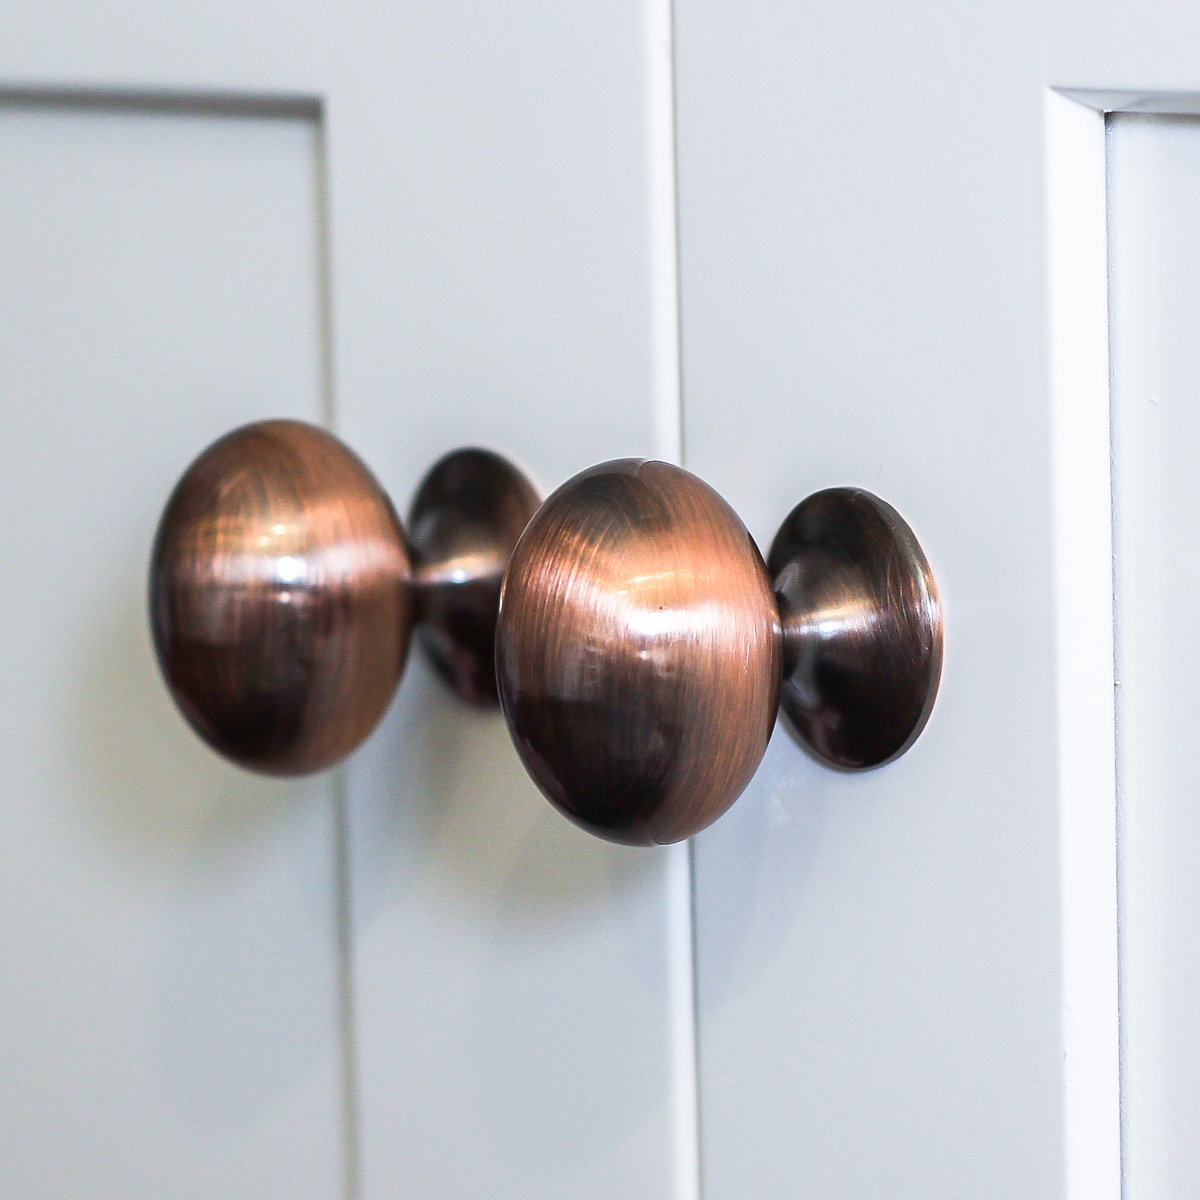
I also love these copper football knobs that look awesome with the copper wall sconce lighting in this room.
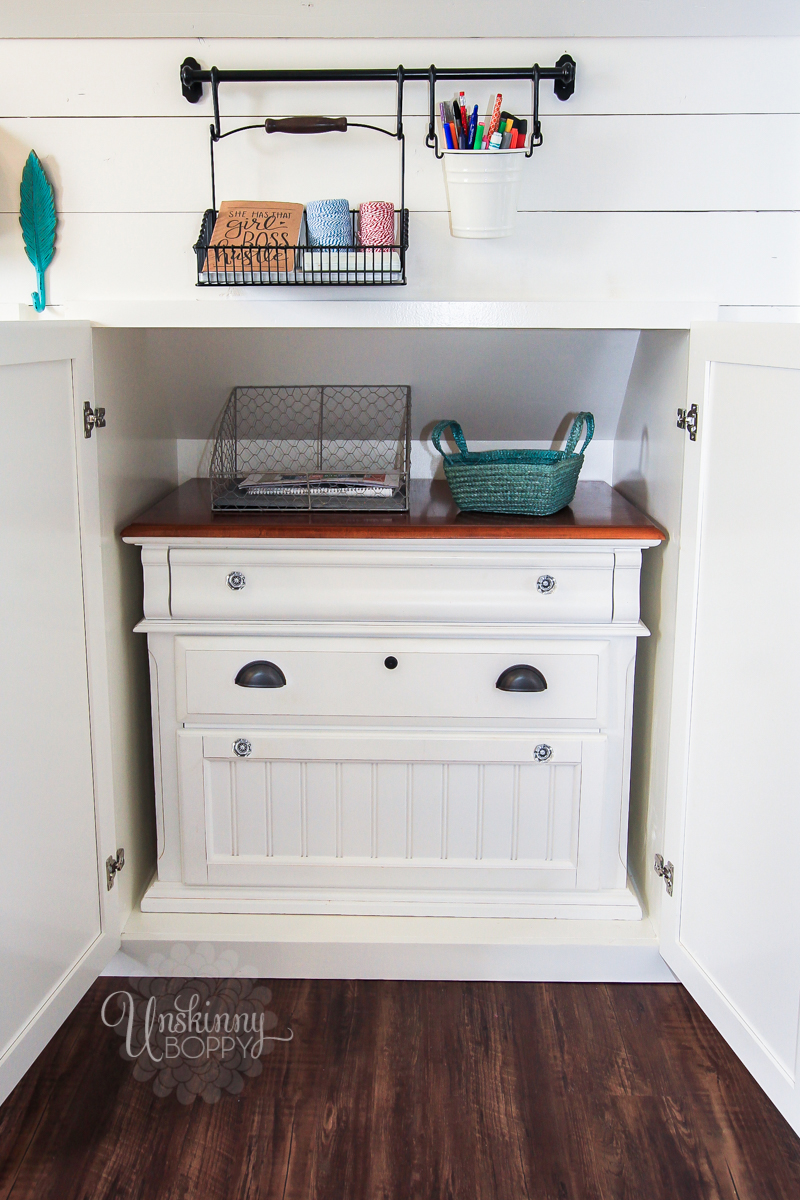
And, as an added feature, one of the cubbies contains my lateral file from my old desk so I can wrangle all of our bills in one spot again. I updated this lateral file with new knobs and pulls, and it looks fabulous tucked away back there now! Who knew a few pretty knobs could make me look forward to paying my bills each month? 😉
The office half of this room makes me so happy, and the playroom half of it makes the kids happy. It’s a win/win!
Here are links to the plywood and hardware used to build these cubbies in case you’re interested in building some for yourself!
Oil-rubbed bronze 3″ cup pulls
Beaded pewter pull (for laundry chute door)
This post features some of the building products that went into making the attic-turned-office amazing. I was given free product from Purebond Plywood, D.L. Lawless Hardware and Sherwin Williams, but I wasn’t compensated for this post. All opinions are my own.


I absolutely love this. I have the same type of space and mine looks so pathetic after seeing this post
I appreciate your comment, Pam!
I keep coming back here to admire your office space! This is my inspiration page for my future craft room in our finished attic. Such a wonderful job!