Our back deck had seen better days.
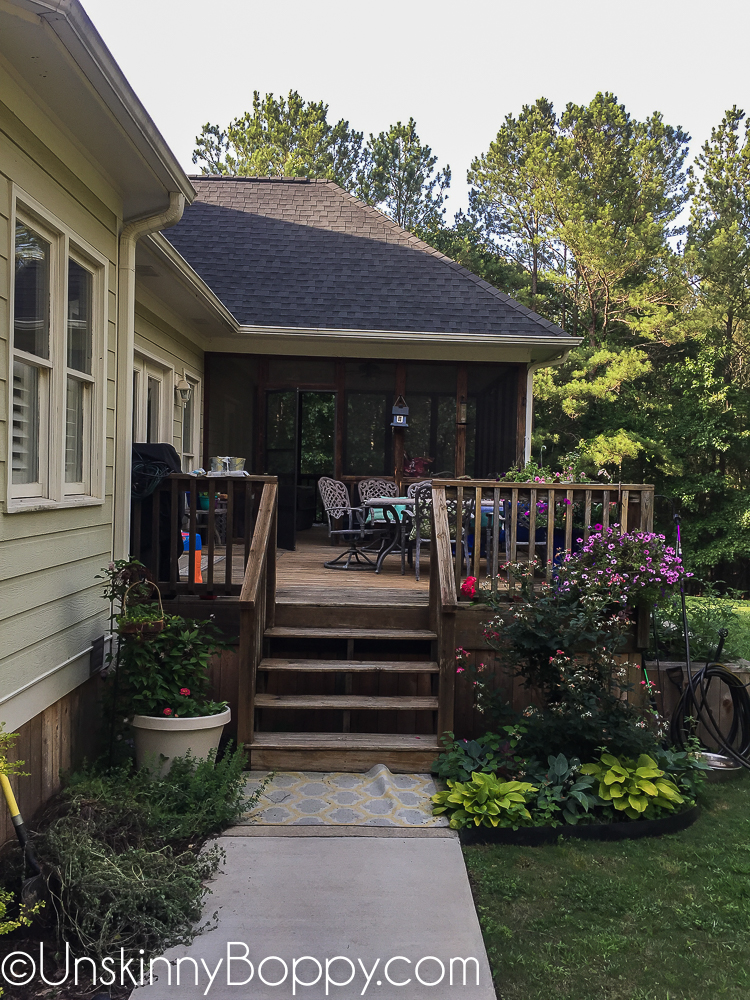
The wood was not rotting, but it was SO weathered and cracked that Caroline couldn’t walk across it without getting splinters all in her sweet little feet. This was a big issue for my anti-shoe-wearing, barefoot-loving little girl. She loves running around outside barefoot and playing in the hose, so we had to do something about all the splintered wood ASAP.
It’s been on the never-ending to-do list to try to refinish the back porch for a while now, and finally we got around to it last week!
It’s been such a rainy summer here in central Alabama that we have not had a solid week without rain until just recently. As I type this, Hurricane Nate is dropping buckets of tropical weather outside my window. So… yeah. We really hit that window of opportunity just right. Whew.
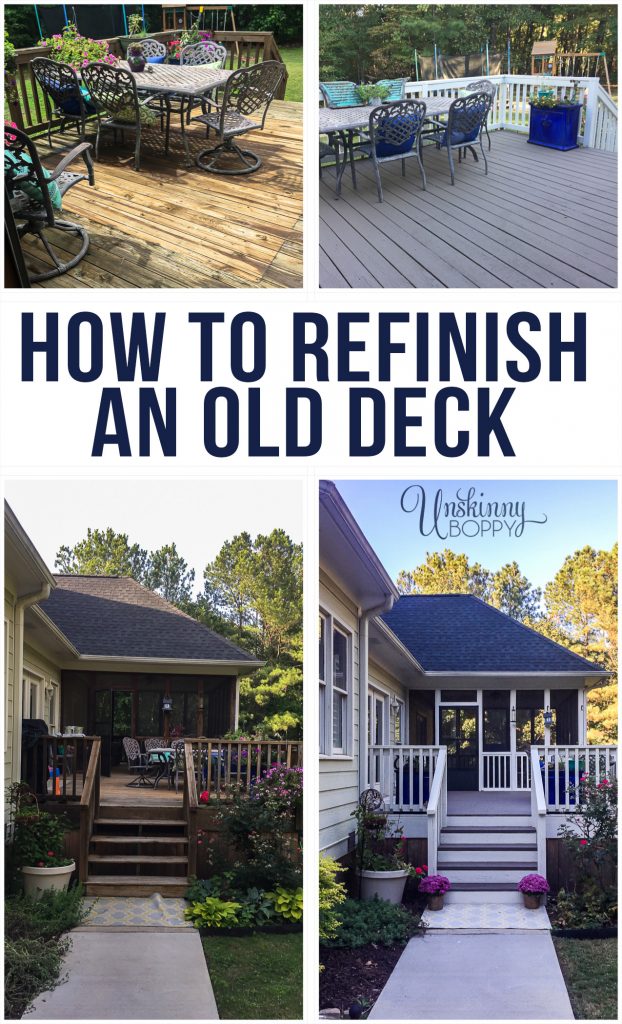
Here are some “Before” pics of what we were dealing with out there….
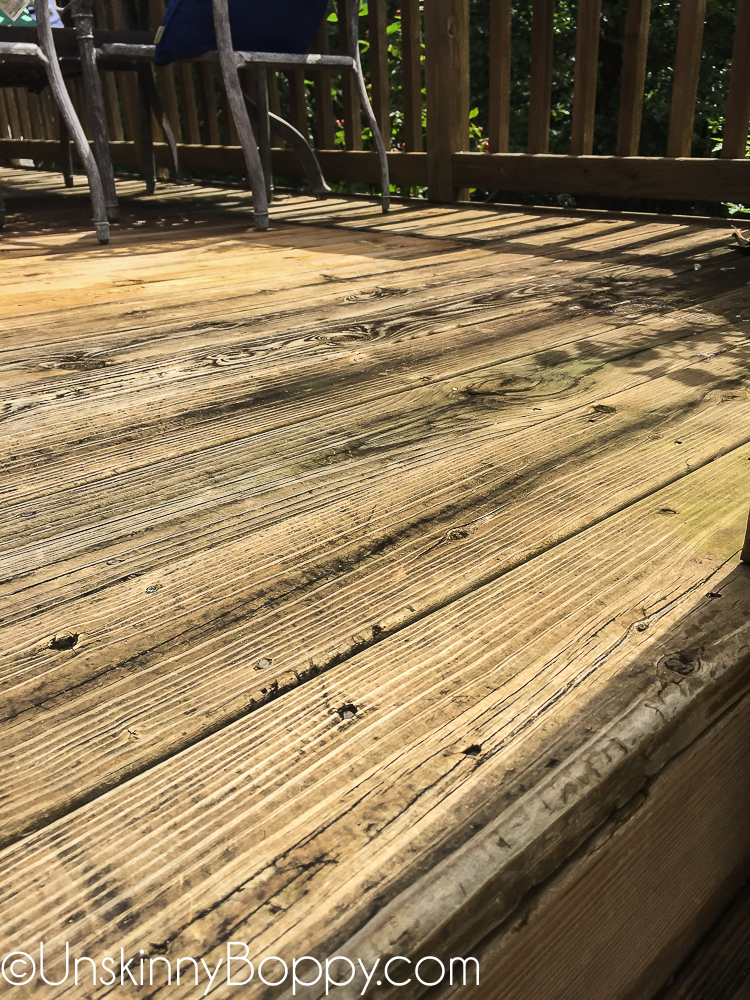
Here’s a wonky panoramic I took with my iPhone…
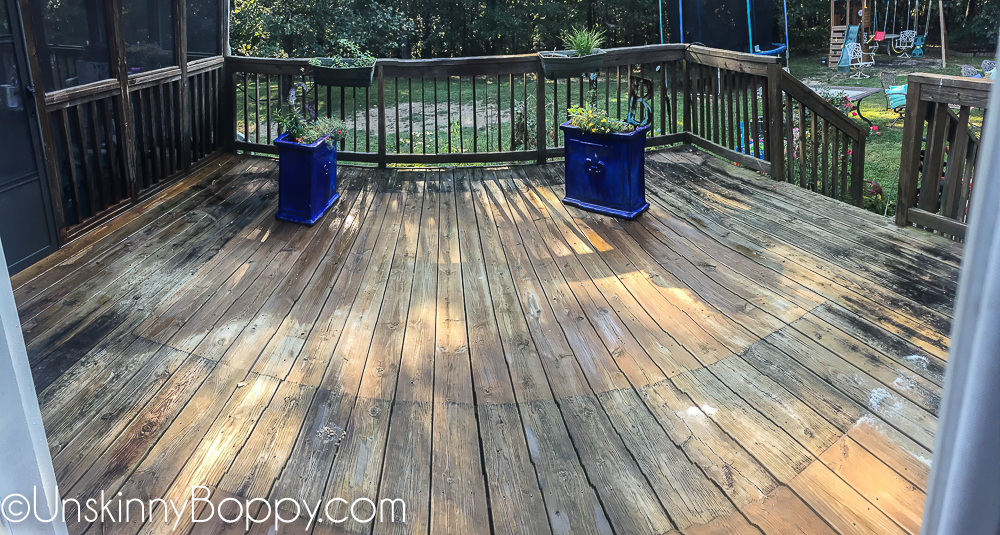
It was really, really bad.
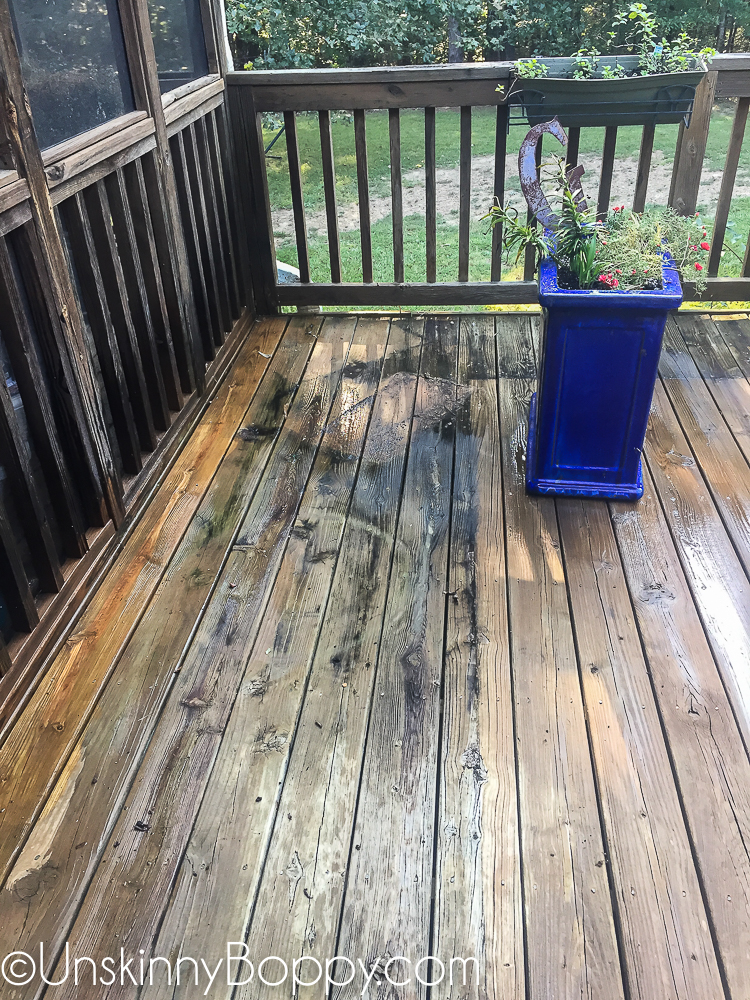
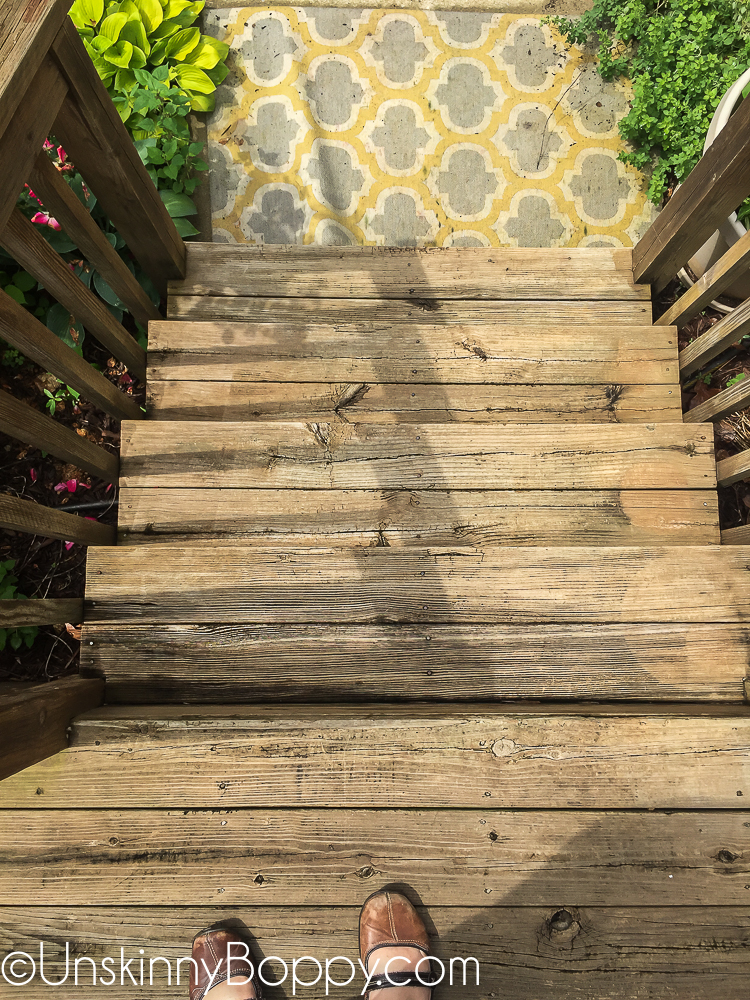
The stairs were cracked, bouncy and I worried I might fall through them with every step.
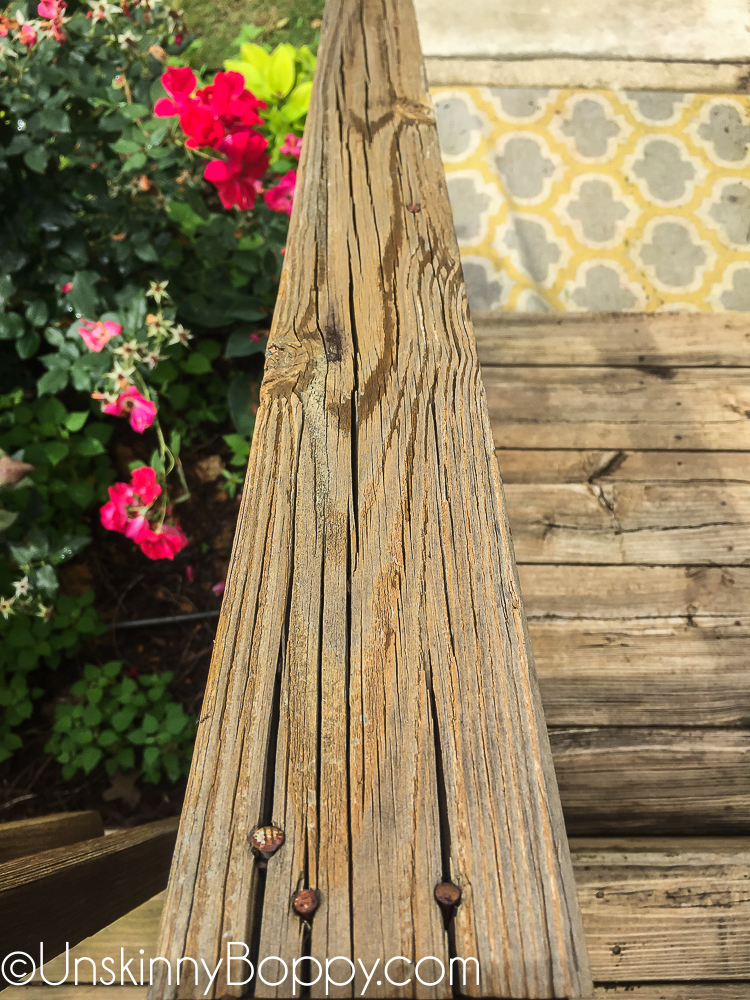
The rails were so cracked I’m surprised they weren’t split right in two. And I cringed every time Caroline ran her hand down them. I’ve spent more time trying to dig splinters out of a screaming child than I care to admit.
You can see where we had a rug out there to try to keep down the splinters. Eventually mold grew all over the rug, so we moved it to underneath the kid’s swing set in the backyard to become one with nature. Nice knowin’ ya, rug….
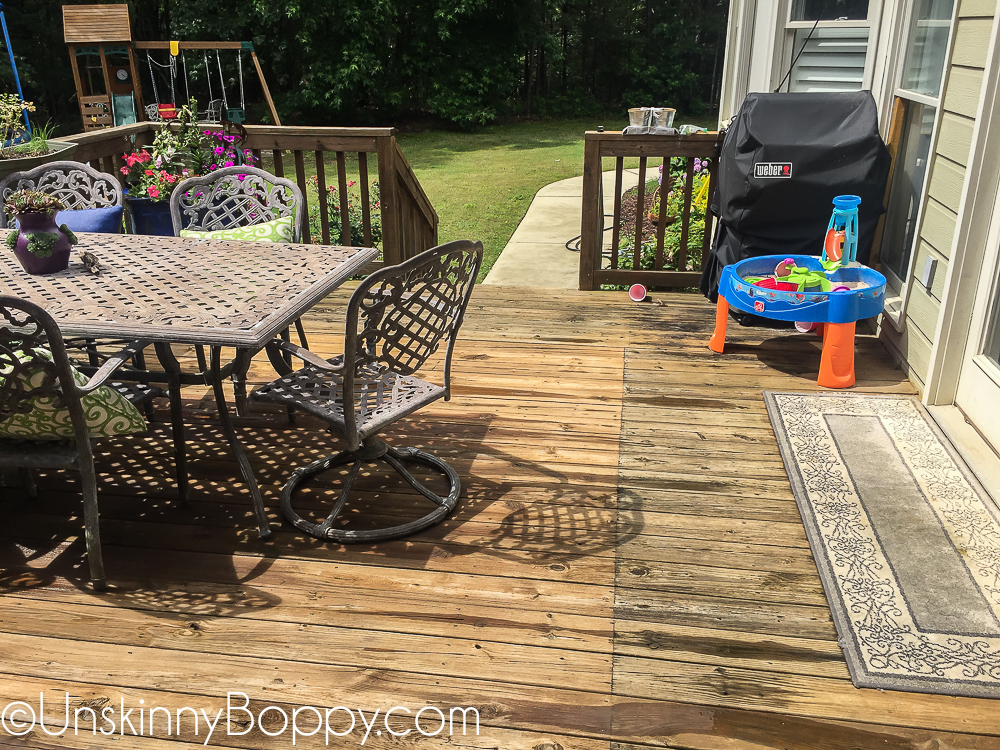
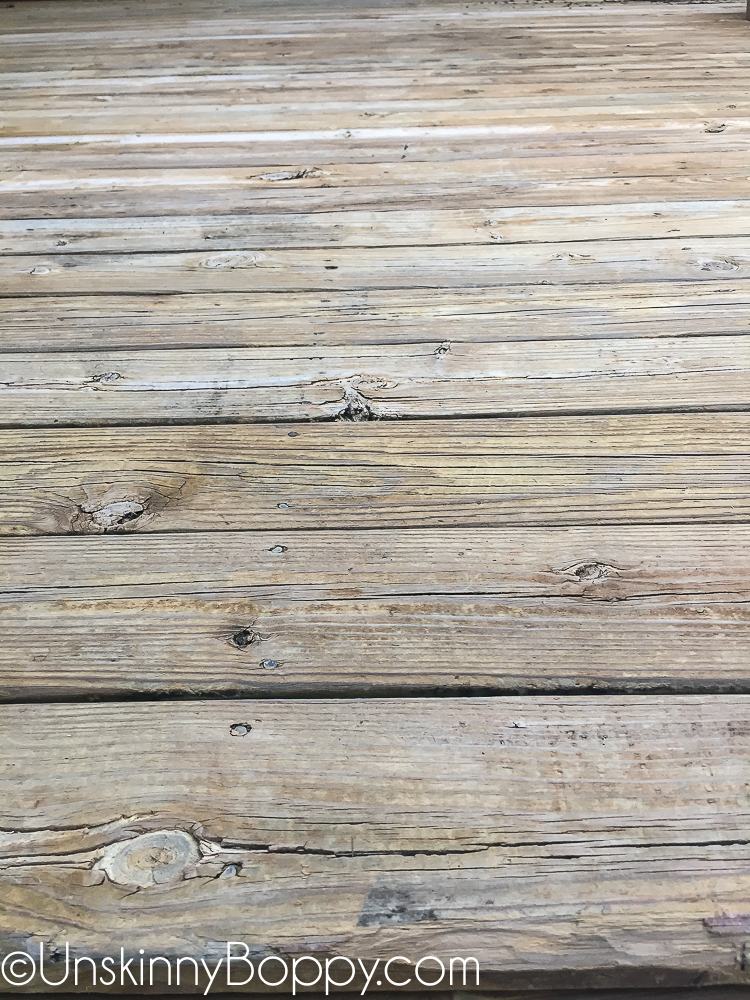
About two weeks before we started painting the deck, I took a pressure washer to the entire thing to knock off the mold and mildew and try to give the paint a good clean surface on which to stick. I’m glad I did this extra step even though it left the cracks even wider than before when it dried.
My friends at Rustoleum were nice enough to send me their newest RockSolid 20x Deck Resurfacer for us to review on the ol’ blog.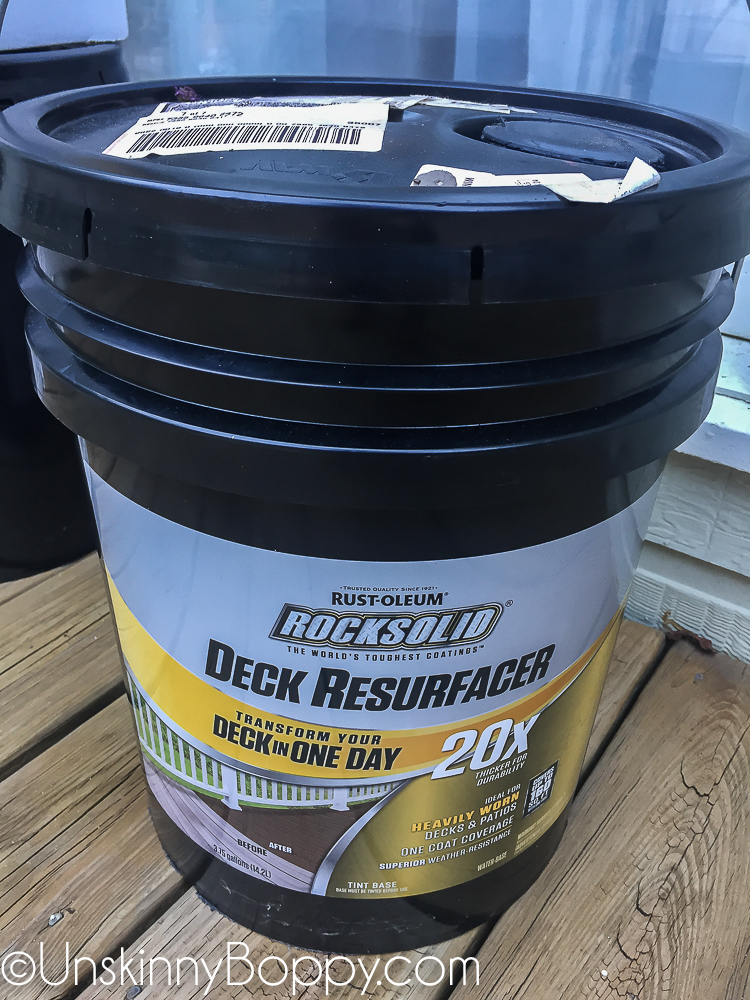
I scoured Pinterest for deck paint color ideas before I placed the order. At first I was going to keep it simple and use all the same color paint, but then I fell in love with all the two-toned deck ideas I was seeing. Finally, I settled on “Linen” (white) for the rails and spindles and “Winchester” (brown) on the deck surface. All of the trim on our house is white, so I felt like it would really help the porch “pop” with white rails.
And I was so, so right!!!
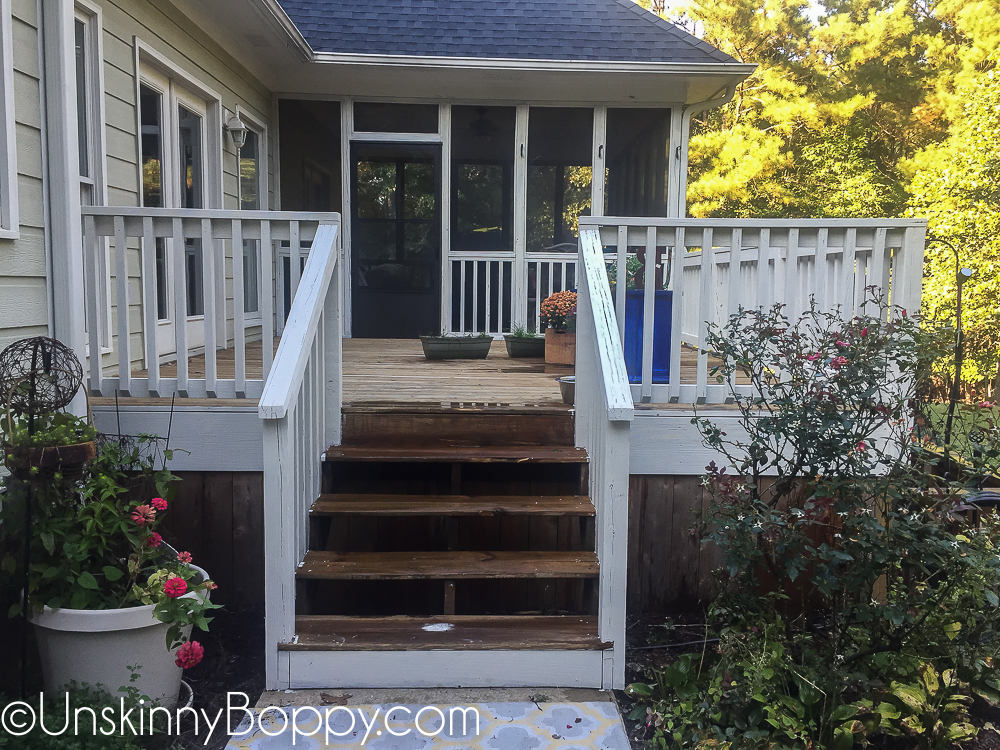
We started by painting the rails first so it wouldn’t matter about any drips later. We used the 6X product on the rails and honestly it was about the same as regular paint. It took two coats, which took a VERY long time to paint every railing and spindle twice. Even after the paint was applied it didn’t fill in all the cracks so he came back and used wood caulk to fill in all the major gaps. This required time to dry and then sand, which added even more time to the project. It was quite a bit of work, not gonna lie.
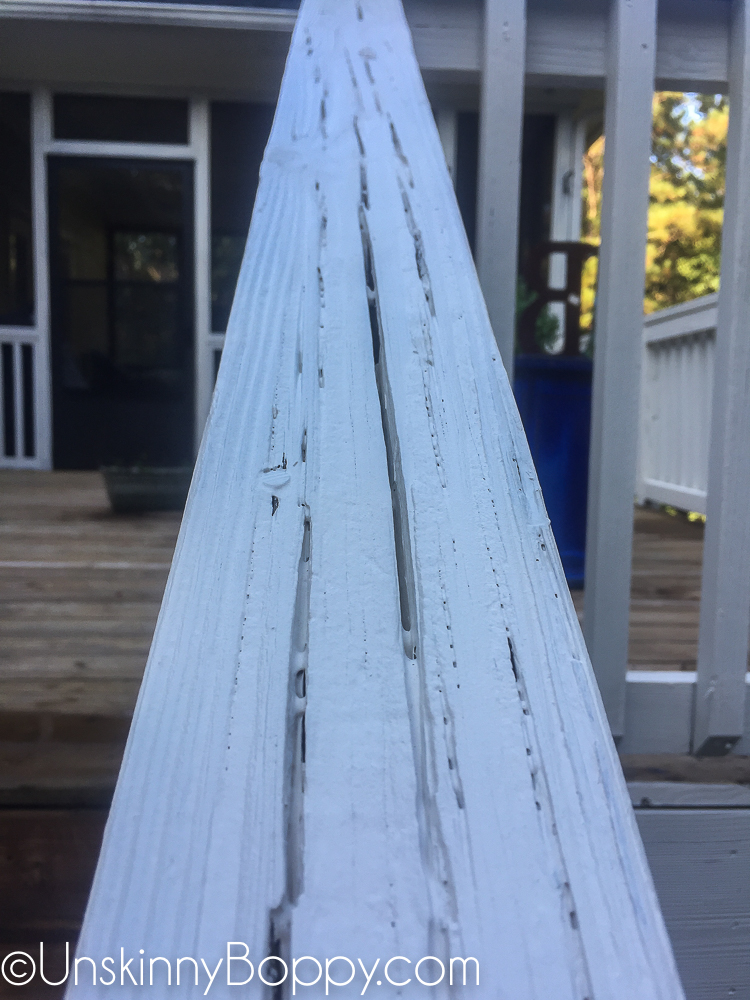
But, once it was finished, it looked OUTSTANDING.
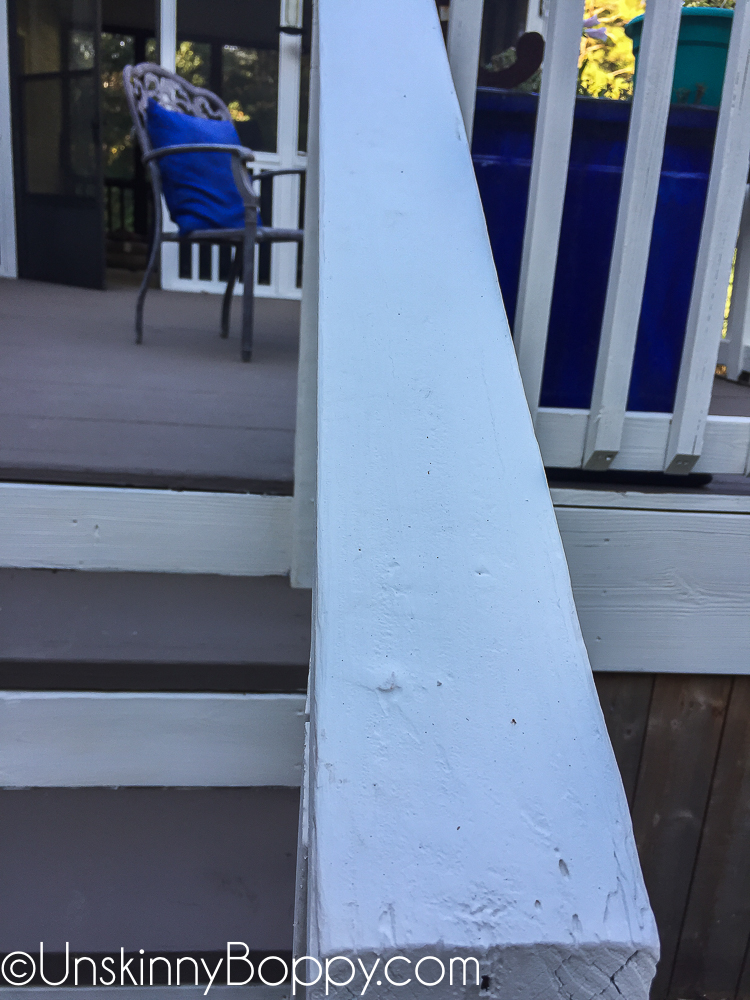
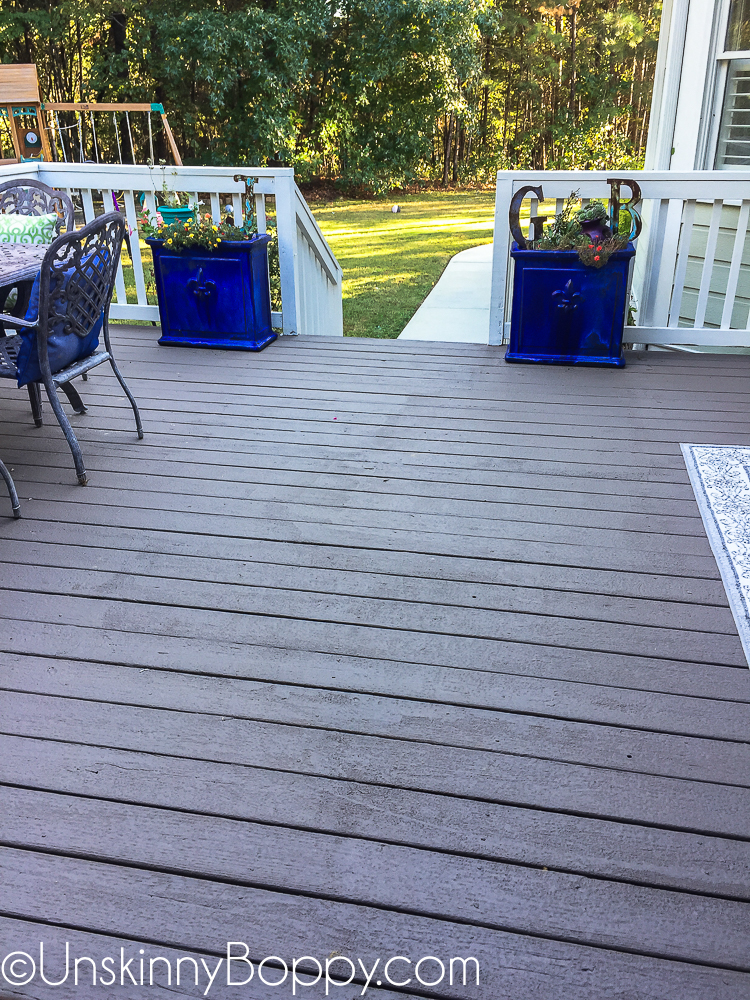
Here are the completed “After” results:
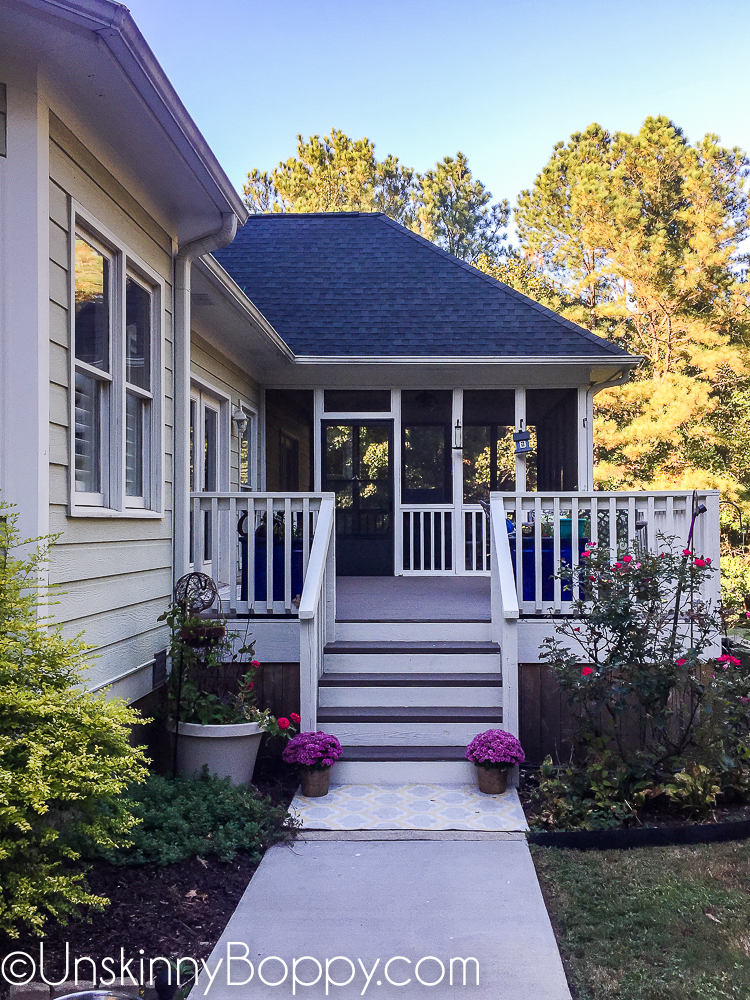
Look at that! I am so pleased with how it turned out.
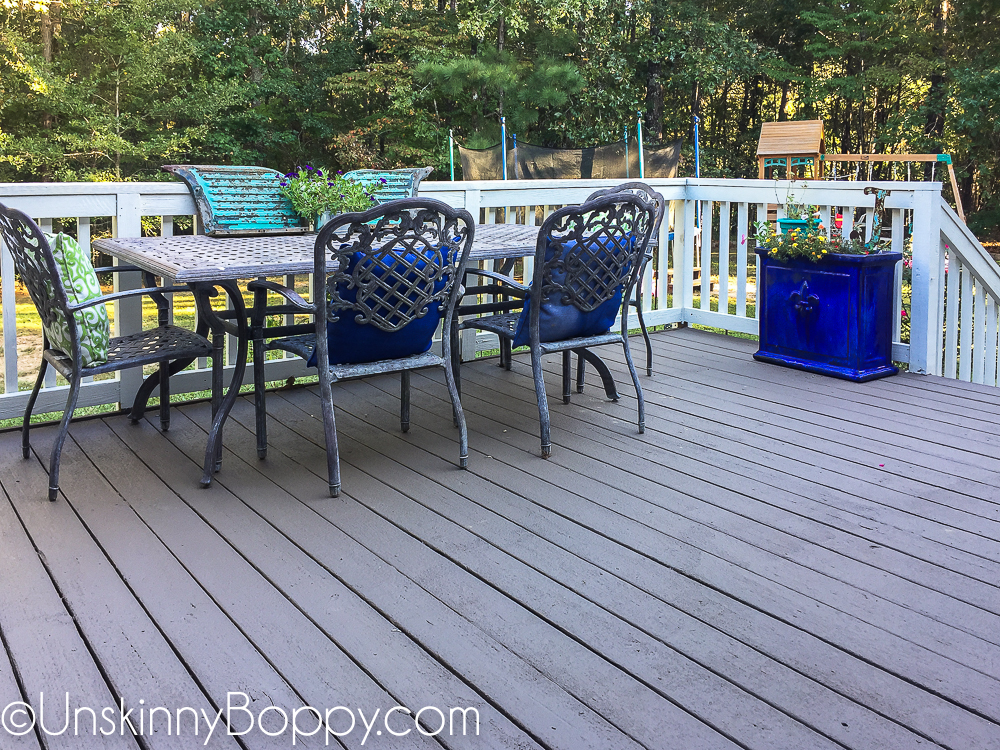
It’s seriously like we got a whole new deck out of this deal.
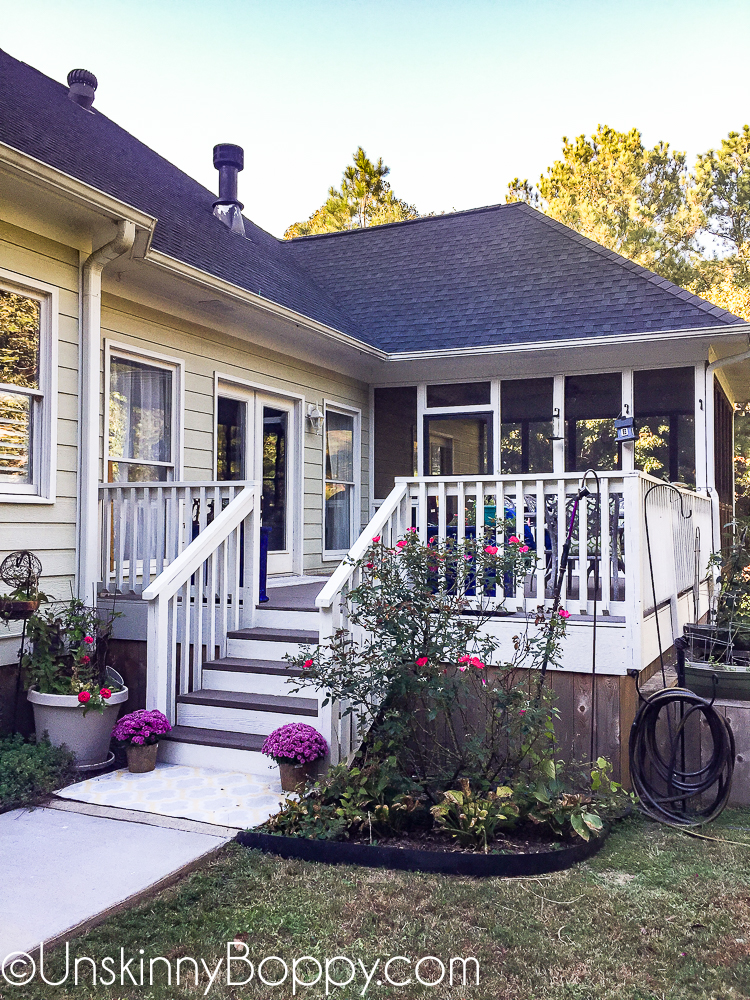
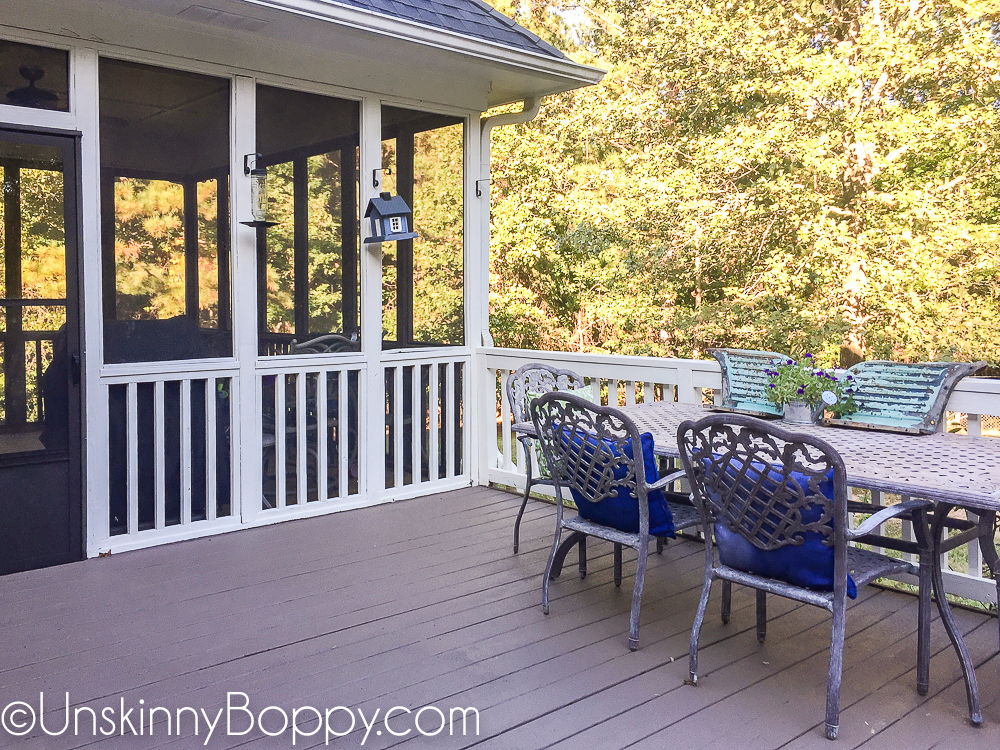
Ok, so let’s discuss the steps we took to make this amazing transformation happen.
Step 1: Prep the Wood
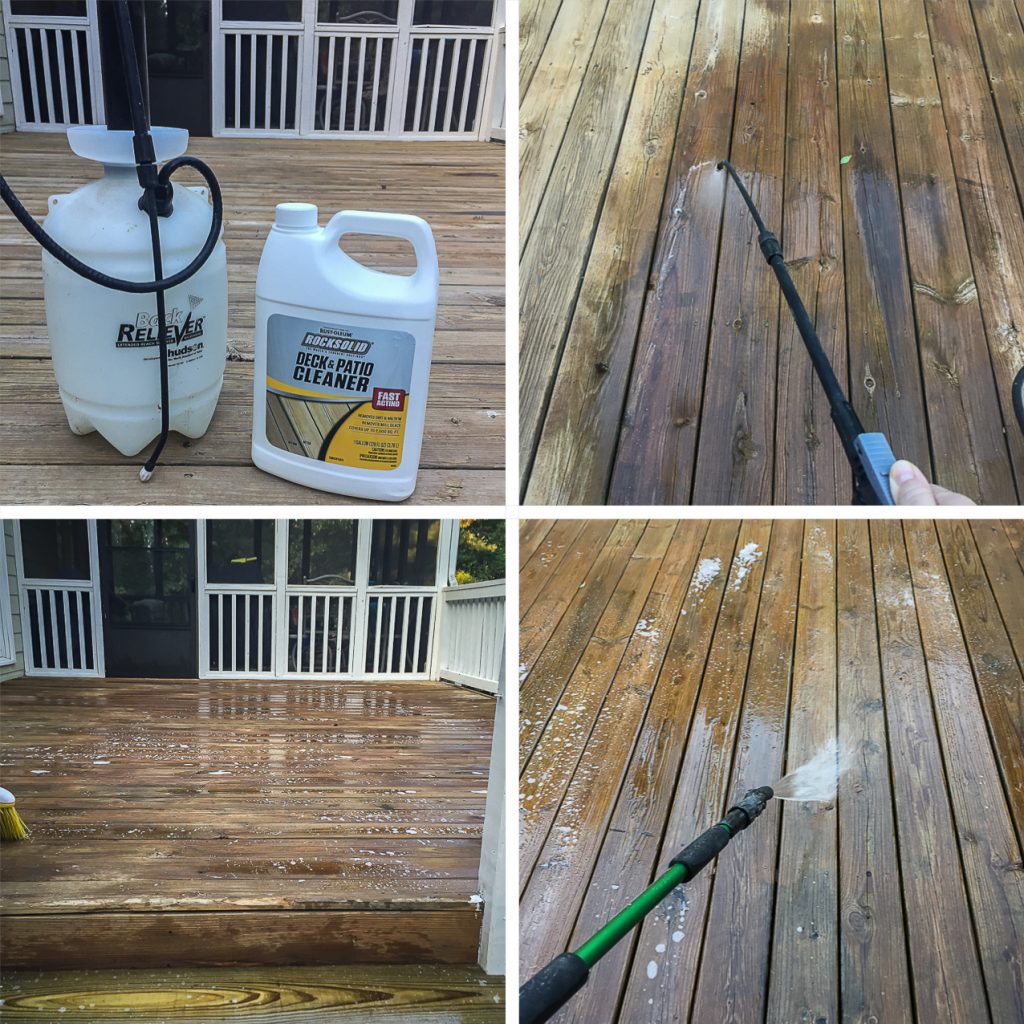
Even though I pressure washed it, I still wanted to make ABSOLUTELY SURE there was no more mold or mildew lurking. I also wanted to follow Rustoleum’s instructions exactly so the paint would be sure to hold up over time.
I mixed up Rustoleum’s Deck and Patio Cleaner in a garden sprayer (it’s a concentrate so you have to dilute it). I left it to sit for 10 minutes and then rinsed it off completely with the water hose until all the soapiness was gone.
Step 2: Prime the Deck
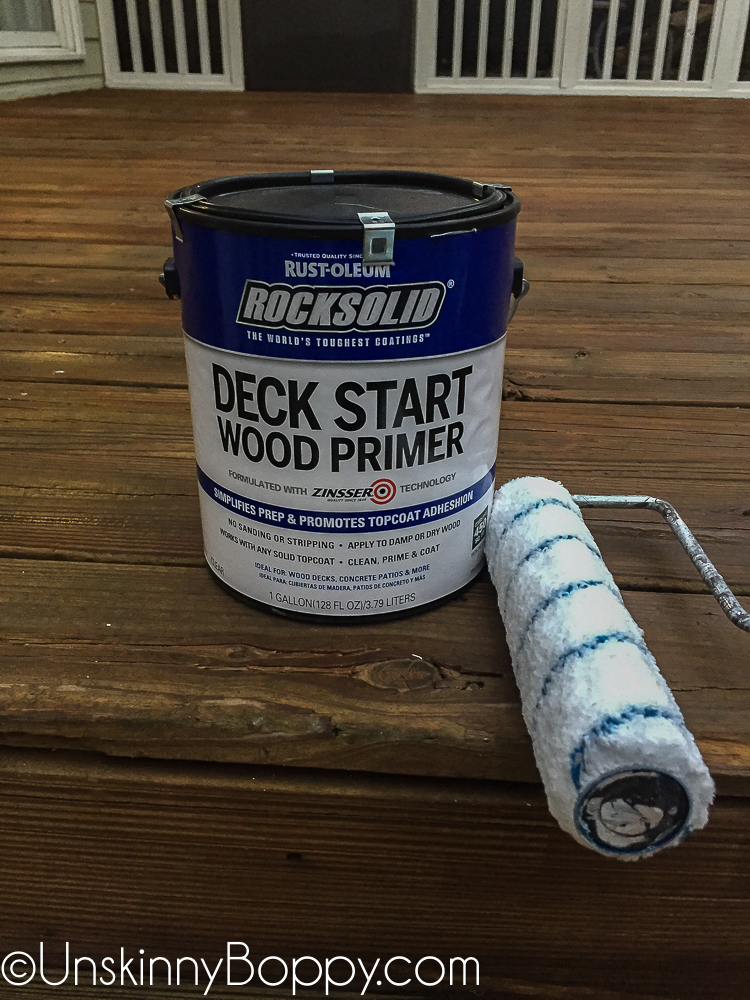
This next step is COMPLETELY COUNTERINTUITIVE, but I did it anyway because they told me to. 🙂 This Deck Start Wood Primer is created to be applied to damp wood. Not wet, not dry… DAMP.
After I rinsed off the cleaner, I let the deck sit for 30 minutes. Then I took a broom and swept away any puddles of standing water. Then, I applied this Primer to the wood while it was still damp. Like I said… totally blows my mind that you can apply this stuff to wood with moisture in it, but they assured me it was the right way to do this.
I don’t have many pictures of this process because it got dark on me and I was hurrying to get it painted before I could no longer see what I was doing. It goes on sort of like Elmer’s glue– a translucent white color. I used a standard nap roller for this process.
After this was finished, I allowed it to dry overnight. This is the confusing part because the cans all say you can immediately apply the 20x refinisher. But according to the experts at Rustoleum you should wait at least two hours for the primer to dry. I let it dry overnight and they said that was fine as long as it didn’t rain on it.
When I woke up the next day, the wood still looked damp but had a nice glossy sheen to it.
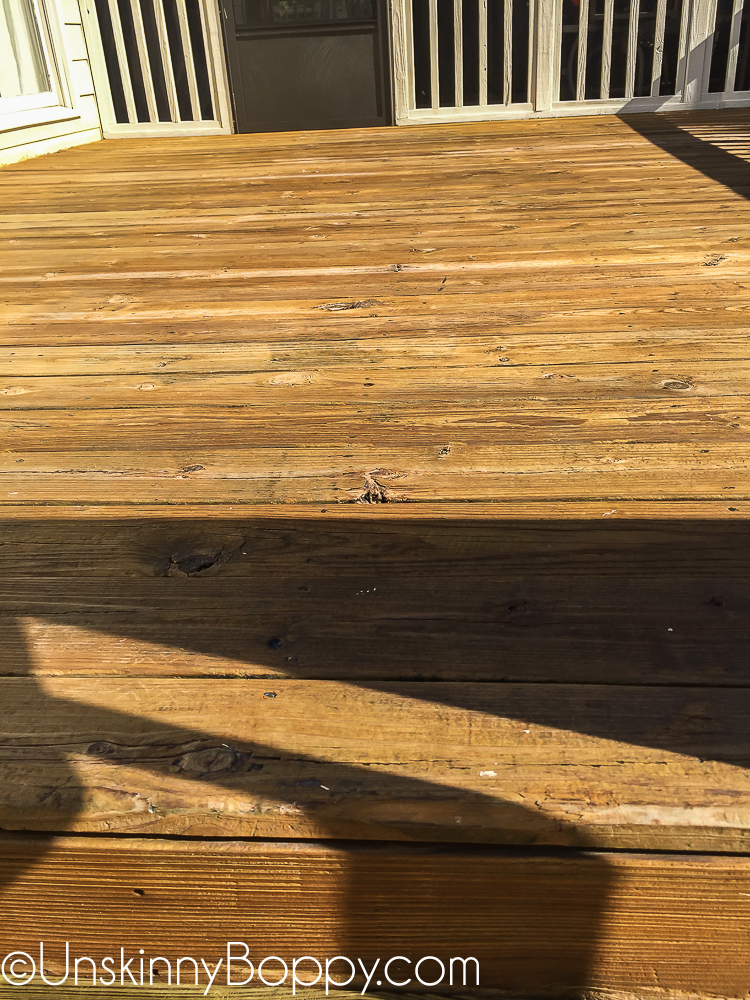
Next up? Apply the main event!
Step 3: Apply the 20x Refinisher
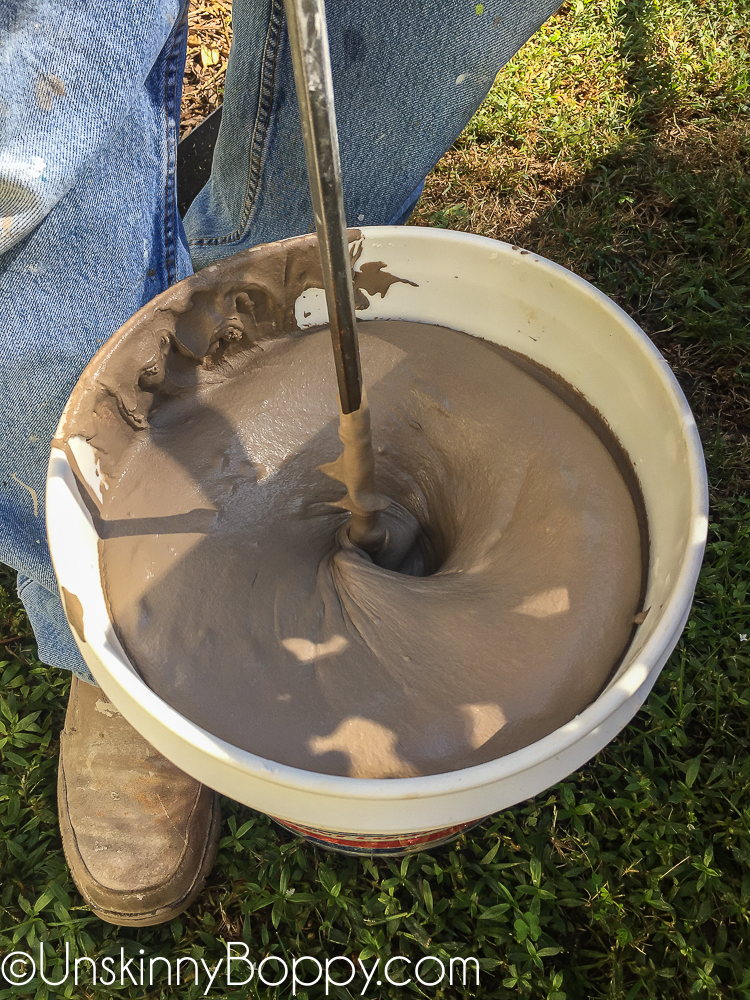
My painter Francisco did this part for me and I’m SO glad that he did. Rustoleum had sent me this material back in May of this year and it has been sitting in my garage all summer waiting on the weather to dry up enough to complete the job. When we opened the 5 gallon buckets he discovered all the thickening material had settled down to the bottom of the bucket.
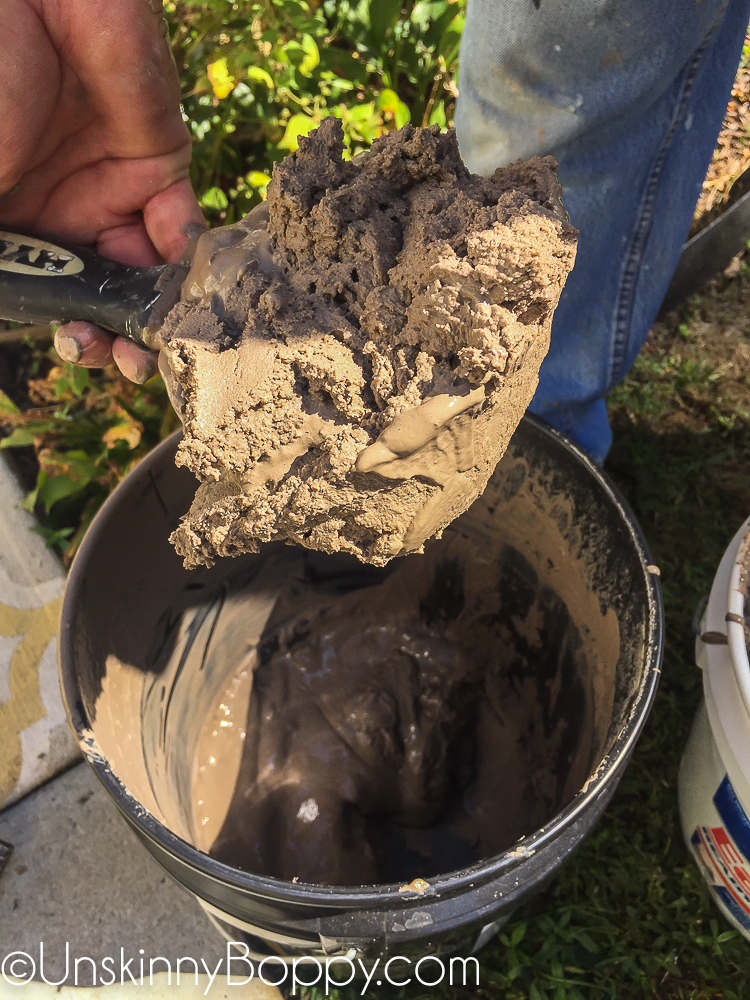
If I had been doing this project alone this would have freaked me out and I would have stopped right here. BUT, Francisco carries all his painting tools with him, so he had a long paddle that he uses to mix sheetrock mud, so he was able to stir the paint up without any trouble. Just be aware this could be a big issue for the Average Joe who doesn’t have these types of tools lying around.
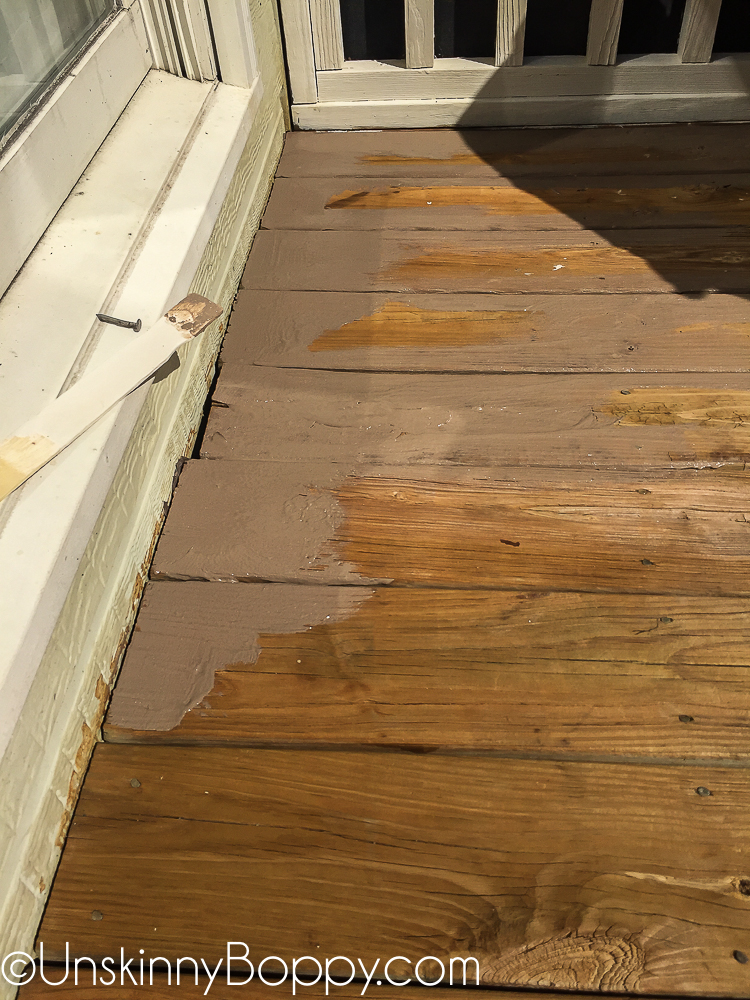
He started by cutting in all the edges with a regular paint brush.
And then he used the special rollers they sent to apply the product on REALLY thick.
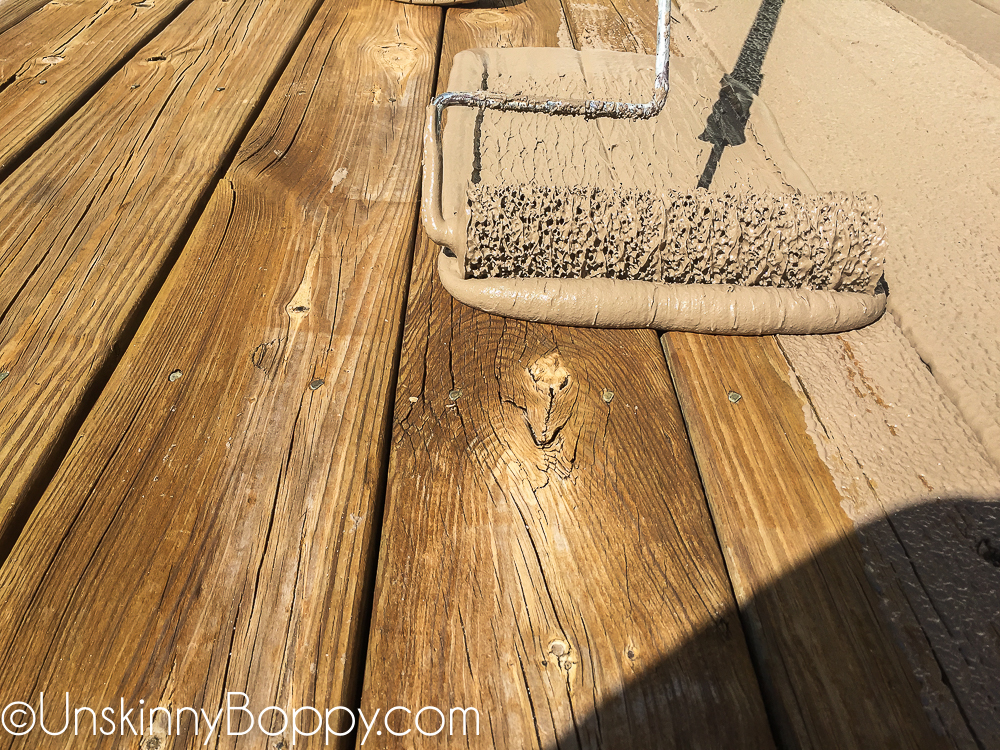
Don’t be afraid to gloop it on there so it fills in all those cracks really well.
IMPORTANT NOTE: Only roll in one direction. Do not go back and forth like regular paint or it will not adhere correctly. This is a hard habit to break when you’re used to painting with a roller, but one direction looks way better once it dries.
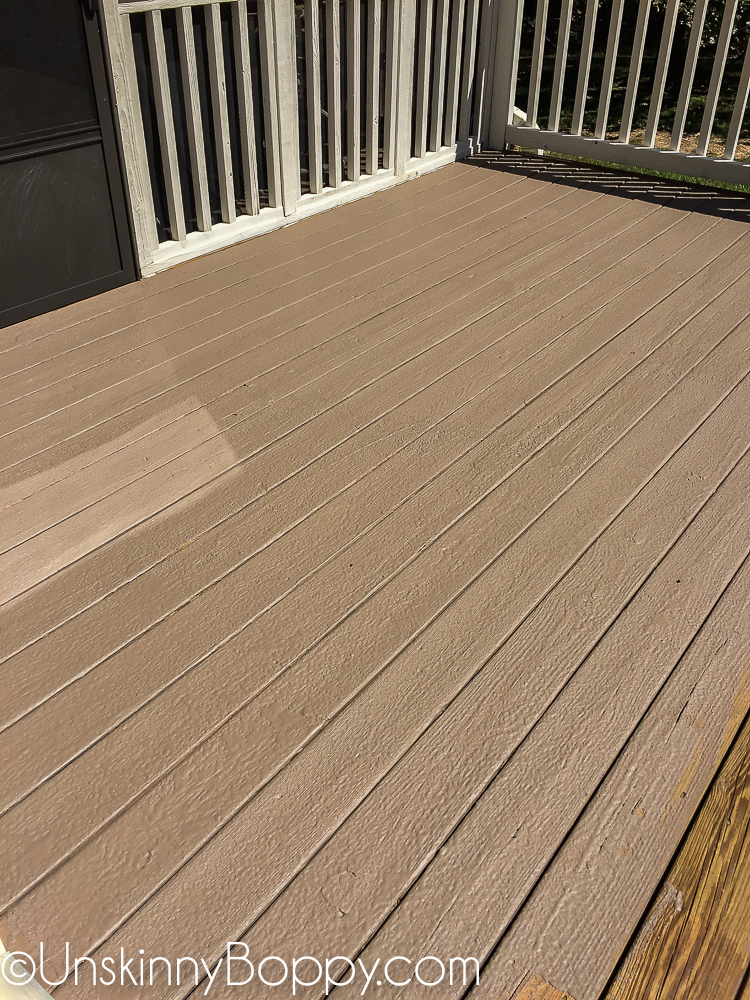
Just make sure you have enough product to finish the job! It took two entire buckets to finish the deck.
The deck dimensions are 14′ x 16′-6″ with a 4′ x 5′ set of steps. We used every ounce of these big 3.75 gallon buckets to finish the deck ONLY (not including rails or steps).
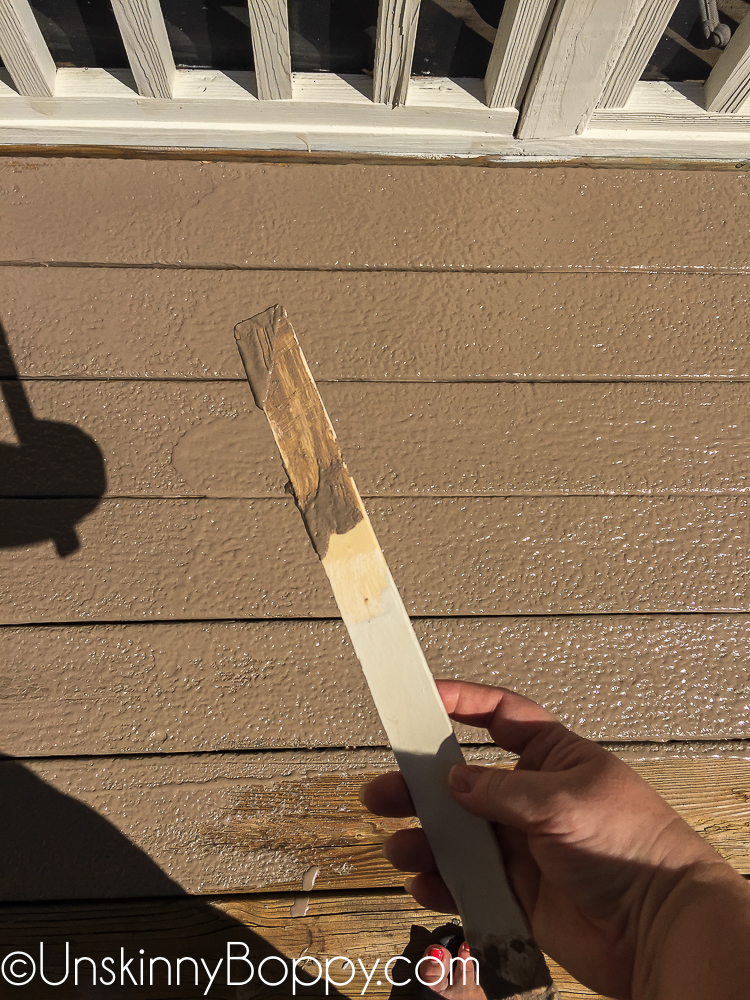
As he applied the product he had to stop and use a paint stick to scrape down the cracks between the wood. This was important because it allows standing water to drain off the deck. Plus it looks bad if you don’t do it. You can see a few spots that were missed, but that’s ok.
The steps were in such terrible shape that he replaced them with sturdier 2x12s and painted them to match with regular porch paint. I also made the call to add risers to the backs to hide all the ugly stuff underneath the steps. This made a HUGE impact once they were painted white to match the rails.
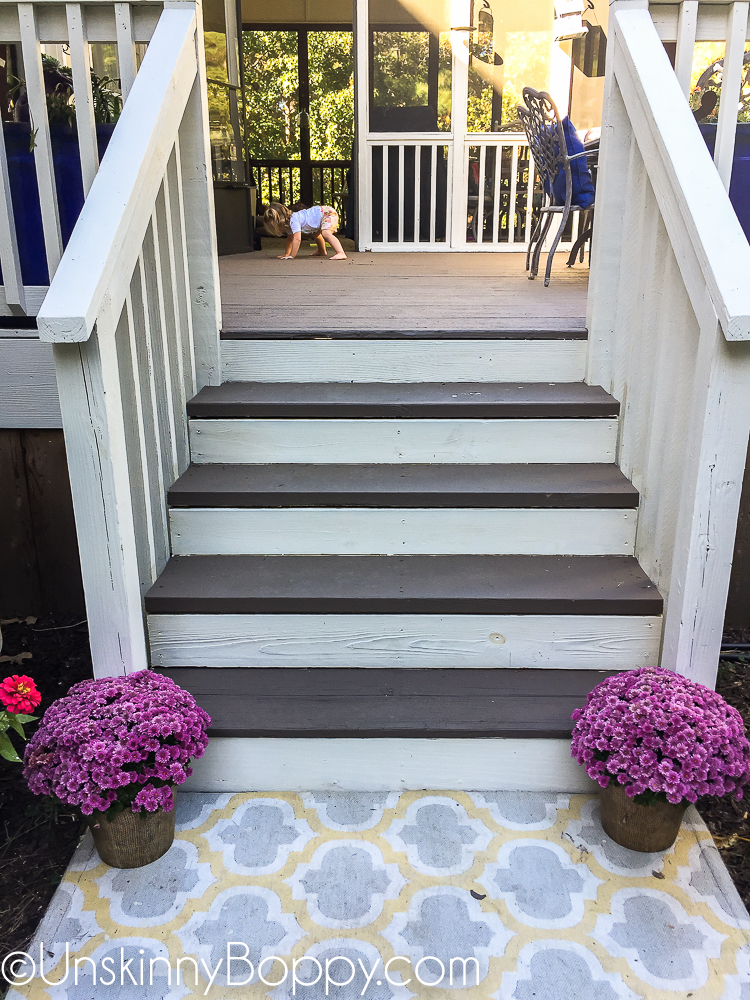
Everything vertical got painted white, everything horizontal was painted the Winchester Brown.
The rough finish looks a lot like Trex decking, plus it’s non-skid which I love. It would have taken twice as long to go back over the painted areas with a paint brush and smooth everything down, so rough is fine by me. You’ll need to be careful along the edges of the wood to make sure and get it smooth. Once it’s dries it is rock hard and there’s no way to redo the edges. 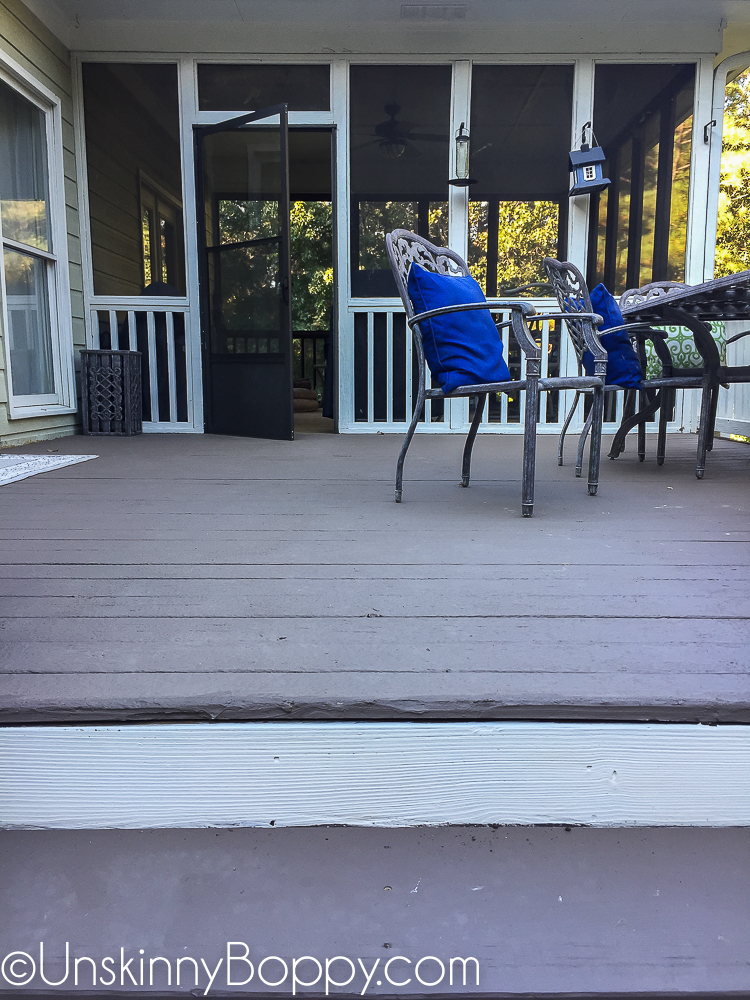
So! There you go.
Our “new” deck is AWESOME and I am so glad we took the time to refinish it properly.
It was most definitely NOT a “deck-in-a-day” project like the Rustoleum labels claim. For us, it was more like “deck-in-THREE-days”, but it was totally worth it.
List of Materials used for this project:
1 gal Rustoleum Rocksolid Deck and Patio Cleaner
1 gal Deck Start Wood Primer
Two 3.75 gallon buckets Rustoleum RockSolid 20x Deck Resurfacer (color: Winchester)
4 gal Rustoleum 6X Deck Resurfacer (color: Linen for rails)
Pack of Rustoleum 20x roller covers
1 regular nap roller for primer
I would totally use this product again! It transformed our back porch from a place we dreaded stepping on to a place where we can hang out with the kids and not fear for the cracks. I am in LOVE with the final results.
And the best part? No more splinters!

Here are the side by side before and after pictures if you wanna pin them for later.
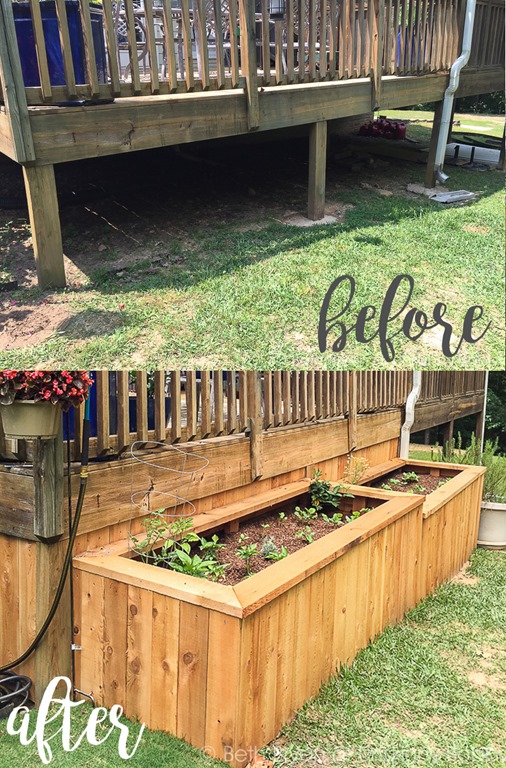
If you like this post, be sure to check out my raised garden beds to underpin the back deck.
Disclaimer: Rustoleum gave me free product but I was not paid for this review. All opinions are my own.


It looks fantastic! And I totally understand the painful task of painting the railings and spindles. That takes So. Much. Time! From one Mom to another…I do have to ask…how did you do it with a toddler running around? I have the hardest time doing big projects because I have a 3 year old and a 1 year old! Lol! I would have paint everywhere!! Looks fabulous!
Mother’s Day Out and a VERY good babysitter is my secret. 🙂
What a remarkable transformation! Excellent job.
I have been advising many members not to use these deck over products. They tend to crack and peel within two years. There are and have been class action lawsuits against the manufacturers. Some members have used the products and it’s become a nightmare. Hard to remove when it cracks and peels. Some had to replace deck boards and/or replace complete decks. These are new products that have not been tested for the long term in real life environment but in a factory controlled setting.
https://www.google.com/search?q=rustoleum+restore+10x+lawsuit&sa=X&ved=0ahUKEwi1orex8-PWAhWFKCYKHYJRAsYQ1QIItgEoAA&biw=1016&bih=642
I thought I had heard about problems with this product as well.
I was wondering in subsequent years if this product can be reapplied over the original resurfacing? I applied a similar product 3 yrs ago that is holding up very well but a couples very small spots could use a re-do.
Yes. As long as the product isn’t peeling (you should remove all peeling areas) you can use the wood deck primer on those spots and apply the coating on top.
Assuming it’s the same product. 🙂
This turned out beautifully! Your daughter is adorable! I’m glad you shared all the information and pictures. I really enjoyed watching it all come together. Great job!
How long as this lasted so far for you? We need to redo ours so badly. The last time we did it, with a different product, it lasted maybe a year and after the second winter is was peeling off.
Beautiful! Come to Illinois to do mine Please ?
I’m reading this on March 21 2018, how did this product good up so far? I am considering this for my badly worn deck
Hey Tim, it’s holding up really well. So far, so great! We have had more than our fair share of snow and ice this year in Alabama and it’s still great. 10/10 would do it again.
I am replacing rotted decking and planning on trying this project.i have deck stain that is lifting from pressure treated wood..do i needto remove every particle or will new material go over and seal decking..
In total how many days did it take and is it possible to use a normal paint roller..since you had a painter do yours is this a project a weekend project warrior mom can accomplish by herself
Hey Sherri, I will send your question to Rustoleum and see what they say about the deck stain. I’m not sure about that.
Depending on the size of the deck and your muscles, you should be able to accomplish this in a weekend by yourself, for sure. It’s not a hard project, just lots of bending over to get the paint down in the cracks and around the railings. I’m sure you can do it!
Can you use it on a deck that has a slick paint already on it?
I am new to this blog and was intrigued to find out how you managed to get the products free to review?
This helped me understand some good ways to get started. Thank you.
How has it help up over time??
Excellent! Three years and still going strong. We’ve had a few nail pops that have cracked it a bit, but overall it is still in great condition and looks as good as the original pics. Highly recommend!
I have personally used this product TWICE. Unfortunately, I didn’t learn the first time and assumed I had not applied it correctly even though we followed the manufacturer’s directions. So, two years later where it didn’t physically peel off the decking in sheets we AGAIN scraped it down, sanded it, cleaned it, let it dry and then re-applied two coats. Two years later I am again peeling this stuff off with a putty knife and a sander. I would not suggest this product to my worst enemy. Save your time and money and invest in low maintenance decking-unless, of course, you like to torture yourself.
I agree, this stuff is horrible and doesn’t last long before it’s chipping off all over
I agree , I used it too and 2 years later it’s peeling off all over! Thumbs down! Don’t waste your money or time
Thanks for the truth, I have used Deck Over paints and they lasted about a year, never again will I use that.
It indicates the right side of the packaging to face upward in order to avoid damaging the contents.