These homemade lotion bars are simple to make! You’ll love the ease of use and how great they make your skin feel.
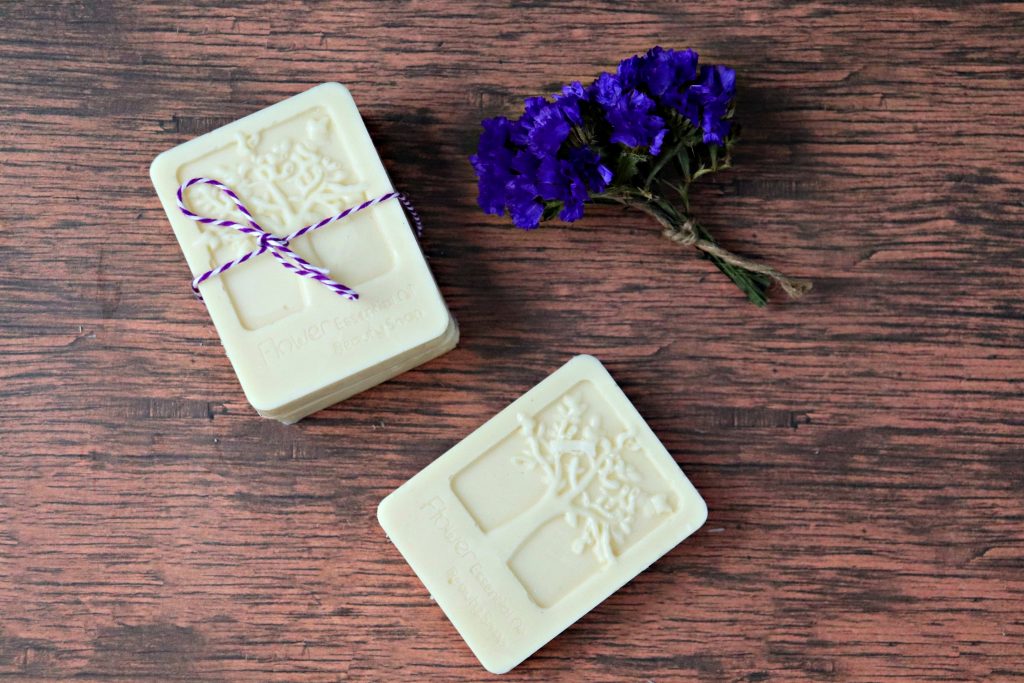
Homemade Lotion Bars
I don’t know about you, but I’m tired of having dry skin. This harsh winter weather is enough to make enough feel as though their skin is a bit dry. My comeback? These handy dandy homemade lotion bars.
I truly love that I can make them at home and keep them closeby whenever I need them. There is something to be said about having skin that is healthy and moisturized!
Use this DIY lotion bar recipe to make some for yourself, or give as a fun gift to others. Regardless of your decision, it’s a total win-win!
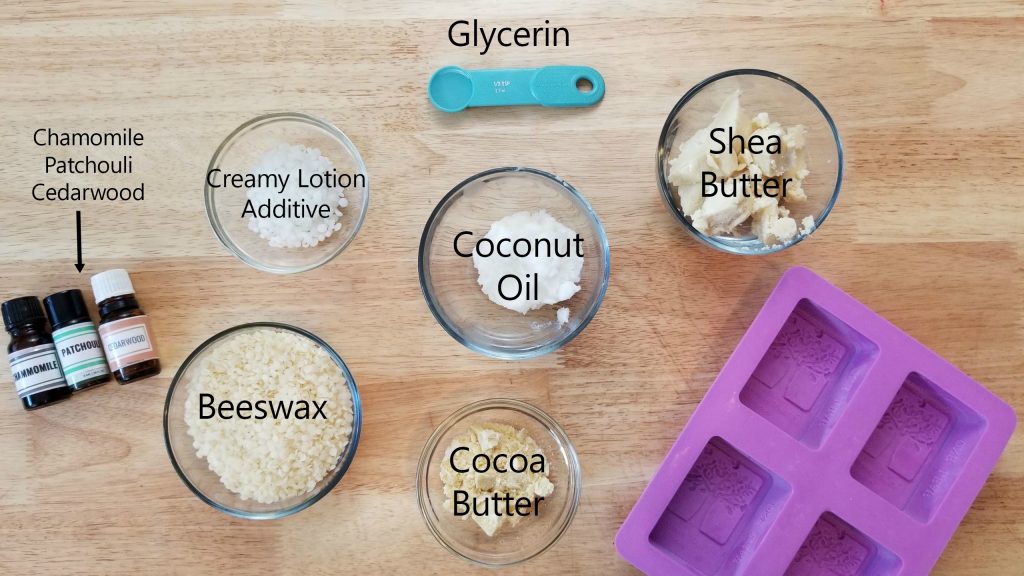
Ingredients to make homemade lotion bars
- 1 cup Shea Butter
- 1/4 cup cocoa butter
- 1 cup beeswax
- 1 tablespoon Creamy Lotion & Lip Additive
- 1/2 cup coconut oil
- 1 teaspoon glycerin
- 10-20 drops cedarwood essential oil
- 10-20 drops patchouli essential oil
- 10-20 drops chamomile essential oil
- Silicone rectangle tree mold
How to make homemade lotion bars
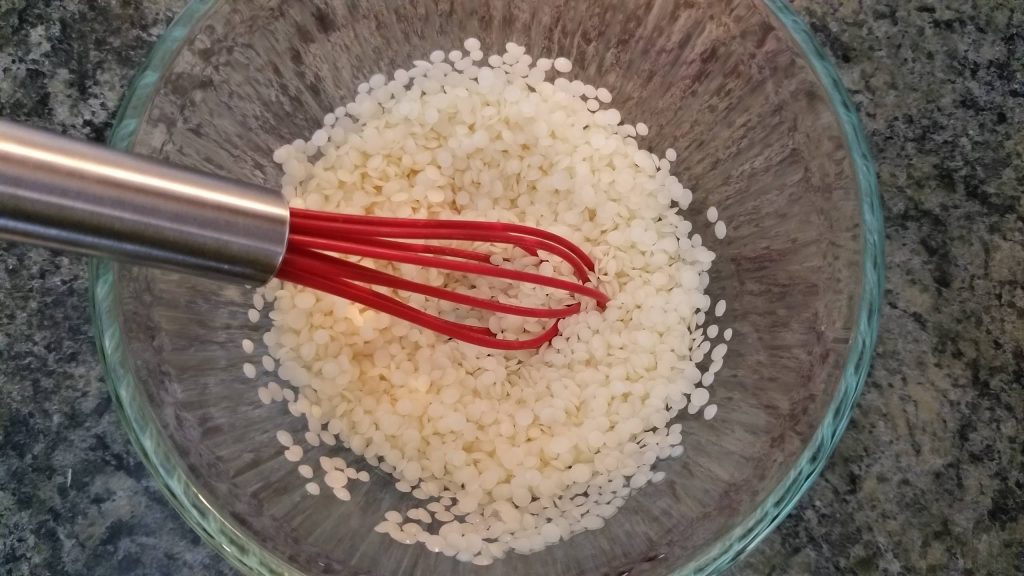
Steps 1-2: In a medium size bowl, add beeswax and melt in microwave for 60 seconds. Stir once done. Repeat this same step twice. Next, add in creamy lotion additive. Put in your microwave and melt for 60 seconds. Stir. Repeat twice.
Step 3: Grab your coconut oil and add to mixture. Put and melt in the microwave for 20 seconds. Stir. Repeat until it is entirely melted. Set aside.
Steps 4–5: Take and add in your shea butter and cocoa butter into a small bowl. Melt in 35-60 second bursts, stirring after each time. Do this until completely melted.
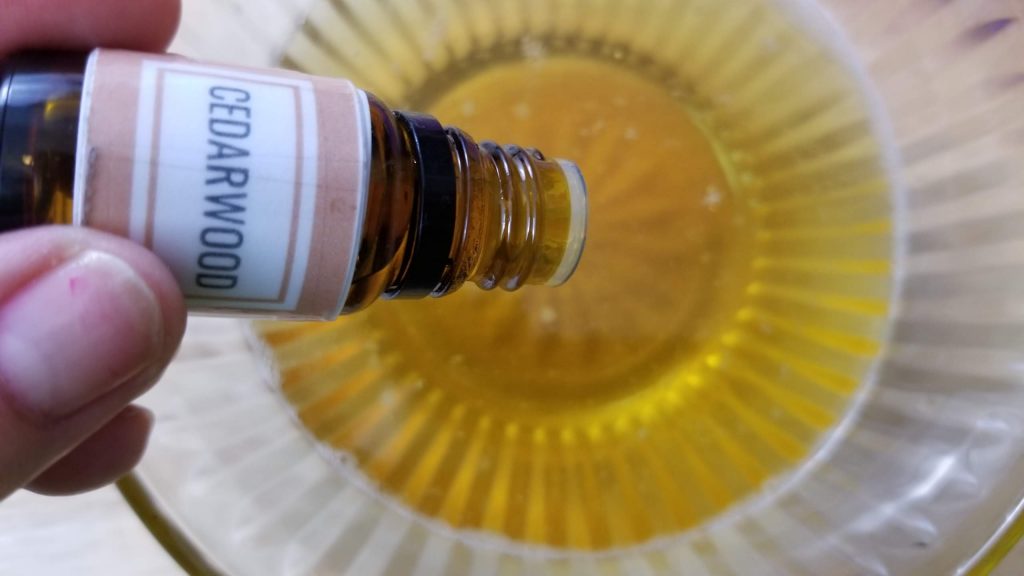
Steps 6-11: Take your small bowl of ingredients and add into the larger bowl. Add in the essential oils and glycerin. Whisk everything together until well mixed.
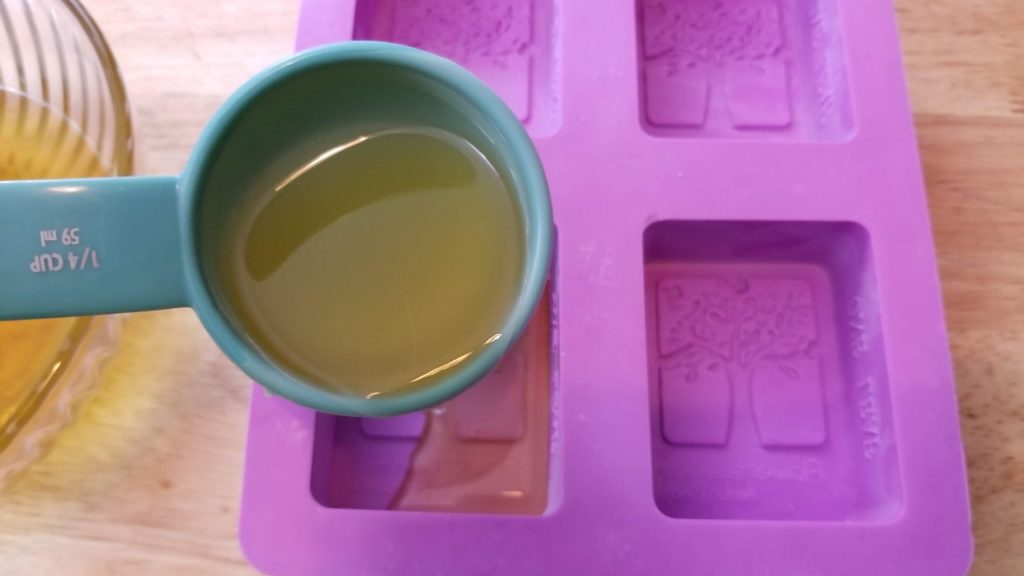
Step 12: Next, take and pour the mixture into the mold. Allow to set up and dry for 24 hours. Gently pop lotion bars from mold. When not using, store in an airtight container.
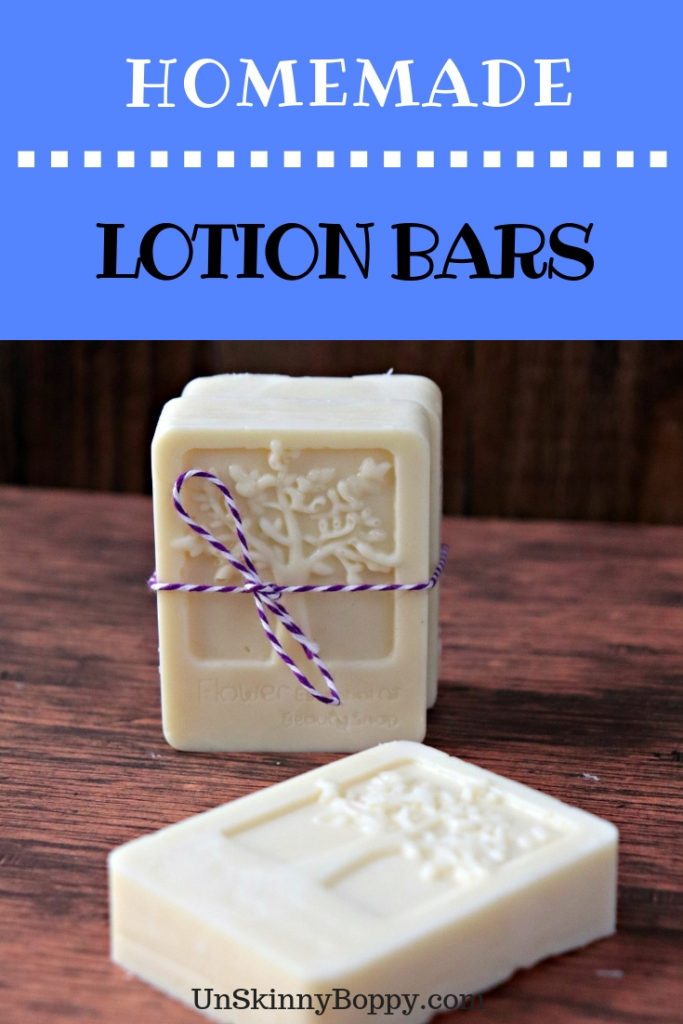
Enjoy! Aren’t they beautiful?



Leave a Reply