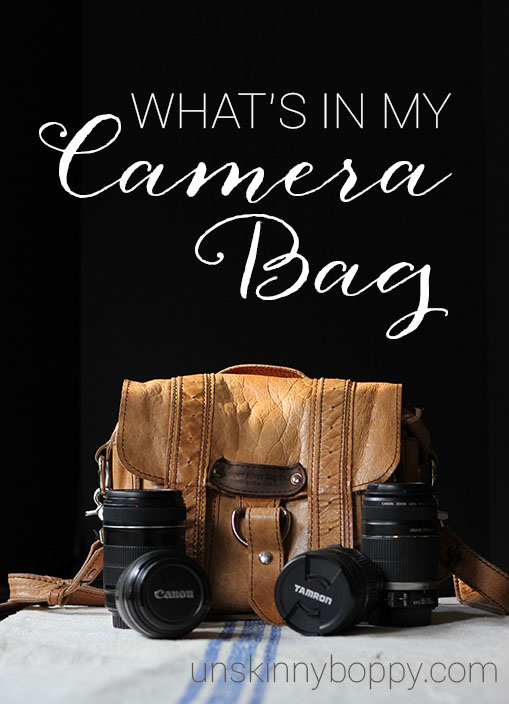
If you’re wondering how I capture the magic here on the old blog, this is my story. My photography has been evolving since 2008 since I bought my very first “big” Canon dSLR camera. I took several workshops to learn photography as well as editing with Photoshop and Lightroom.
Since that time, it’s been a neverending learning process to figure out the best lighting and backdrops for my blog photos. I typically shoot in manual mode with natural light only, which means I turn off every overhead light or lamp inside my house when shooting my blog photos. After a few years of heavily practicing with my camera, I am finally able to quickly figure out what settings I need an almost any light. If you are just starting your photography journey, I recommend practice, practice, practice!
Now. If you’re wondering what equipment I use, here ya go!
MY CAMERA:
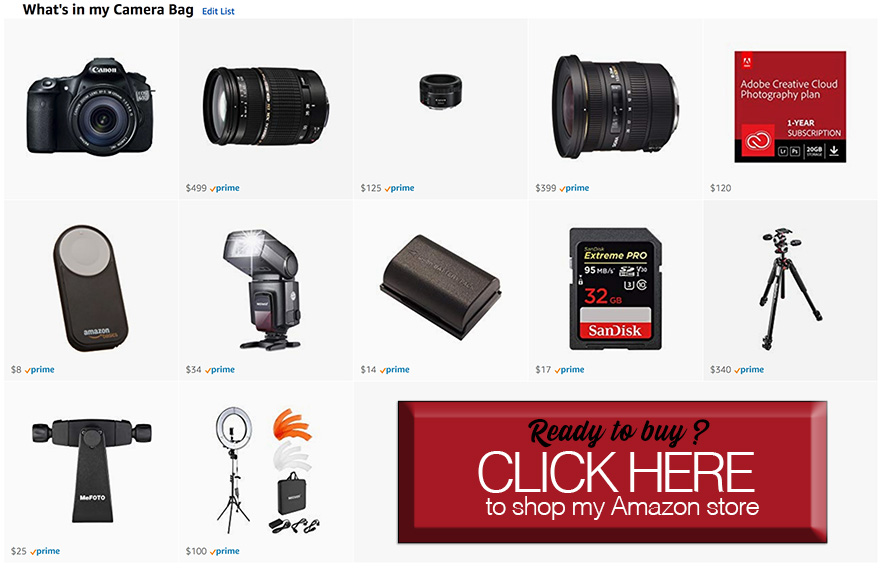
CANON 60D
This camera is considered an older model these days. There are newer ones that cost a LOT more, but the 60D (and newer 70D) are still excellent dSLRs. One day I might upgrade to a full-frame Mark 5D, but for now, this one still gets the job done for me.
MY LENSES:
Canon 18-135 mm This is the stock lens that came on my camera, but I really like it for the extra wide zoom capabilities, both in and out. I use it a lot for wide angle room shots. Great for high ceilings or foyers.
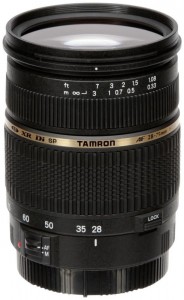
Tamron 28-75 mm 2.8 lens This lens stays on my camera 90% of the time. It produces tack-sharp images and that low f-stop (2.8!) is awesome for low light situations. The zoom capability is not as good as the stock lens but the trade off is worth it for the image quality it produces.
Canon 85 mm 1.8 lens This is an amazing lens for family portraits or close-up vignettes but it has an extremely limited shooting range being an 85 mm fixed lens. You basically need to stand all the way across the house to get things in the frame. Produces gorgeous close-ups though.
Canon 50 mm 1.8 lens The fantastic plastic. This is a cheap lens that gives me great close-up vignettes with tons of bokeh but limited shooting range. This should be the first extra lens in any blogger’s camera bag.
Sigma 10-22 mm f/3.5 Super Wide Angle lens Let’s just say that with this lens on my camera I have nowhere to hide all of my crap that usually gets shoved out of the way because it shows my ENTIRE house in one shot. I have 20′ high vaulted ceilings with a balcony in our living room, and it was able to get the entire room, floor to ceiling, inside the shot, even when shooting horizontally! So if it can do that horizontally then shooting vertically is definitely going to get those high ceiling shots! I am still figuring out the best way to use this lens so it doesn’t look like such a “real estate” photo of my interiors, but it is excellent for getting wide angles in tight spots. Make sure to keep your photos level or your walls will get a little wonky with this lens.
Canon 55-250 telephoto zoom lens I have never used this lens. Oh wait… once I took a pic of a red-tailed hawk in the top of a tree in my yard with it just for fun. Otherwise, it’s never used, but it came with my camera so I have it.
MAKING VIDEOS:
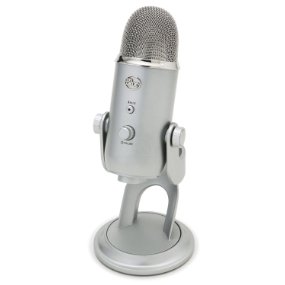
For recording videos of myself, I use my Canon 60d connected to a Blue Yeti microphone I found used on ebay for $70. The Yeti is what a lot of people use for podcasts because it has multi-directional recording settings (so two people can sit across from it and sound the same).
THE EXTRAS:
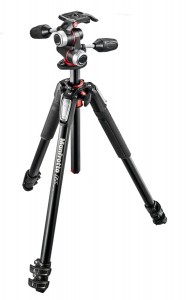
Manfrotto Professional Tripod: This tripod is a BEAST, and it’s so tall when it’s full erect that I cannot even see the top of my camera. It is extremely heavy duty, so no worries about my heavy dSLR + heavy lens breaking anything. although a sandbag is required to hold it steady when the center column is at 90 degrees.
What’s that? YES. With the touch of a button the center column comes up and bends over at a 90 degree angle so shooting straight down tabletop photos is a breeze. This is a MUST with food, craft and product photography these days. You know those “hands-only” recipe demos? This is the best tripod for those and flat-lay photography that I’ve found. Love it.
With my other tripod (listed next) one of the legs would inevitably get in the shots when I tried to take a photo straight down, but that extendable arm eliminates that issue completely. This is a very heavy tripod so I wouldn’t take it out on trips but for shooting around my house and product photography (which I do 99% of the time) it is AMAZING.
FYI: You might need a sandbag or a weight to weigh down the leg opposite your camera so it doesn’t fall over during filming.
16 ft. Tether Cable This allows me to plug my camera into my laptop or PC via a USB cable and see exactly how my photos will look on a big screen before I take the shot. I love being able to move things around in the scene in real-time instead of guessing at it and taking a bajillion photos in the hopes of getting a good one. Fewer shots taken= more storage on my camera cards and external hard drive.
32 gig SD Card Speaking of storage, not all SD cards are created equal. If you are a heavy duty photo taker, you need a BIG storage card. This one is powerful enough to shoot video and RAW files and holds a LOT of pictures. I have several that I rotate through at any given time.
2 terabyte External Hard Drive I take a LOT of photos, so instead of eating up all my storage space on my computer I use an external hard drive for my storage. I actually use two– one is a backup that stays inside my fireproof safe and the other stays plugged into my computer. I have the last ten years of my life stored on a 1 terabyte external hard drive in my safe, so hopefully this new 2 terabyte hard drive might get me through a few more decades.
Extra backup batteries You never know when your battery power will run out. This keeps me from having to wait on it to charge back up. I keep one on my charger at all times. Not all Canon dSLR batteries fit all cameras so make sure you buy the batteries your camera needs.
Canon Speedlite External Flash I try to shoot with no flash but sometimes you gotta do what you gotta do. This is much better than a hard flash because the light can be bounced off the ceiling.
Shutter Release Remote Control I rarely use this, so I got the cheapest one available. It works fine for times when I need to stand across the room from my camera and snap the photo.
Elmers Trifold Foam Display boards (black and white) These are not IN my camera bag, obvi, but I use them all the time for backdrops and to bounce light. That picture up above? My black display board is the background.
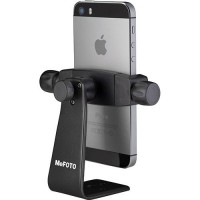
iPhone holder for Tripod When you just need to make a quick video- this little smartphone holder attaches to my tripod and takes either landscape or vertical pics! Now that I have an iPhone X I find myself using my phone more and more and this little contraption is great for holding it steady.
CAMERA BAG:
To read more about my Copper River camera bag that I love with all my heart, click here.
EDITING SOFTWARE:
I happily pay for the Adobe Creative Cloud monthly plan for photographers so I have access to Lightroom and Photoshop for editing my pics. I love Lightroom the most, but sometimes PS is essential.
I use Adobe Lightroom for the bulk of my blog editing and Photoshop to add text or create collages. It costs $9.99 a month as part of the Adobe Creative Cloud Photography Plan. I HIGHLY recommend you pay for this service as a blogger!
ONLINE CLASSES:
The Lazy Girl’s Guide to Lightroom is my first digital e-course that I’ve created to teach you how to edit your photos faster. If you are a blogger or just a regular ol’ person who wants to learn how to use Lightroom to save time by batch editing your pictures, my class is taught in “normal person” language.
Here are a few of the things you’ll learn in my Master Class:

