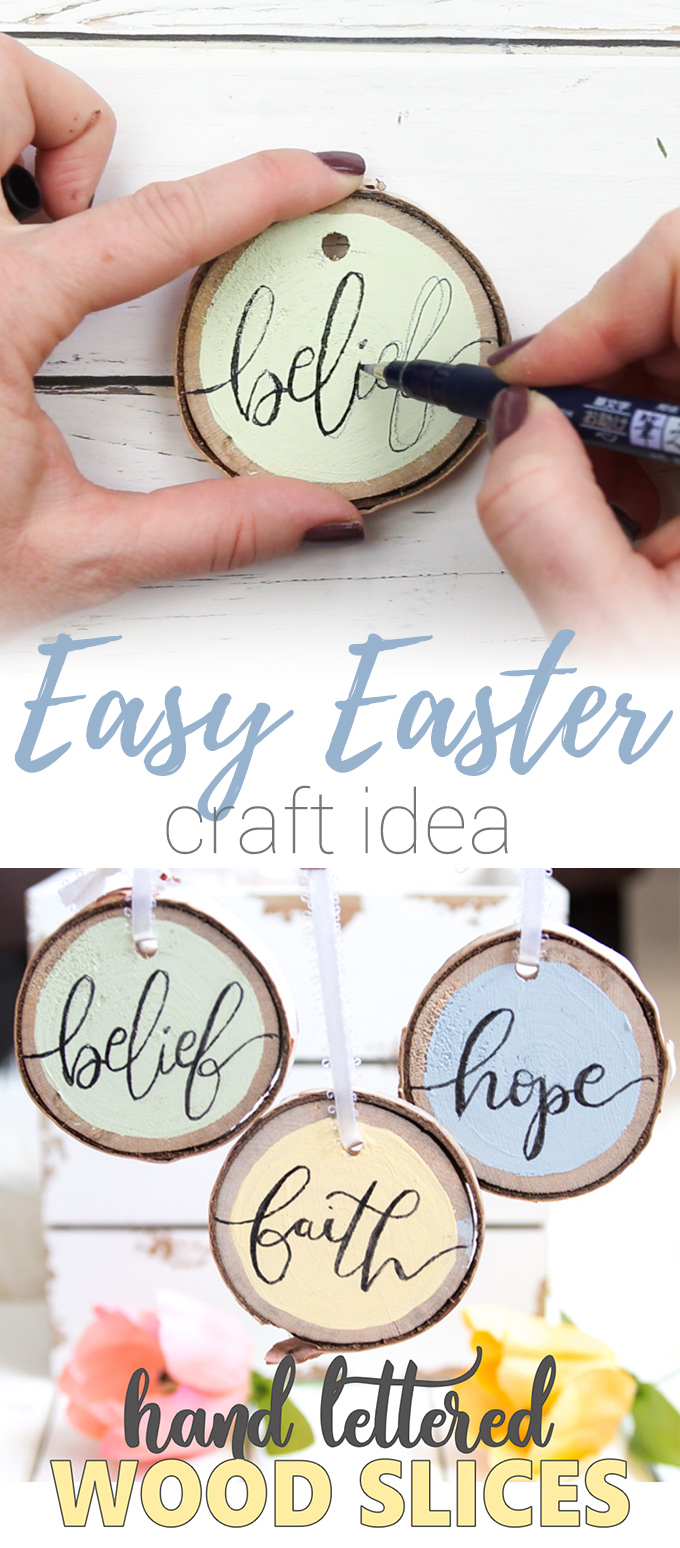
These beautiful hand-lettered Easter wood slice ornaments are so simple to make! All you need are a few ingredients and you’ll be creating with ease!
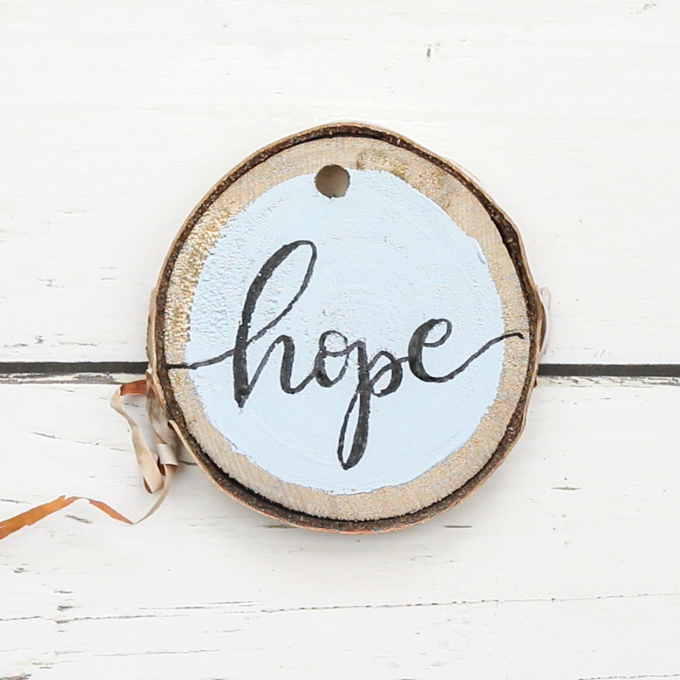
How to make Hand-Lettered Easter Wood Slice Ornaments
If you’re looking for a fun craft that the entire family can enjoy, this is the one for you.
Not only are they super creative, but they’re great to make and display proudly as well. With Easter right around the corner, the time is now to get your craft on!
And the great part about these? Everyone can make their own and decorate them how they want! There’s truly no right or wrong way to make these wood ornaments, but just in case you need a little guidance I’ll be happy to show you how I made mine!
Here is a fun video to show you the step-by-step to make these for your Easter decor this year!
Supplies needed for wood slice ornaments:
(The supplies listed below will make three (3) ornaments)
- 3 round wood slices such as birch, about 3” across, ⅜’ thick drilled with hole
- Pencil
- DecoArt Americana Chalky Finish paint in Serene, New Life, Rejuvenate
- Flat paint brush
- Fine tip black permanent marker or brush pen (such as the Tombow Fudenosuke Brush Pen)
- Decorative ribbon of your choice, ⅛” wide
How to make Easter ornaments:
- Plan out the positioning of your lettering by tracing the outline of the wood slices onto a piece of paper.
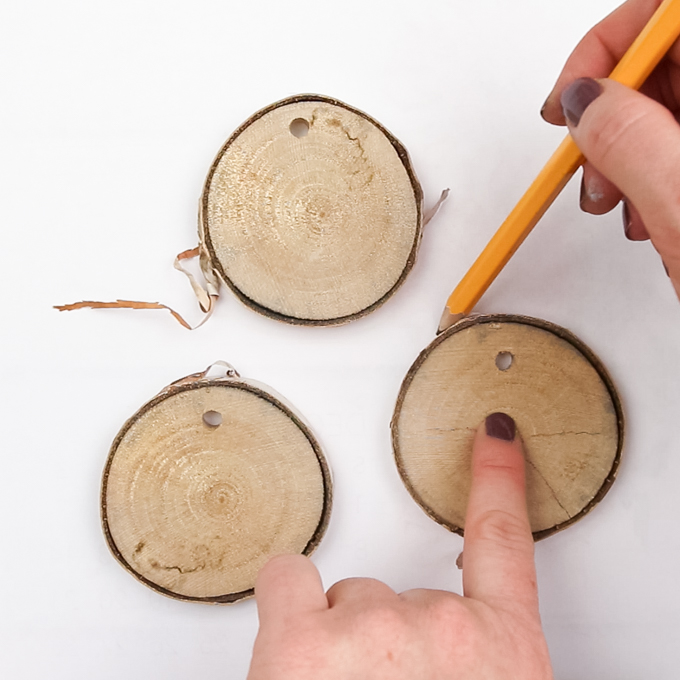
- Draw in the inner border of where the paint will end.
- Using the template as a guide, or lettering style of your choice, practice writing the phrases (such as “faith”, “hope” and “belief”) onto the paper. Make any corrections until you are happy with the design. Set aside.
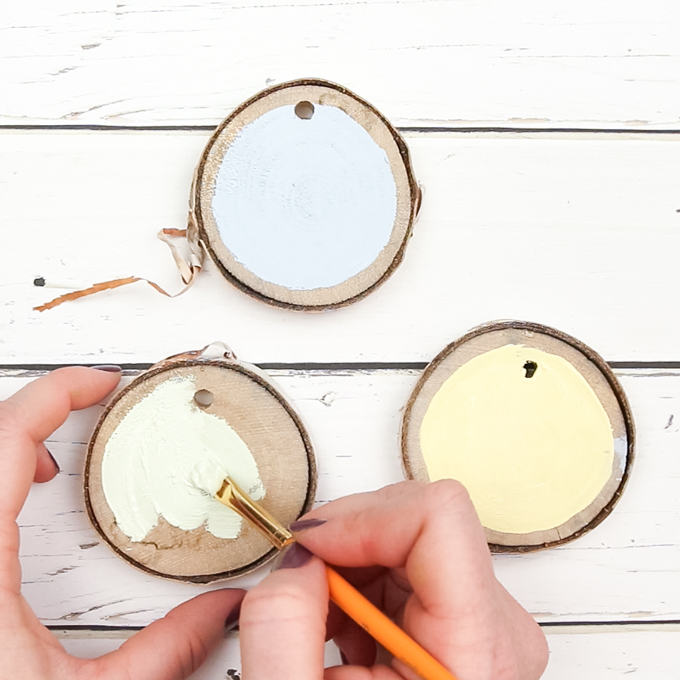
- Paint the surface of each wood slice with different colored paint, leaving a small border of unpainted wood on the outer edge. Let dry and then repeat on the other side if desired.
- With a pencil, copy the phrase from the practice sheet onto each wood slice. Make any corrections as needed until you are happy with the designs.
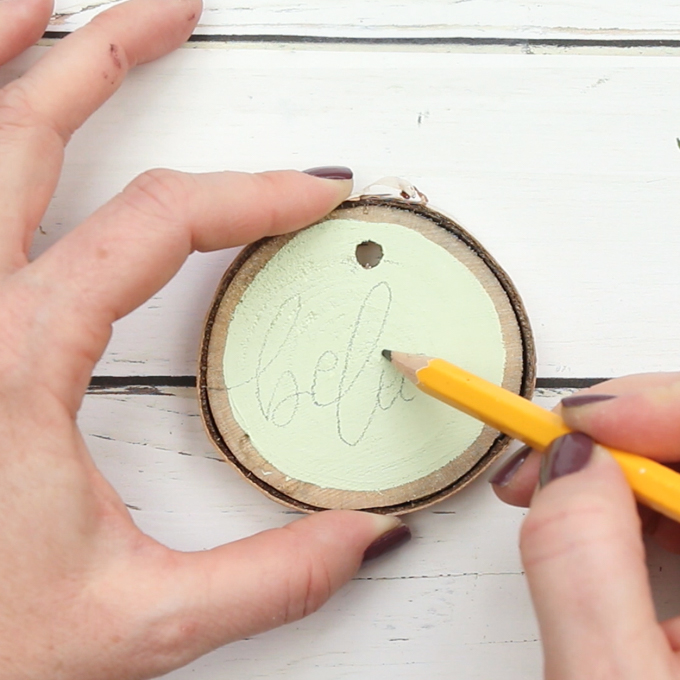
- Carefully, trace over the pencil marks with the fine tip black marker/ brush pen.
- Go back and thicken all the “down strokes” on the letters, leaving the “upstrokes” thinner.
- Let dry at least overnight before carefully erasing any pencil marks (don’t proceed if the marker smudges at all).
- Add ribbon for hanging.
And there you have it! The perfect Easter craft and decoration that’s just waiting for you to create it!
Want to learn modern calligraphy?
If you’re looking for an amazing hand-lettering course where you can learn how to write with that modern calligraphy style, be sure to check out my friend Jocie’s e-course! She is the greatest teacher with the most perfect handwriting.
Click here to check out The Busy Girl’s Guide to Hand Lettering e-course.



Leave a Reply