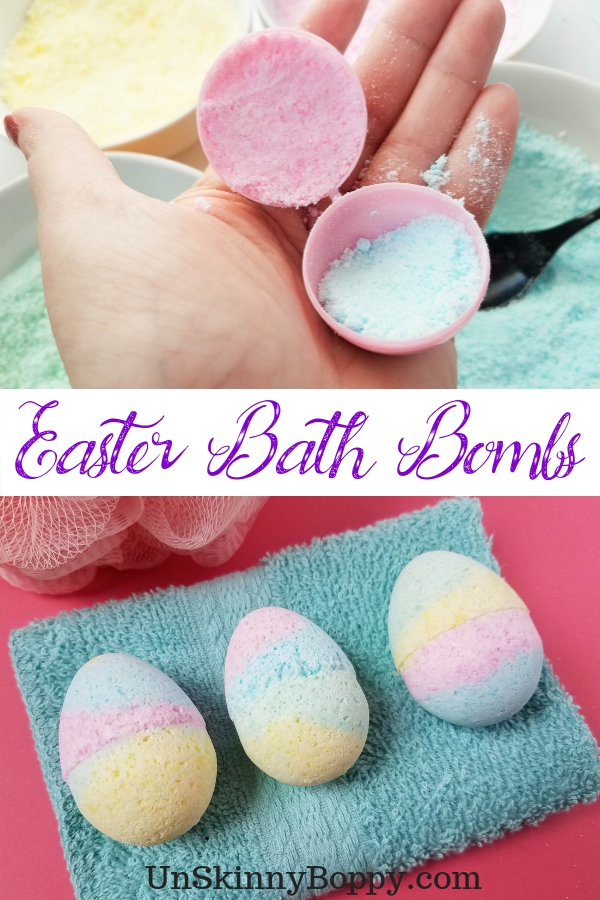
The perfect Easter Basket gift idea, these DIY Easter Egg bath bombs are super simple and super cute! You’ll be relaxing in no time at all!
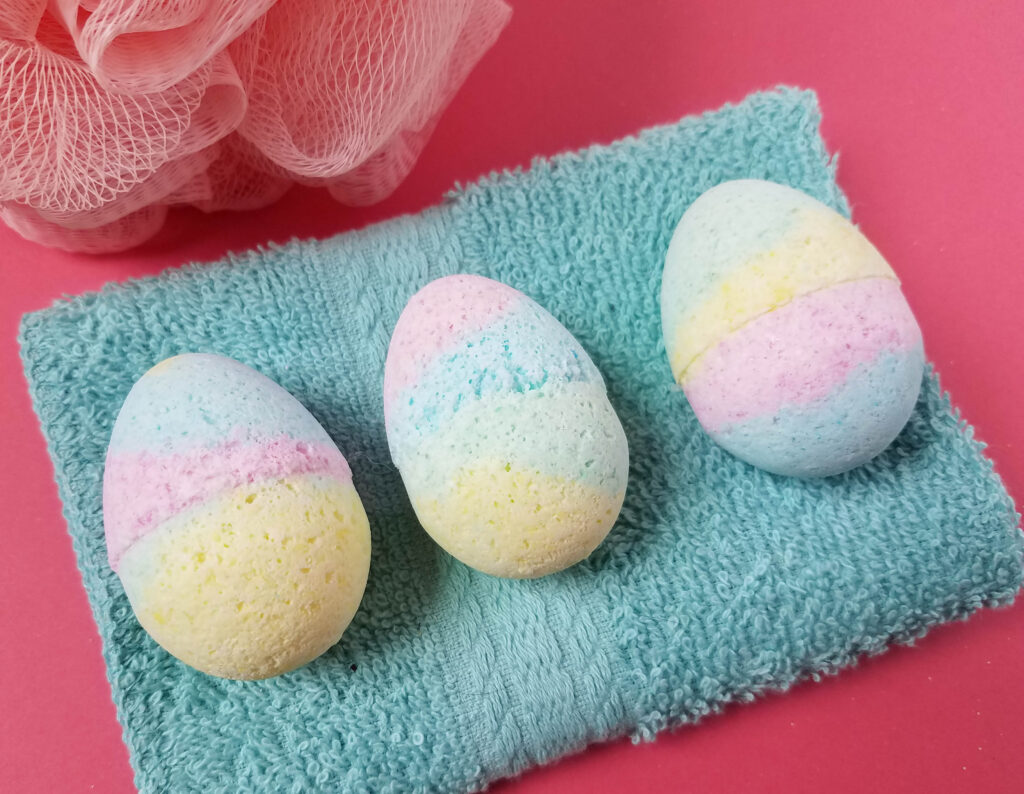
Colorful Easter Egg Bath Bombs
I love a good bath bomb. There’s nothing like being able to make your own beauty products at home to then be able to relax in and soak. And with Easter literally right around the corner, I thought that these Easter Egg Bath Bombs were just too good to pass up.
The good news? They’re simple to make and will provide you will a lot of relaxation time in the tub. And if you have a kid (or adult) who LOVES bath bombs, these make an excellent Easter basket gift idea.
How to make DIY Easter Egg Bath Bombs
Ingredients:
- 4 oz Epsom salt
- 8 oz baking soda
- 4 oz corn starch
- 4 oz citric acid
- 2 tbsp coconut oil (liquified)
- 1 tbsp water
- Set of Skin-Safe Soap Colorant (You’ll need 2 drops Kiwi Green, 2 drops Forget Me Not Blue, 2 drops Lemon Yellow, 2 drops Peach Pink)
- 20 drop of your favorite essential oil scent (citrus or florals are nice for these!)
Supplies:
- Large bowl
- 4 small bowls
- Whisk
- 12-16 small plastic Easter eggs
- Small jar with lid (or 4 so you don’t have to keep washing it between colors)
- Measuring cups
- Measuring spoons
Directions to make your own DIY bath bombs:
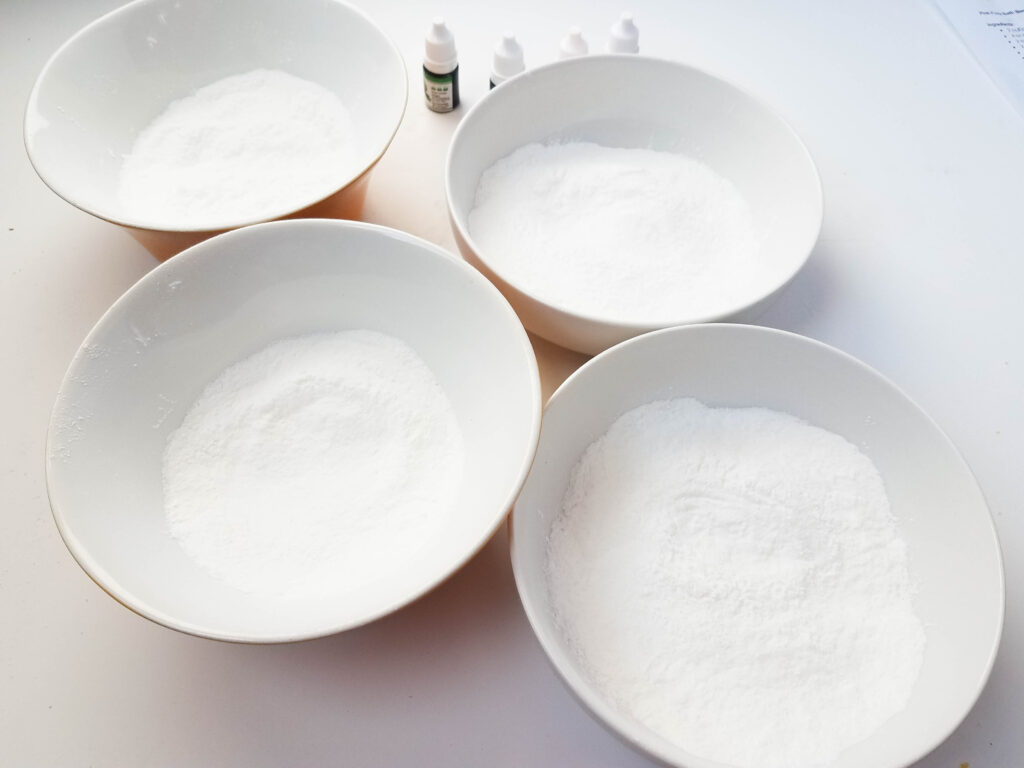
- Mix the dry ingredients first (Epsom salt, baking soda, cornstarch and citric acid), using the whisk. Mix well to ensure there are no clumps.
- Distribute evenly into 4 small bowls
- If your coconut oil is not in liquid form, melt in microwave for about 30 seconds.
- Mix the wet ingredients in a jar, one color at a time. The measurements would be 1 ½ teaspoons coconut oil and ¾ teaspoon water, plus 2 drops of soap colorant. Secure with lid, hake well.
- Very slowly add each color of liquid mixture to each bowl of dry mixture, about a few drops at time, while whisking the entire time. If you’re not pouring slowly enough, the mixture will start to fizz and you don’t want that to happen, because then you will need to start over again with all new ingredients.
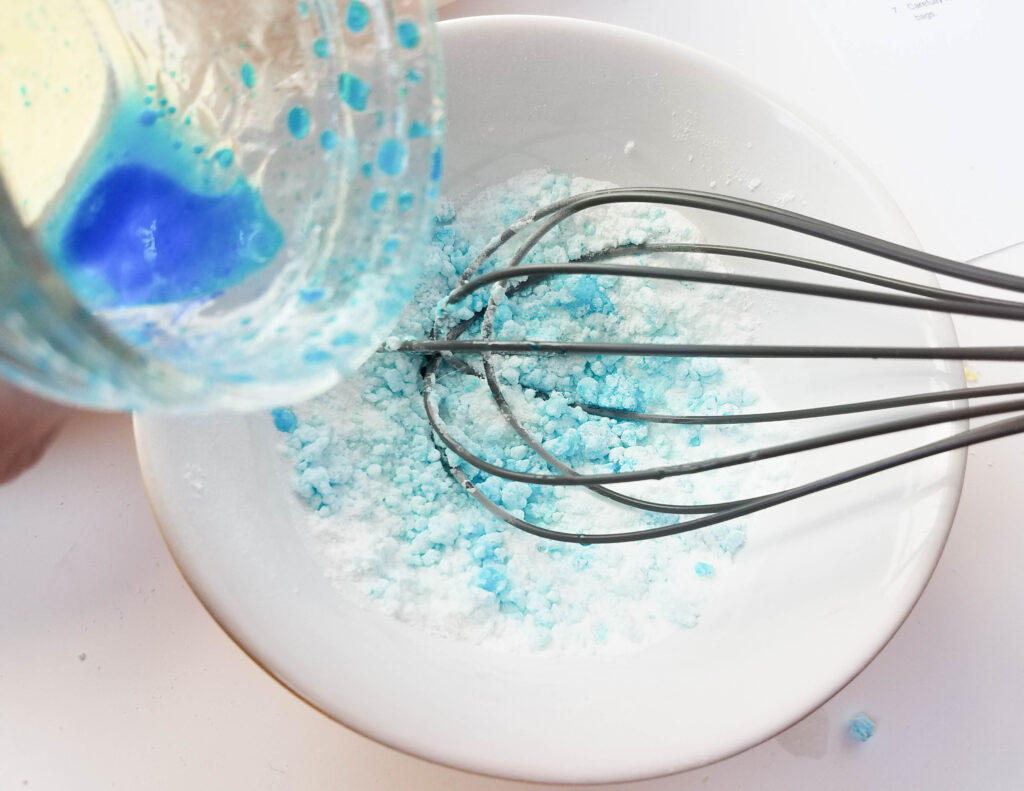
- Once all of the liquid has been poured into the dry mixture, mix very well until the color is consistent.
- Fill the molds with the mixture (see process photos for examples). In one half of the egg, use one color to fill halfway, then add another color, stuffing it firmly to fill that half of egg. Repeat this process with the other two colors, filling the other half of the egg.
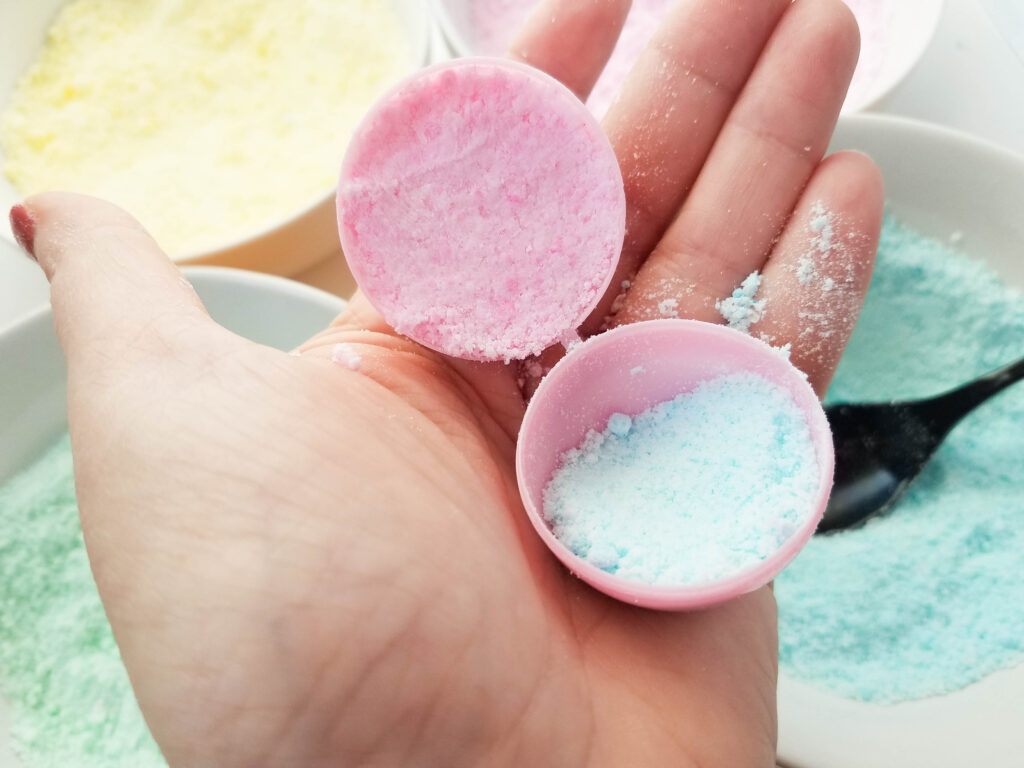
- Secure both parts of the plastic egg together and let set. I always give it about a day, just to be on the safe side.
- Carefully release bath bombs from eggs and put into an airtight container, or individual cello bags. The eggs can be tricky to open, so you can carefully and slowly use a butter knife to help open the gap between the two halves of the egg.





Leave a Reply