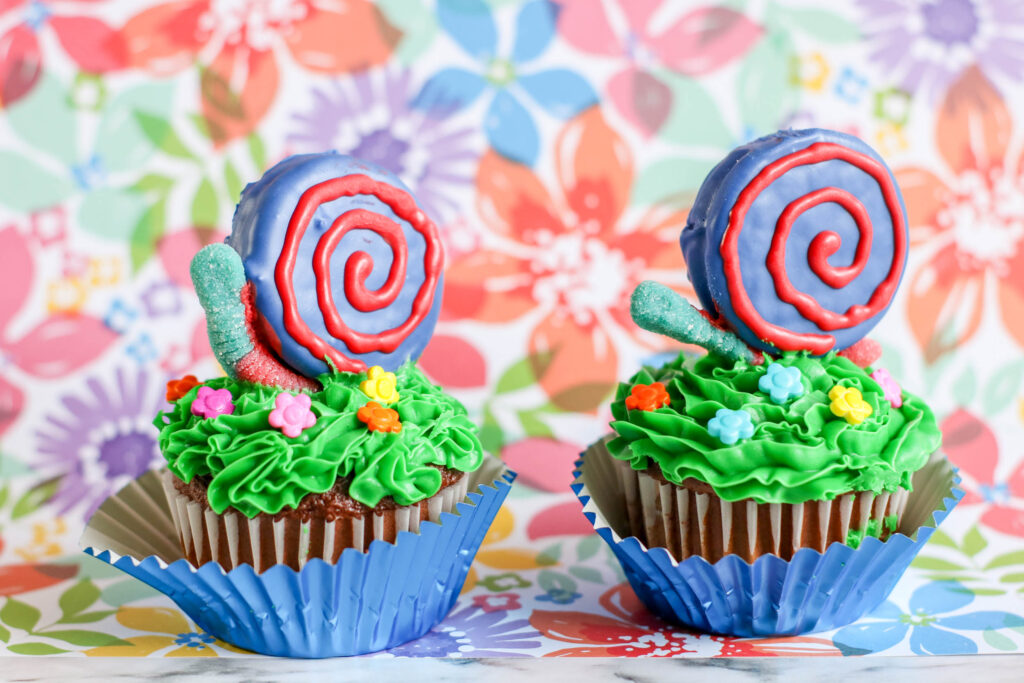
There’s nothing cuter than these snail cupcakes! One look and you’ll be hooked and wanting more…and just wait until you taste them!
The Snail Story
In an effort to ward off summer boredom blues, I enrolled my son Garrett in an iKids Science Camp this week. On the first day of camp, he came out to the car with a GIANT ecosystem made from three 2-liter Mountain Dew bottles.
A purple flower bloomed in the top half with soil in a coffee filter in the middle. The bottom half was filled with water and much to my surprise, a live fish was swimming around inside! I was never expecting him to come home with a pet from the first day of science camp, but here I was, sitting in the school parking lot, getting introduced to “Dewey” (because Mtn. Dew, duh), the newest goldfishiest member of our family.
“My teacher says we should buy a freshwater snail to help keep the water clean. Can we go by the pet store on the way home and get one? She said they only cost like five cents.” He chattered away excitedly after the introductions were made.
“Um. Sure.” I said reluctantly, knowing any trip to the pet store was gonna cost me WAY more than five cents.
But it’s summertime and I’m feeling fine, so I agreed to get him a little snail friend to be Dewey’s new maid and algae-eating housekeeper.
One freshwater snail, a bottle of water conditioner, a jar of goldfish flakes and seven hundred and forty-leven dollars later, we walked out of the pet store with everything we needed to keep this ecosystem chugging along for years to come.
For the long commute home, G tucked Dewey and his giant green bottle safely between his legs and his new snail buddy sloshed in an air-tight plastic bag in the cupholder between us.
He took my phone and Googled the life expectancy of goldfish and found out that the oldest goldfish on record lived 43 years! Garrett smiled expectantly at Dewey, picturing them growing to a ripe old age together and maybe even serving as the best man in his wedding. After making a quick stop at my inlaws house to pick up Caroline and show off his project, we were finally making the last few turns into our subdivision when tragedy struck.
Dewey was floating upside down, looking a little green around the gills and it was definitely NOT from the glow of the Mountain Dew bottle.
Dewey was a goner.
Dewey was gonna be a lifelong pal, but instead, he died right there in the bottom of a Mountain Dew bottle before we could even get him home.
So, when we arrived at our house, we solemnly gave him a flush down the toilet, and then introduced our snail friend to the green-tinted walls of his new home. We are too scared to Google the life expectancy of freshwater snails, but so far, so good.
To celebrate the survival of the snail and as a kickoff to summertime for most of us, today I’m sharing this long-winded snail story and these CUTE snail-themed cupcakes with you!

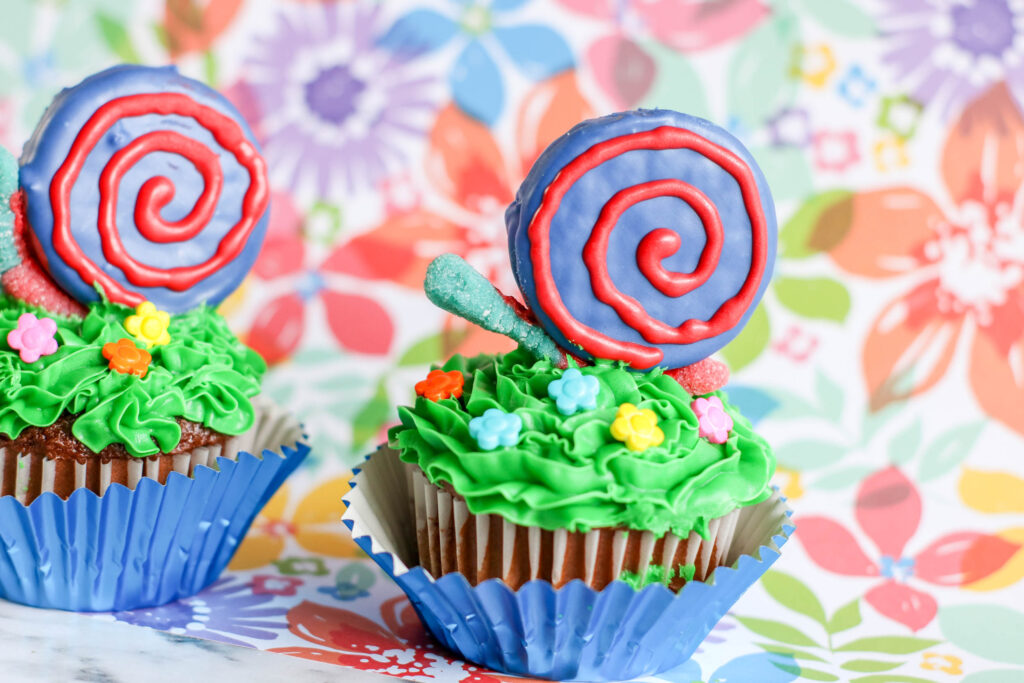
Just look at these cupcakes with an adorable snail sitting right on top. I mean, C’mon. This is sugar overload and perfection all in one!
Perfect for outdoor picnics, garden-themed parties or a fun summertime treat, you’ll love creating and making these fun snail cupcakes with the kids!
Ingredients for Snail Cupcakes
12 Oreo Chocolate Sandwich Cookies
1 (12 ounce) packages Royal blue candy melts wafers
1 (12 ounce) package red candy melts wafers
12 gummy worms
12 cupcakes (from your favorite recipe or boxed mix)
1 to 2 cups green frosting (from your favorite recipe or canned frosting)
Flower sprinkles
How to make these delicious snail cupcakes
1. Line a baking sheet with waxed paper.
2. Melt blue candy coating according to package directions. If the candy is too thick to pour, add 1 teaspoon coconut oil or vegetable shortening. Stir well. Do not add water. You can add up to 1 tablespoon of coconut oil per bag of candy wafers.
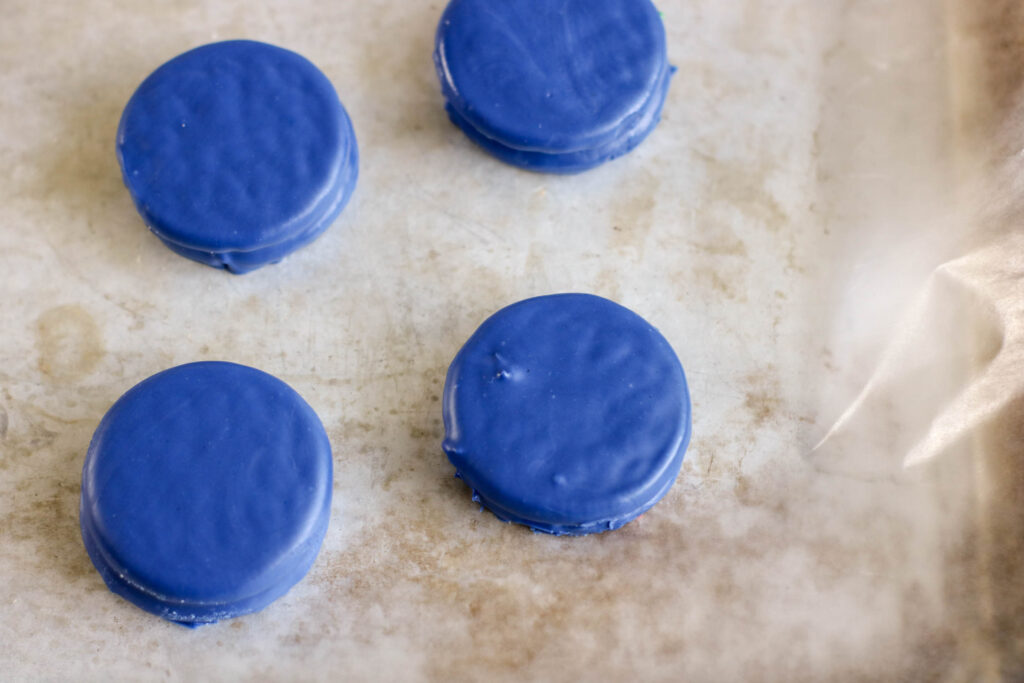
3. Dip each cookie into melted candy. Remove cookie, tapping gently against the side of the bowl, allowing excess candy to return to the bowl. If air bubbles form, pop them with a toothpick. Place the cookie onto the waxed paper. Allow to set completely before proceeding to the next step. To speed the process, cookies can be refrigerated or placed in the freezer in a single layer.
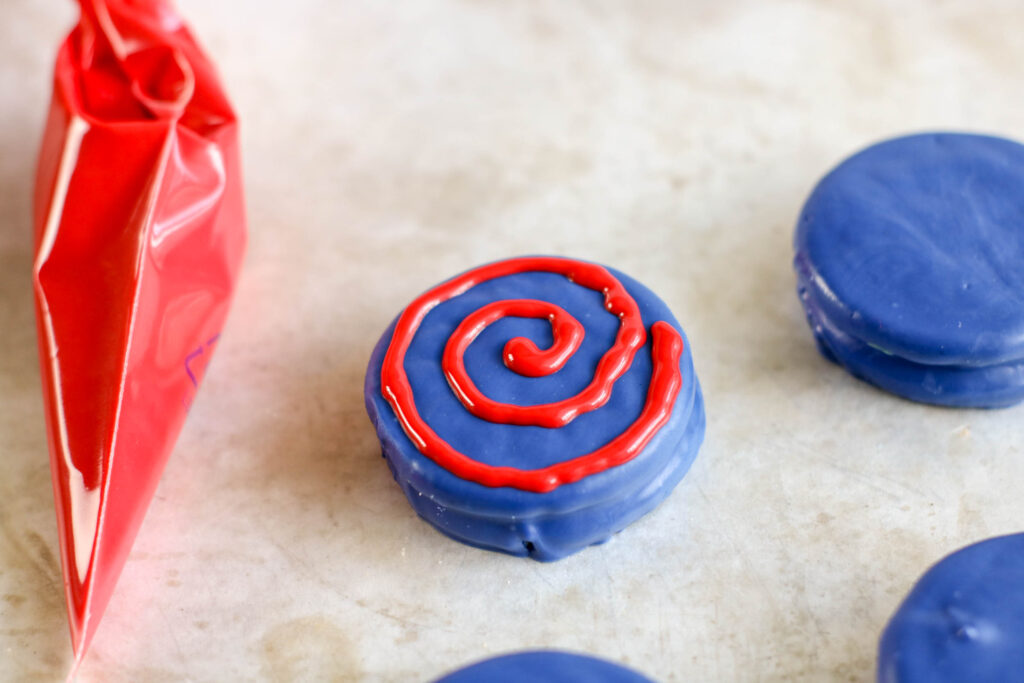
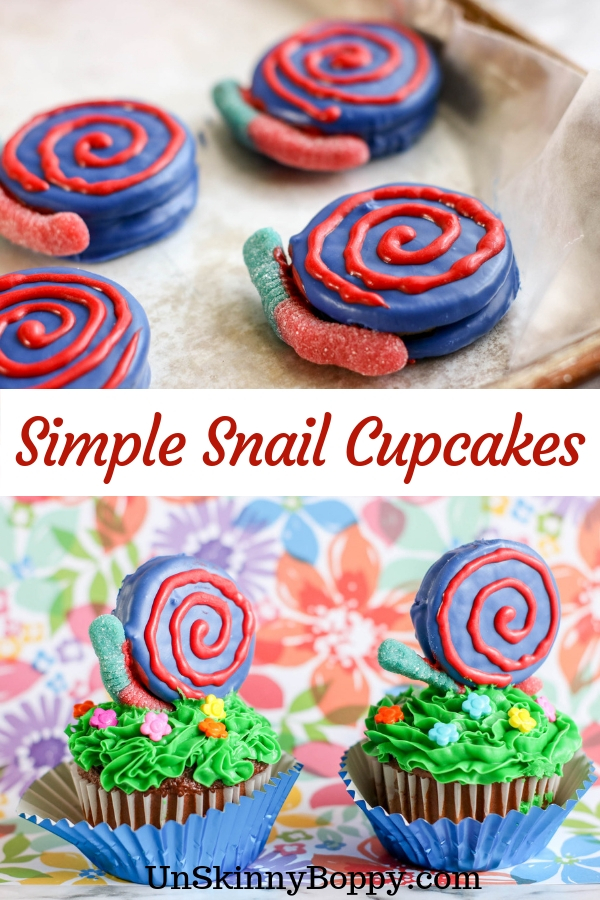
4. Melt red candy coating according to package directions. Transfer melted candy to a piping bag or zip top freezer bag with the corner snipped. Create a swirl on top of the cookies from the middle to the edge.
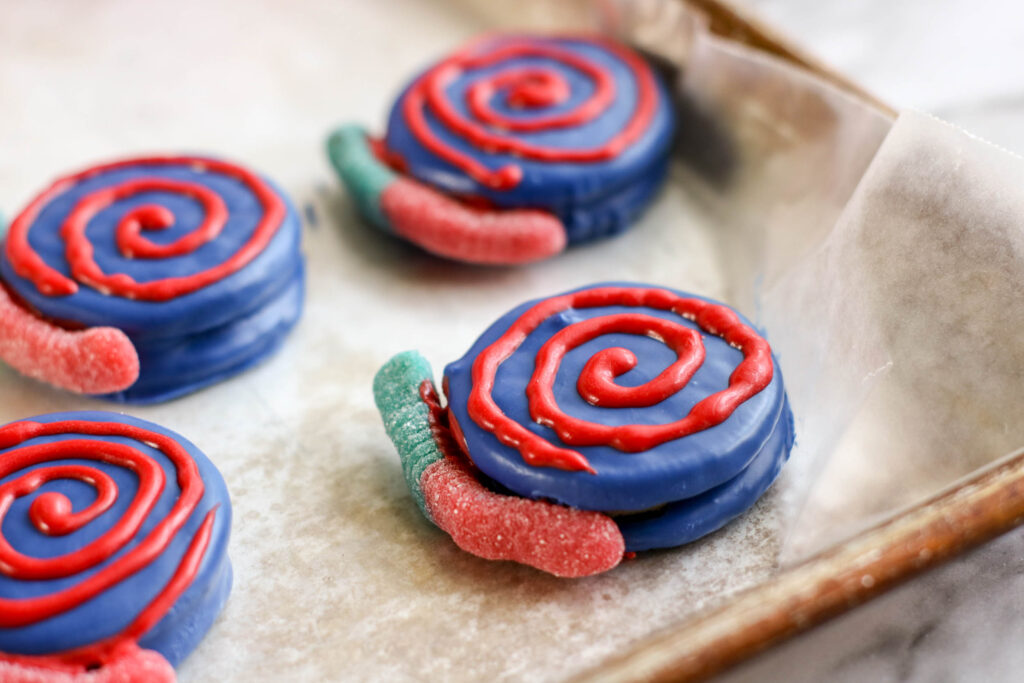
5. Run a thin line of melted candy against the edge of a gummy worm and press it against the cookie until it sets. To speed the setting, you can refrigerate the cookies prior to attaching the gummy worms. However, do not refrigerate the gummy worms as the candy will set too quickly to adhere to the cookie. Allow cookie to set completely at room temperature or refrigerate for faster results.
6. Pipe frosting over cupcake in a circular direction working from the outer edge of the cupcake towards the center.
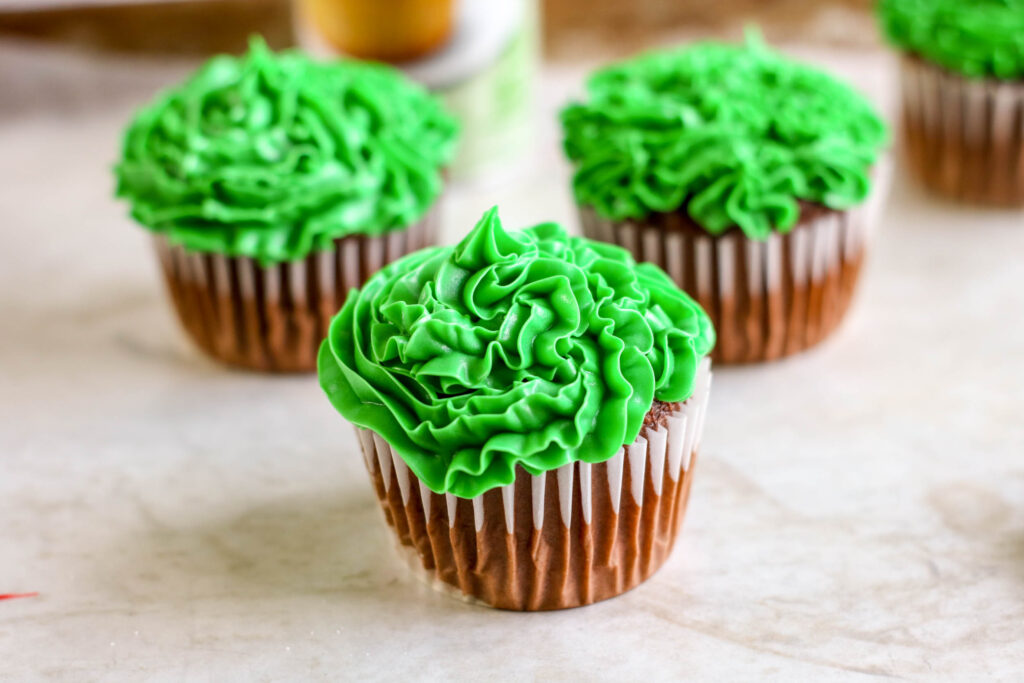
7. Place one cookie “snail” on top of each cupcake. If the icing is too thin to hold the snail, use a toothpick to secure the cookie. After you refrigerate the cupcakes and the frosting hardens, you can remove the toothpick.
8. Drop flower sprinkles over the icing.
9. For best results, refrigerate the cupcakes until ready to serve. Have fun and happy Summer!



Leave a Reply