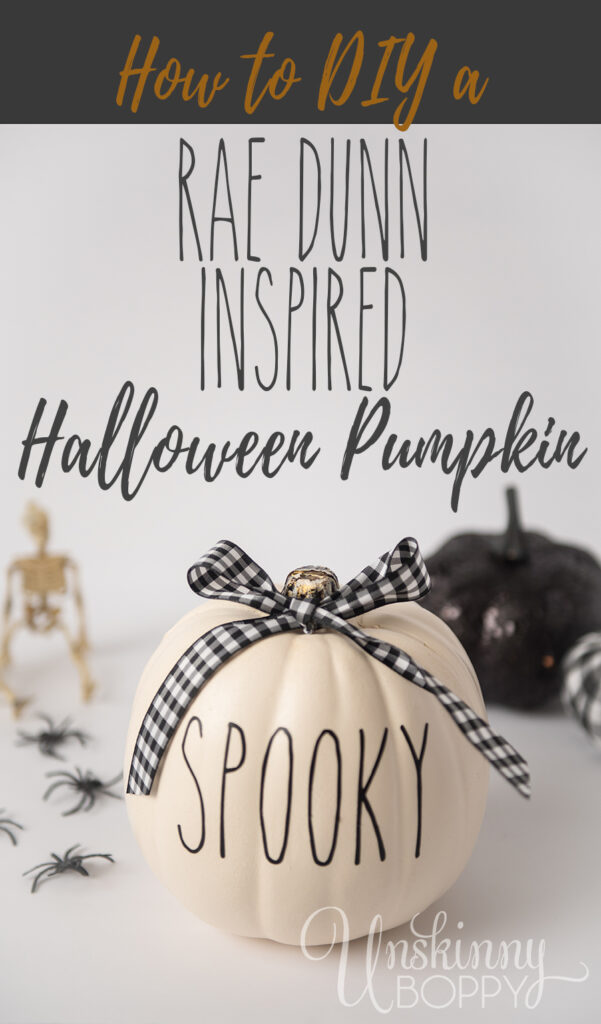
Hey Rae Dunn lovers, this one’s for you! If you’re looking for cute fall decorations, don’t miss out on this Rae Dunn Inspired DIY Pumpkin Spice Faux Pumpkin. So much fun to create and unique as well!
It’s time to up your Fall decorating game with this simple DIY Rae Dunn Pumpkin!
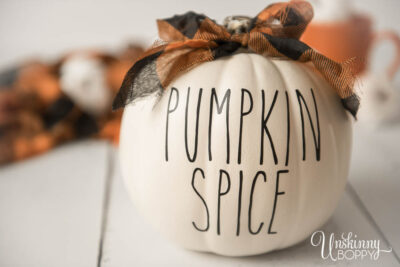
Rae Dunn Inspired DIY Pumpkin Spice Faux Pumpkin
What I love most about this little pumpkin is that it looks so adorable, and it’s really easy to make if you have a Cricut or Silhouette machine. With the words “pumpkin spice” written across it, you know that it’s going to be cute!
Here’s the nitty-gritty on how to make this adorable decoration. You’re going to love the outcome! All you need are a few supplies to get started:
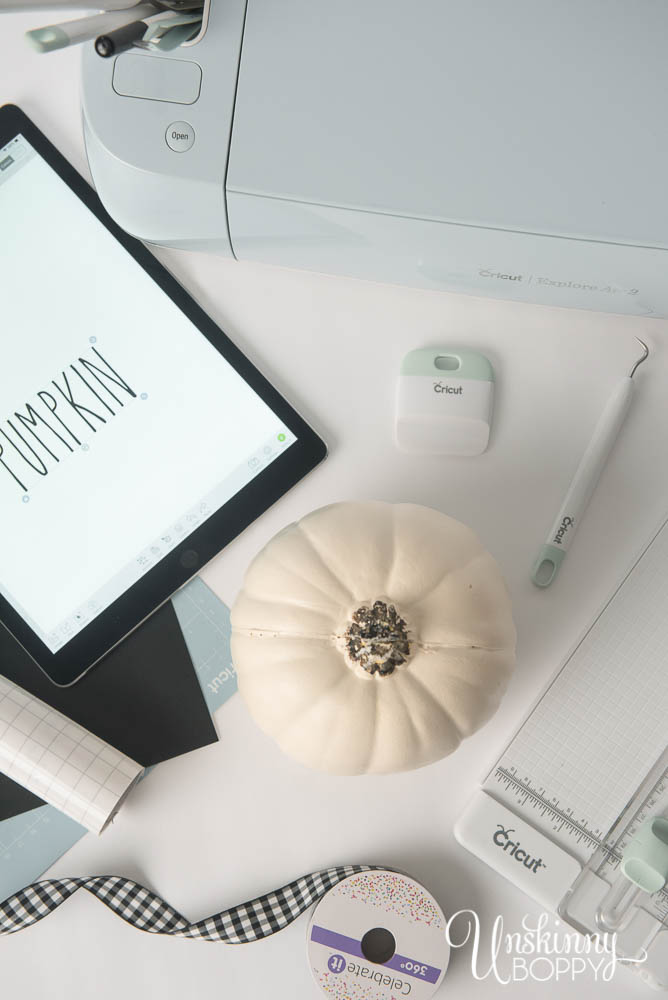
Supplies needed for this Rae Dunn Inspired DIY Pumpkin Spice Faux Pumpkin
- 6.5″ cream colored faux pumpkin (plastic or resin will work)
- Cricut machine (or Silhouette)
- Blue light grip mat
- Matte black permanent vinyl and Transfer Tape
- Weeding Tool and Scraper Tool (a credit card will work in a pinch)
- Scissors
- Fall Ribbon of your choice
- Hot glue gun
- iPad or computer with access to the Cricut or Silhouette design program
How to make this Rae Dunn Inspired DIY Pumpkin
Start by downloading and importing the font titled “the skinny”. You can find it here.
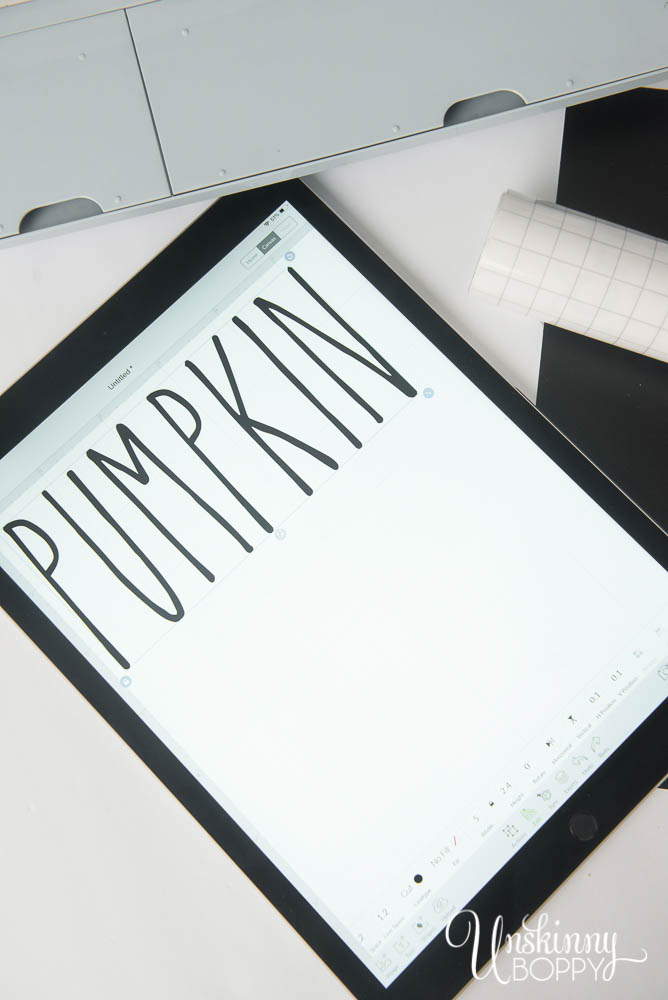
In the design program of your choice, type and measure your font accordingly. The dimensions will be about 4″ to 4.25″ wide to be able to cover the surface of the pumpkin. The height will vary but just be aware that it’s something to think about.
Using your Cricut cutting tool, cut the vinyl to fit your measurement. If you’re unsure of the exact size, cutting a bit more is always better as cutting smaller means you’re not going to have enough.
Align and press the vinyl onto the light blue grip mat and load it into your machine. Be careful doing this and make certain to adjust your material dial to the vinyl setting for cutting.
Cut the words.
Once it’s done cutting, you’re going to need to unload the mat and remove the vinyl. Use your weeding tool and begin to weed around the letters. Do this slowly so you don’t tear or nick any of them. Remove the vinyl, leaving only the letters on the paper backing.
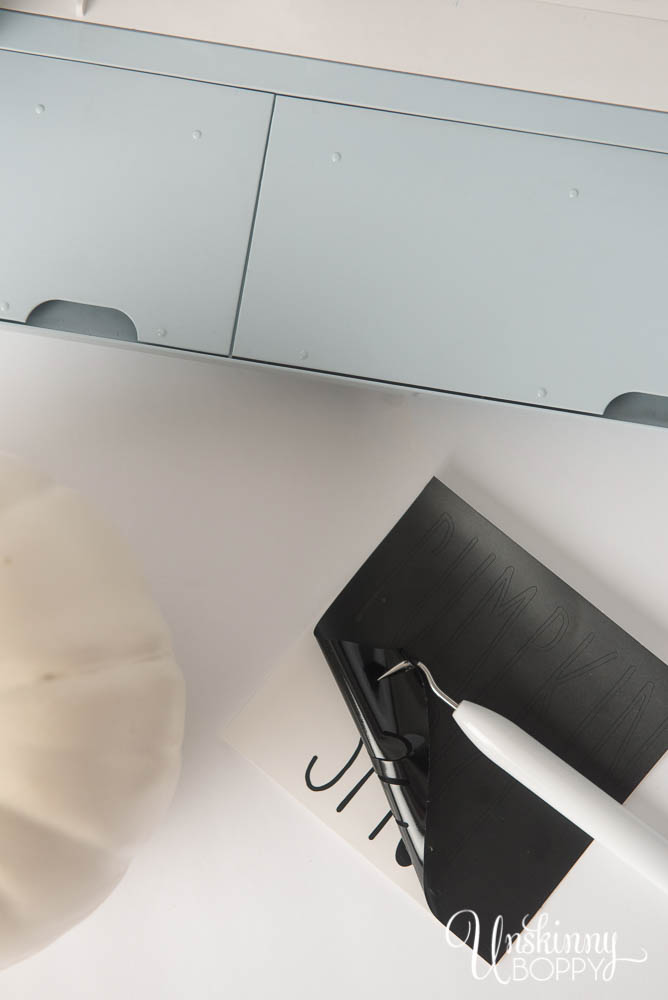
Measure your transfer paper (aka transfer tape) according to the size of your vinyl. Cut your transfer paper and very carefully apply it to the top of your vinyl sheet. Use the scraper tool to alleviate any air bubbles as those can cause them to have holes or tears later on down the road.
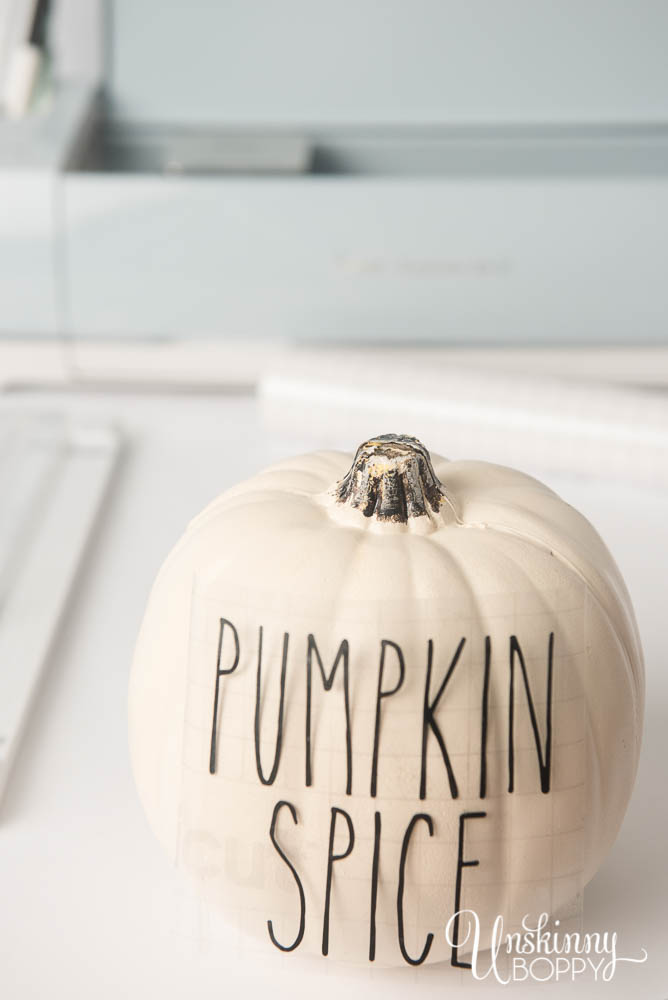
Next, line up the transfer tape+vinyl onto the pumpkin. You can then make any adjustments before applying pressure. Once you apply the pressure, it’s going to start to stick permanently so get it in the right spot before pressing down.
Once you like where you’ve placed it, apply pressure to make it stay in place. Keep in mind that when you’re doing this, starting in the middle and working out is the easiest way possible.
Don’t forget to use your scraper tool to smooth out any bumps or bubbles along the way. You’re going to want to apply pressure and roll very slowly and go letter by letter to remove the transfer tape.
After you’ve got all the letters on your pumpkin, smooth them and apply pressure once more.
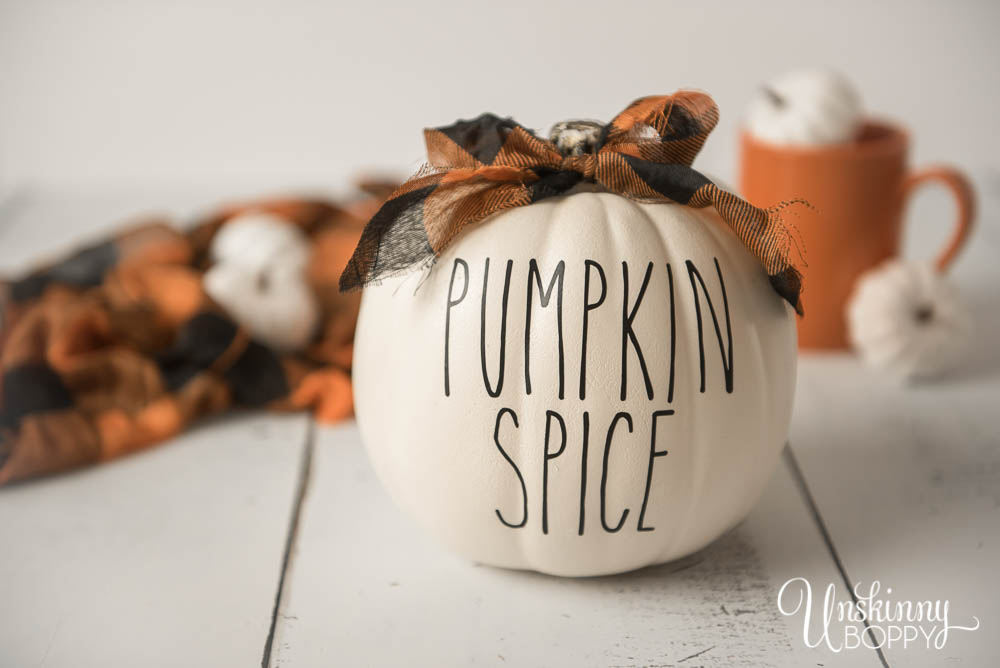
You can then cut your ribbon and glue to the top of the pumpkin.
If you liked this post, here’s another project you might like!


Leave a Reply