When we bought the cabinetry for the basement, we discovered a little bonus prize inside one of the base cabinets. There were stacks of wood samples painted and stained in a variety of colors in these sturdy organizer trays.
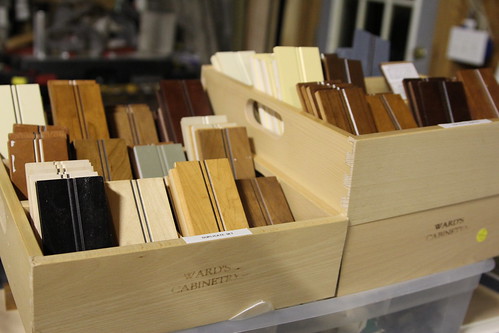
I called the cabinet shop and asked if they’d like for me to return them, and he said no. And I said “Score!” I knew immediately what I wanted to make from these pretty little wood chips.
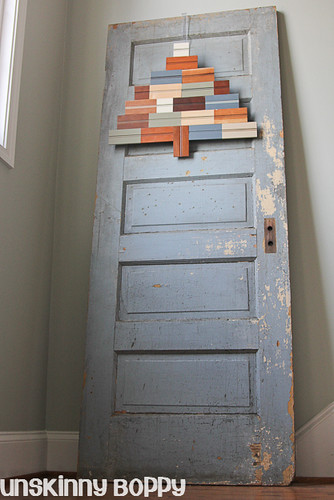
And here it is!

I’ve been eyeing similar salvaged lumber & beadboard Christmas trees for a long time now, but never purchased one before. I love the ones made from barn wood the best, but since I don’t have any old barns near me that are at my disposal, I made do with new stuff. It didn’t take long to make this guy at all, so I’m glad I waited.
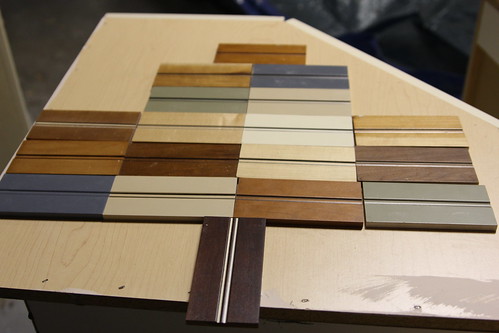
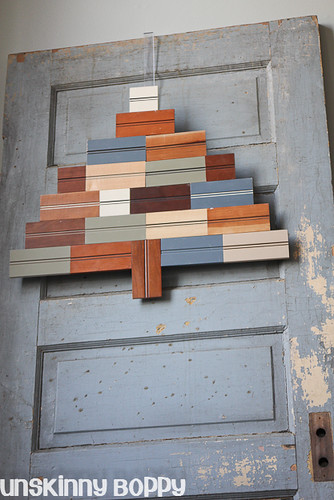
First I laid out the wood pieces in a semi-Christmas tree shape and played around with which wood stains and colors looked best in the tree. Then I realized that it would look a lot better if some of the pieces were cut in half to fill out the shape a little better. So my husband started sawing a few in half with his table saw.
Once I got a pattern that I liked, we flipped all the pieces over and glued them together with strips of old trim board that the previous owners generously left in our basement.
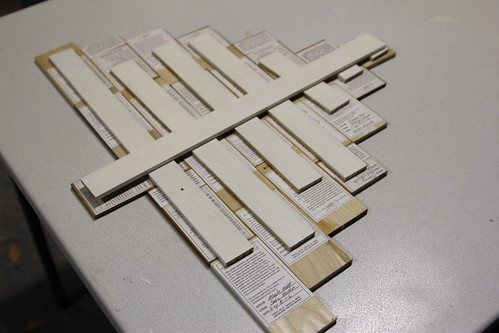
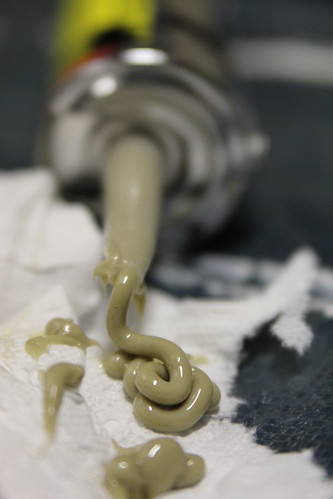
Each row got a backer strip, and then one big one running vertically glued them all together. We used construction adhesive from a caulk gun to seal the deal.

Then we just let it sit and dry for about 24 hours, and it was ready to hang. I simply wound a length of twine through the back loops a few times to make a hanger for it. Pretty simple. Then I hung it from a clear wreath hanger on the door to nowhere at the top of the steps.
I’m really happy with the way it turned out. I think I might experiment with sanding and distressing some of the wood samples and see what I can come up with next! I love it when a DIY project saves me money and still looks great.
Have you guys been crafty this Christmas?


I’m sharing this project at the following link parties:
Home Stories of A2Z Tips and Tutes
Centsational Girl Christmas Crafts
Tatertots and Jello Handmade Christmas Gifts
Pity Party 67 at Thirty Handmade Days

oh that’s AWESOME!! I just love finding hidden useful treasures! We scored a whole printers drawer chalked FULL of old metal letters and numbers in a house we bought a few years back in ND.
Oh man that is brilliant. I probably would have thrown them all out, but I love your little wooden crafty tree.
Lucky, lucky, lucky duck!!!! I love it when gifts come to those who know what to do with them:-)
Good LORD, I wish I were as creative as you are! What a great idea!
Wow! You are a Christmas crafting genius! So glad I found your project via Centsational Girl.
Please stop by for a visit to my blog. I am currently in the midst of a Gifts to Make series.
Be Merry and Bright!
[…] stealing a few pics from my original post to show you how I made the tree. I had a bunch of scrap pieces of beadboard in various colors […]
[…] via via via 1 | […]
Baby First Steps Bead
[…] some of the pieces were cut in half to fill out the shape a little better. So m […]