Ok, raise your hand if the thought of staining unfinished wood makes you a little nervous. I used to be in the hand-raised category, but then one day I decided to just go for it and tackled this stained sofa table top all by myself. And guess what? After nearly ten years, that sofa table is still going strong without showing any signs of aging. If you are one of those who thinks staining wood is harder than painting it, then this post is for you. The Lazy Girl is here today to show you just how simple it is to stain unfinished furniture with my timesaving tips!
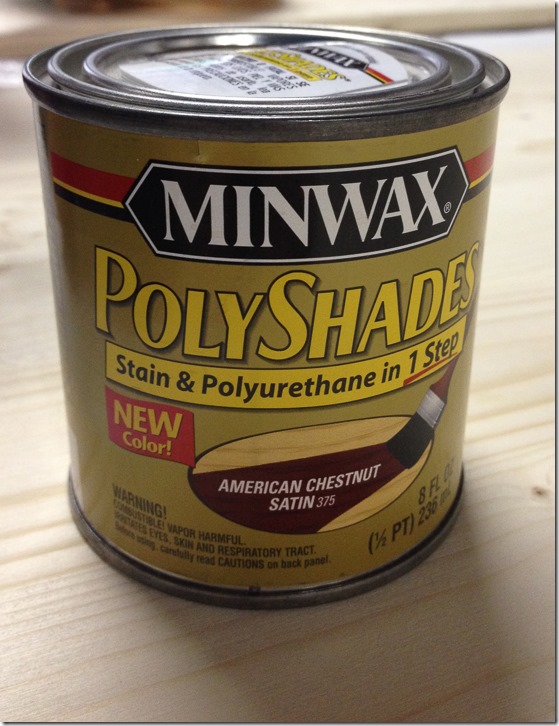
1. Choose an all-in-one stain and polyurethane combo. I found this can of Minwax Polyshades at my local True Value hardware store. Since this post is all about timesaving tips, I definitely would recommend using this stuff. It went on easily and I didn’t even use a wood conditioner. I learned about wood conditioner from the Minwax rep at a DIY conference I attended, but honestly I skipped it on my table tops. It does help your wood to be less blotchy, but if you’re lazy like me, the less steps the better. If you are not lazy like me, then you can prep your furniture with wood conditioner. Either way will work fine.
2. Don’t be scared- just start staining! This is not really a tip, but I’m here to tell you that if you’re nervous, don’t be. It will be ok, I promise. Just go for it.
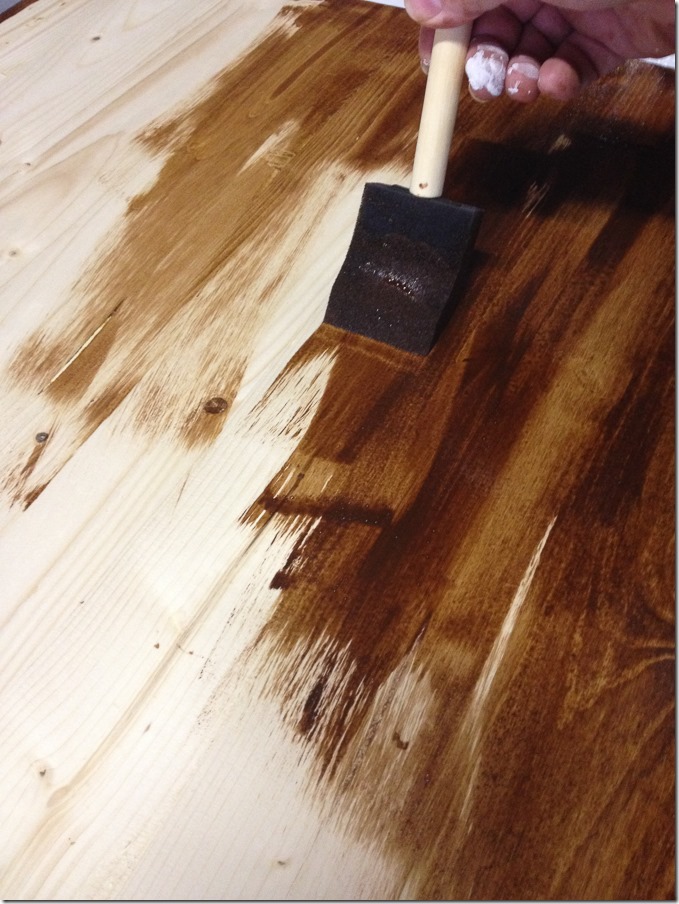
3. Use a cheap foam brush for all your staining projects. They come in packs of nine, and they are so inexpensive you can use them and throw them away without any guilt. Trust me on this- cleaning oil based stain out of brushes is not fun. I would never recommend using a foam brush for paint, but for stain? Foam brushes are awesome. They are the biggest timesavers for a job like this.
4. Always keep your brushstrokes with the grain of the wood when applying the stain. Never go against the grain. Trust me on this. Go with the grain, back and forth, nice and easy.
5. Apply a heavy coat of stain. Lay it on thick. Don’t be stingy with that stain. My tops were 24” square so they were not very big. If you’re working with a larger piece of wood, work in sections. Cover all of that section before moving on to the next.
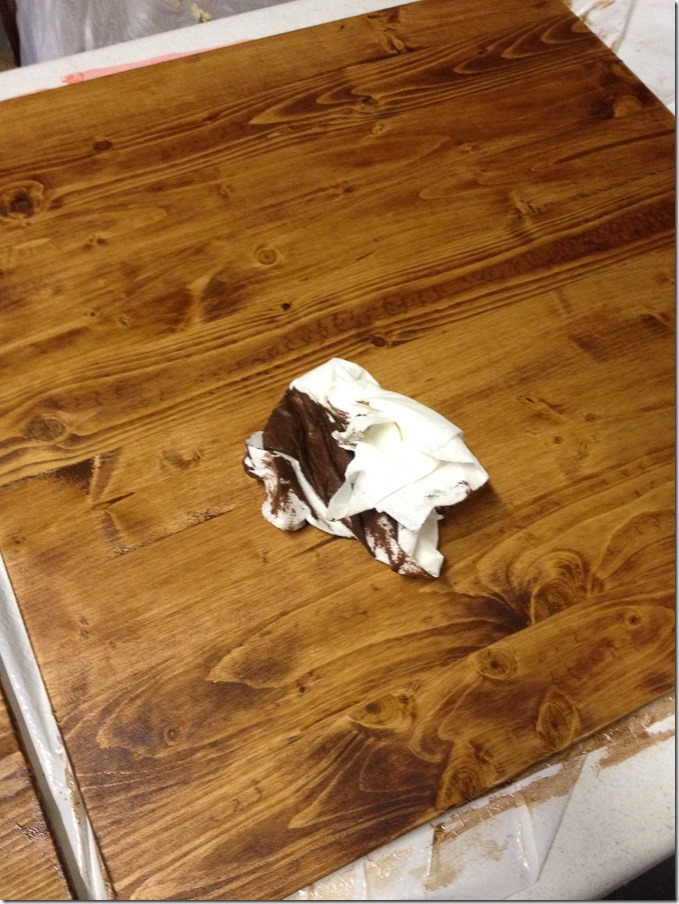
6. Use paper towels to wipe off the excess, because like foam brushes, they are also disposable. Grab a big wad of paper towels and remove all that excess stain that you just applied. Rub back and forth WITH THE GRAIN. Always stay with the grain! Very important.
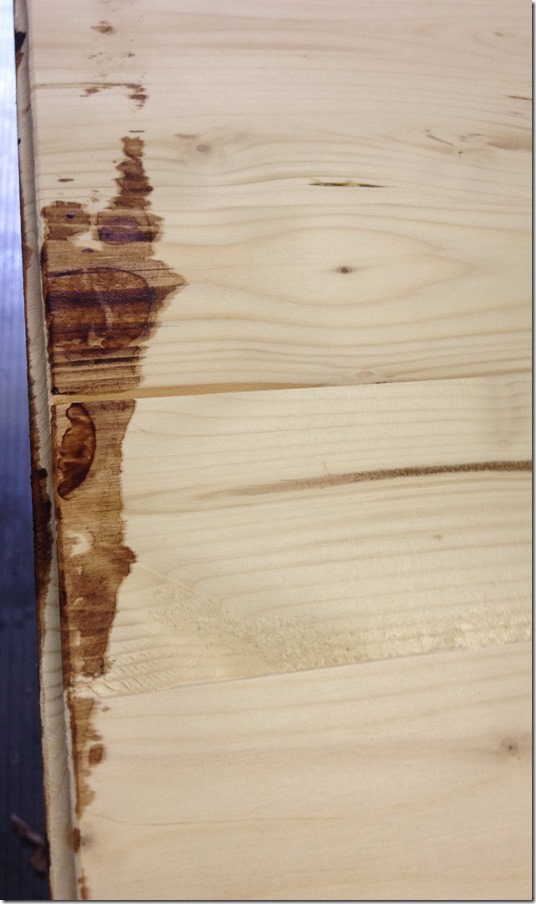
7. Stain is messy and will bleed, so work quickly to correct any “oops” that occur. When I flipped over the pieces of wood, there were drips and smudges where the excess stain bled on the backs. Some of them had already started to dry a little bit. Don’t freak out if this happens:
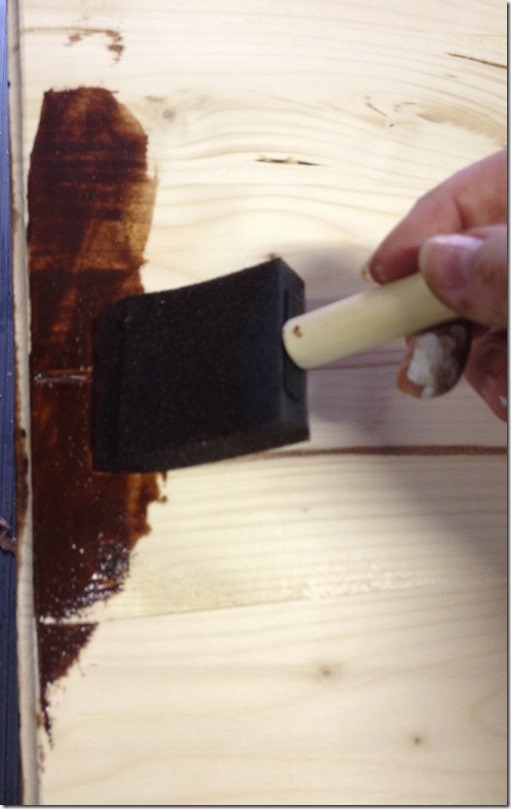
Just apply an extra thick layer of stain on top of the drips, and scrub it back in forth in a squiggly motion to “erase” any of the areas where bleeding occurs. Oil stain is forgiving and those marks disappeared right away by using this method:
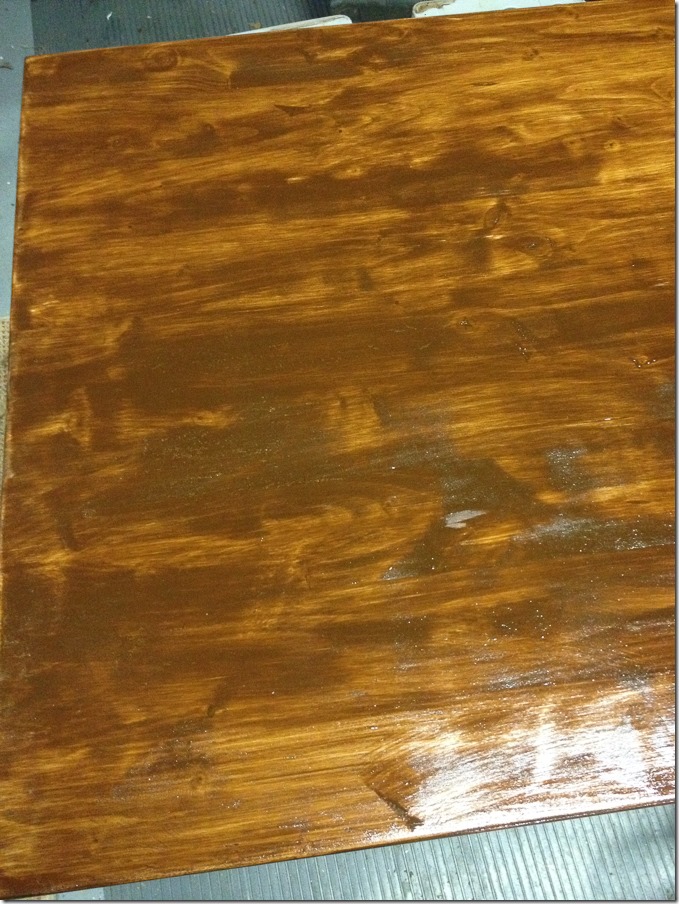
8. Let each coat dry completely before sanding. Put a fan on it or sit it outside in the sunshine and let it dry. You don’t want the stain to be tacky while sanding. It needs to be dry.
9. Yes, you do need to sand between each coat. I know you probably didn’t want to hear that, but it needs to be done. It will smooth out the wood and give you a nice glossy finish in the end. You want to be able to rub your hand over it and not feel any scratchiness. You can use regular fine grit sand paper, or if you’re lazy like me, invest in a small palm sander for jobs like this.
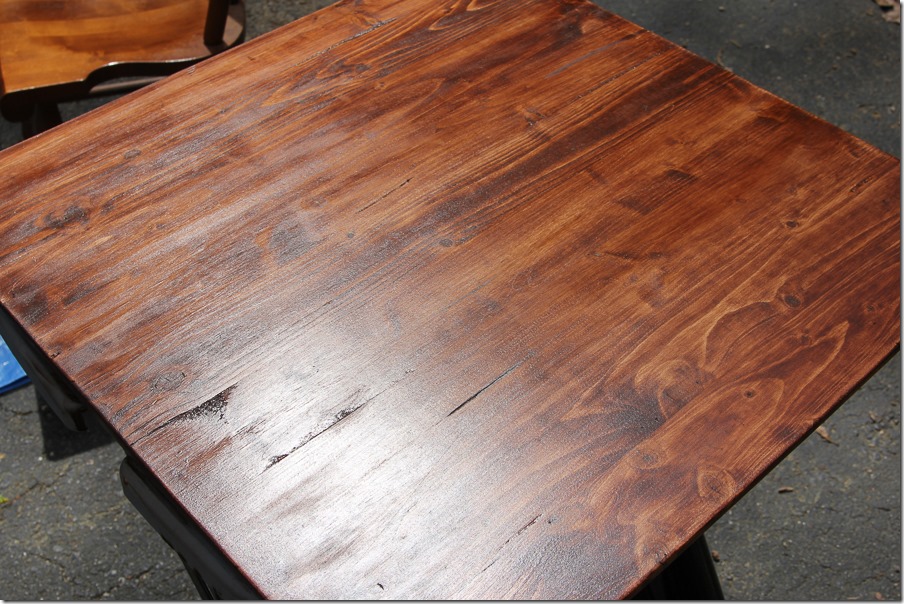
10. Use a fast drying polyurethane top coat. Even though I would definitely recommend the Minwax Polyshade all-in-one stain, I have to admit to you guys that I still added a final top coat of Minwax Fast Drying polyurethane in a satin finish to achieve a nice final sheen that I wanted for my end tables. Also let me say that they are not lying about that fast drying part. I applied this final top coat outside in the sunshine and within minutes it was dry enough for me to touch. Be sure to work quickly with this stuff, using the same methods of applying as described above—back and forth, with the grain.
I applied two coats of stain plus a final coat of poly to get this table top finished. The number of coats are up to you. It’s a lather, rinse, repeat kind of process, and more coats of stain will make your wood color deeper and richer each time.
Here are a few more tips before you get started.
- You need to be working in a well ventilated area that you don’t mind getting dirty. Garages are good, outdoors is fine, but be aware if you’re working outside in the sunshine that you will need to work quickly so the stain doesn’t get too tacky while you’re still working with it.
- Shaded areas without any breezes are best while you’re applying the stain. Sunny spots with lots of wind are great for drying stain quickly in between coats.
- Stain is messy, so drips are bound to happen. Use a drop cloth to protect your floors.
- It also goes without saying that you’ll want to protect your lungs and not breathe in the fumes, so wear a safety mask if you feel that you need one.
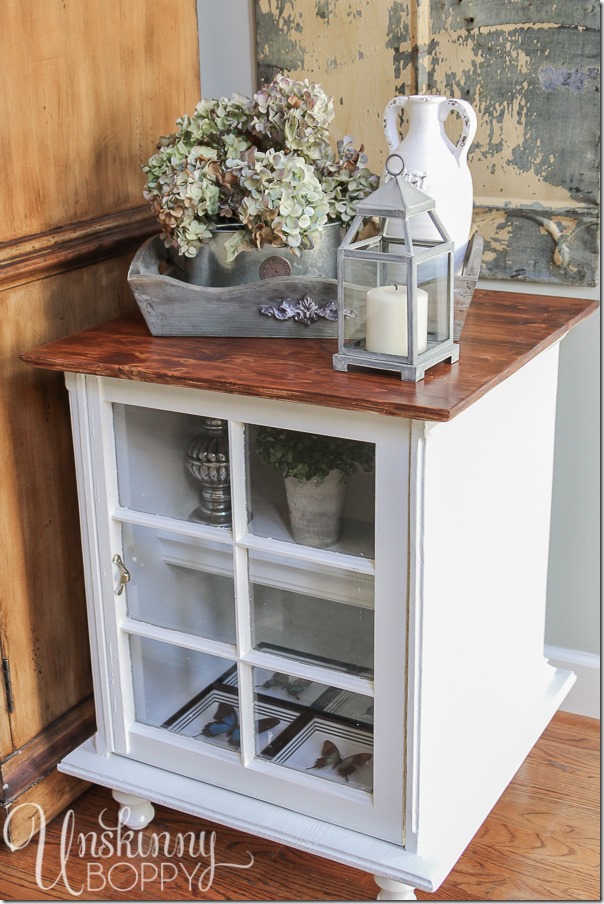
So, there you go! That is it! How simple was that? I am super excited to show you the final reveal of these end tables in my home! Be sure to come back tomorrow to see the final finished product and find out my tips for how I decorated my new end tables in my living room.
Here is a sneak peek!
For more DIY projects, visit StartRightStartHere.com or follow True Value on Facebook and Pinterest. I was one of the bloggers selected by True Value to work on the DIY Squad. I have been compensated for my time commitment to the program as well as writing about my experience. I have also been compensated for the materials needed for my DIY project. However, my opinions are entirely my own and I have not been paid to publish positive comments.
Did you enjoy this post? Check out more of my Lazy Girl’s Timesaving Tips!





I love the all in one combo, makes it much quicker. And your “erase” idea is a new one for me, I am sure I will be putting it into action. 🙂
I prefer, “clever” to “lazy.”
Good goin’.
Beth,
Good job pointing out that you can reactivate even dried stain to even it out. Most people don’t know this but even after your done staining if you see a little imperfection you simply just go back over it with more stain to even it out!
It’s really good technique to stain the furniture to make it look good.The technique may save your money and also keep you busy in useful activities like this.The sharing of useful experience is great for the readers, who were thinking to do the same.
I’m not that much of a online reader to be honest but your sites really nice, keep it
up! I’ll go ahead and bookmark your website to come back in the future.
All the best
Thanks for the great tips! I am about to tackle my first staining project, a kitchen table and chairs! I’ve been reading a lot about staining and appreciate any and all time-saving tips I can get! Thanks so much, looks like your project turned out great!
Thank you for sharing. it’s useful information for Staining Furniture.
this is nice tips because it is time and money saving process.
I think I need it. keep it up….
thanks!!!
luxurious lounges furniture
Aw, this was a really nice post. Taking the time and
actual effort to produce a good article… but what can I say… I procrastinate
a whole lot and don’t manage to get anything done.
If you are interested in topic: earn online without investment quizzes – you should read about Bucksflooder first
Thank you so much for your tips on staining – just stained a piece that was seemingly daunting but not with your techniques and pics! Thank you!
Thanks for sharing it. I must bookmark it!
Hi Beth 🙂
The article is great! I tried Minwax stains many times, they are really good. But now I’m looking for something new, maybe I will find the outstanding stain for my needs you know.
I want to re-stain a jewelry chest. It previously had a mahogany stain/finish. I sanded as much of that finish off as I could. I cleaned up using just cold water and the cloth picked up a colored tint from the first staining. How can I protect my next coat of stain from the bleed-through of the original stain? A fast reply would be appreciated as I want to get to the project immediately.
Hey there! I’m definitely not a stain expert but I would think the next stain would go on over the old without much seepage if you have sanded most of it off. I hope it turns out great!
I used to think having my work published would give me credibility in writing circles. Now that I have had some work published, I don’t really think about it at all. To be honest, the ‘holy grail’ of publication seems a bit irrelevant. I just keep on writing, developing my craft, discovering ways I can reach readers. There are plenty of published writers who are pretty so-so at writing. Many are only capable of writing in one form or one genre, or can’t write dialogue, can’t write suspense, can’t write anything interesting … but they’re still published.