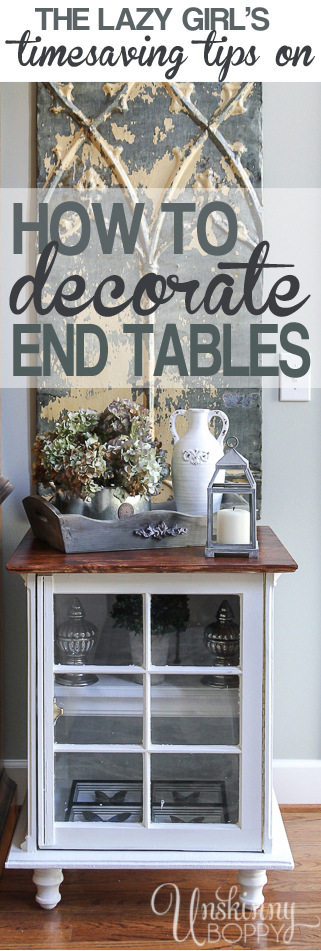
 Decorating my house is something that just comes naturally to me. Some folks are blessed with the gift of playing music by ear, or the athletic ability to slide on their knees while rounding third base into home plate. Some people can do math in their head without a calculator. I have none of those abilities, but thankfully God shoved me into the creative gene pool and gave me an eye for design instead. He also granted me a husband with amazing woodworking skills.
Thank you, Lord.
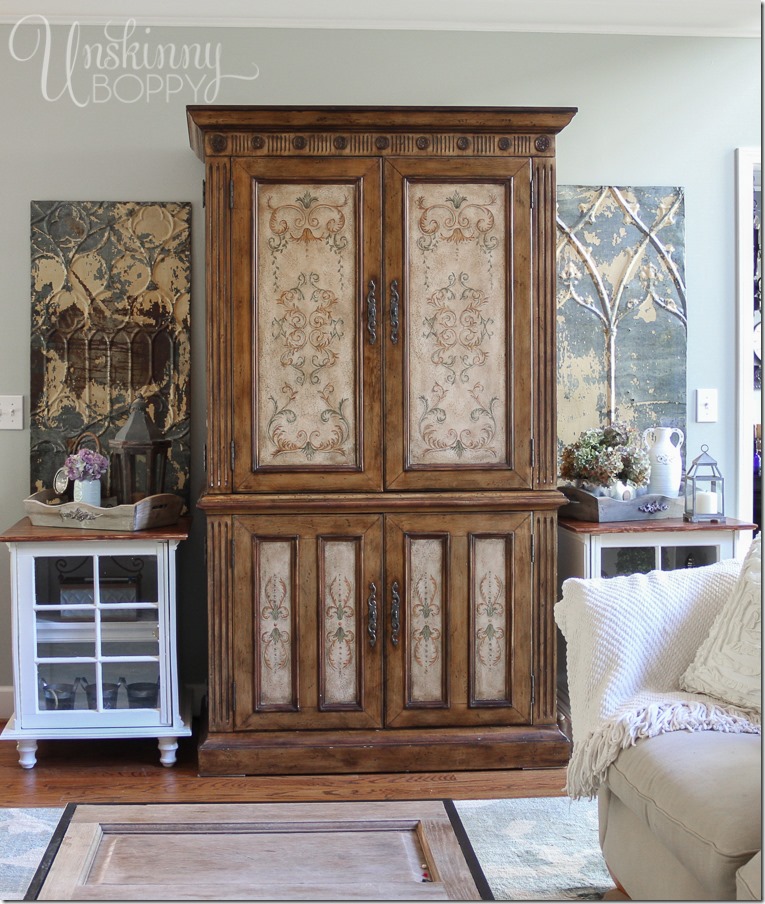
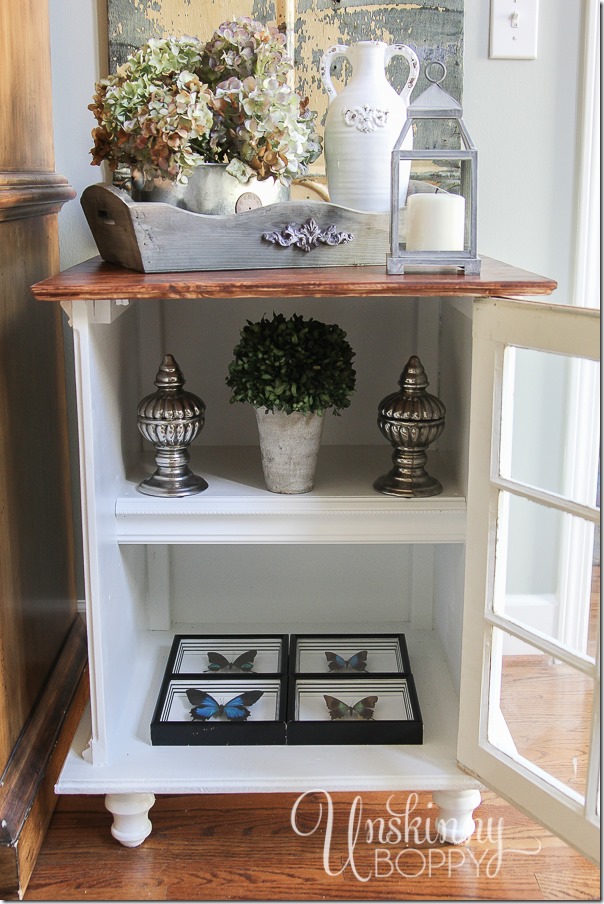
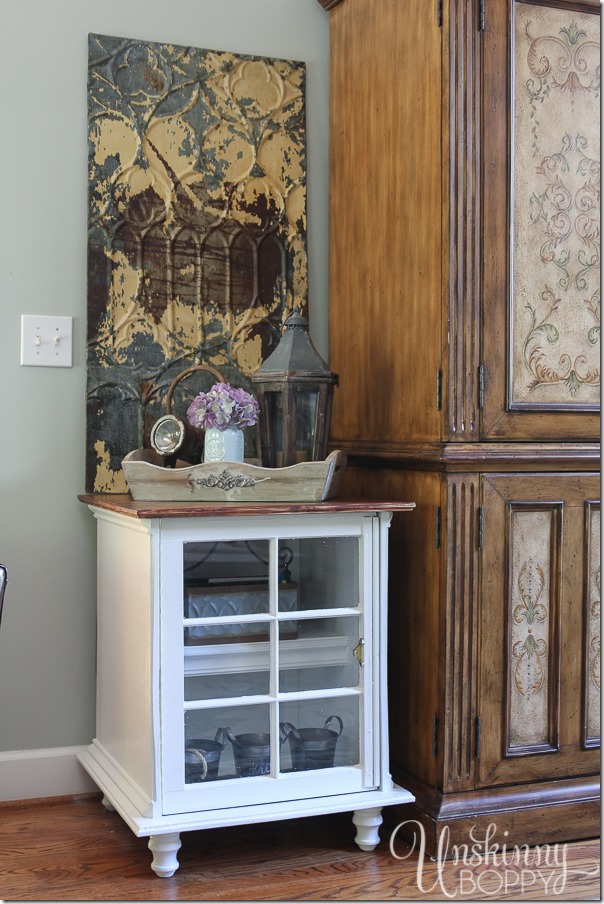
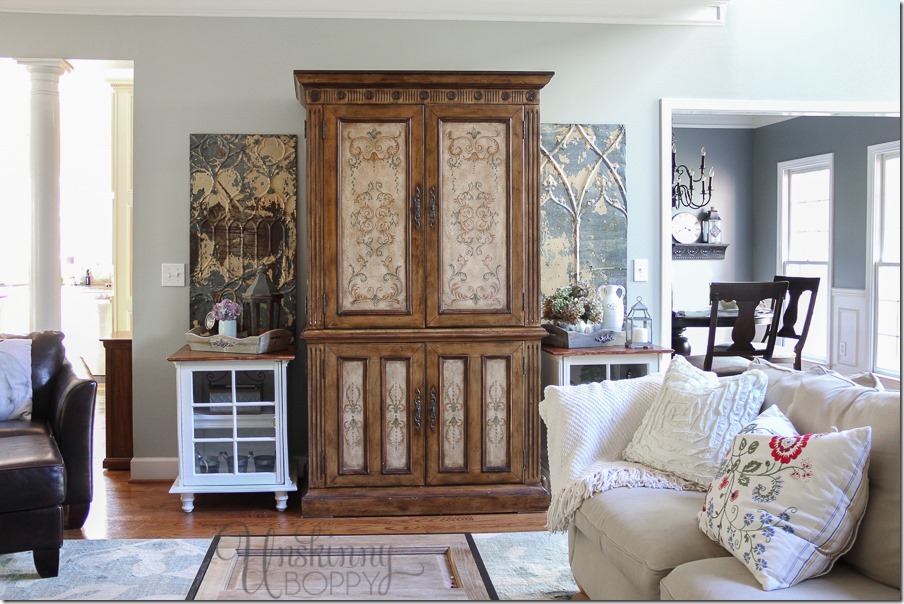
Here are the end tables that my husband built. 100% from scratch…. by hand. Without a set of plans. Just straight out of his own head. He started with 2 old wooden windows and magically made these two gorgeous end tables appear from the depths of our basement. I’m so proud of him, and HIS eye for design, as well. We make a great team. I helped by staining the wooden tops and slapping on some paint, but aside from that my only real contribution to these end tables is making them pretty once they hit the living room.
So today I’m going to tell you all about how to decorate them, and in the next post of this end table creation series I have a BIG treat for you guys. Next Monday’s post will be a full set of detailed plans on how you can build your own set of end tables like these!
So listen up, all of you non-calculator using mathlete/athletes out there who can sit down at a piano and pound out some Mozart after sliding into home plate but have no idea how to decorate your living room. This post is for you! Here are my best decorating ideas to create little vignettes for pretty tablescapes.
There’s a method to my decorating madness, and today I’m going to share with you my top five secrets for styling an end table, bookcase, or other horizontal surfaces in your home.
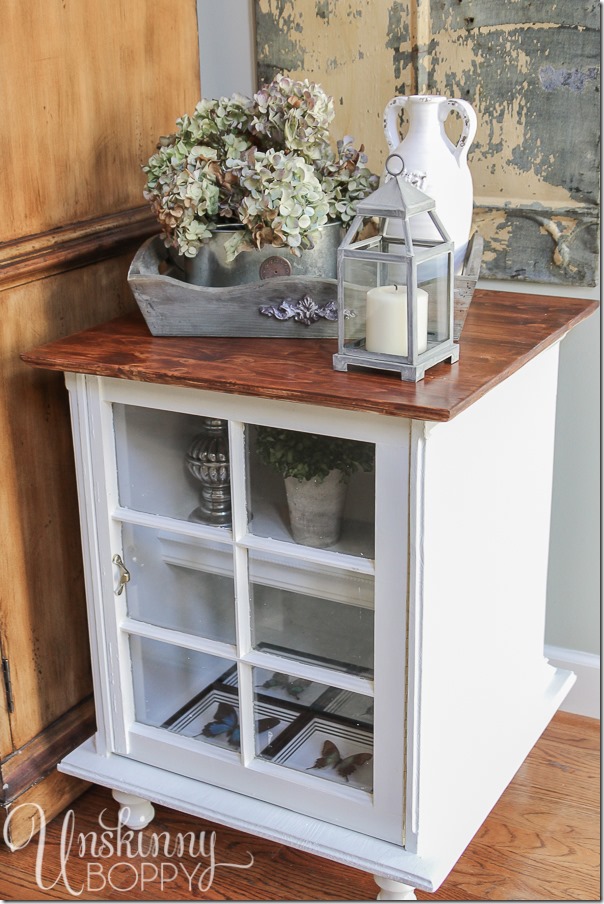
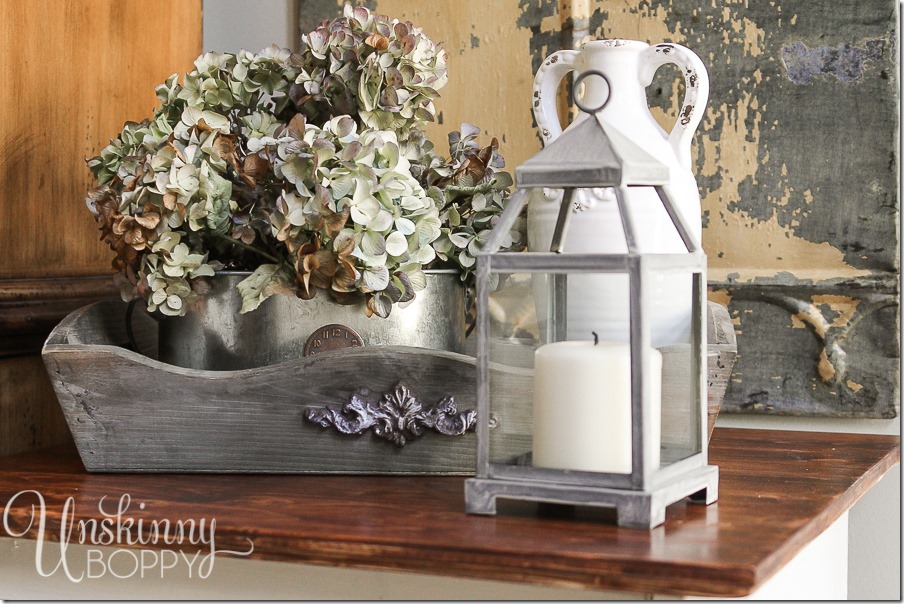
Tip 1: Always use groups of threes. You cannot go wrong with a grouping of three items. I cannot explain why this works, but trust me. It totally does. Whether the three things are varying heights and sizes, arranged on an angle or all lined up in a row… it will work. So, take my holy trinity of decorating advice and arrange things in groups of three for high impact, low stress decorating. You can have two things that match as long as there is a third something in the middle to be a decorating fulcrum. Go try it! Choose three items, shift, shift, shift them around and boom. Done. Instant table top vignette.
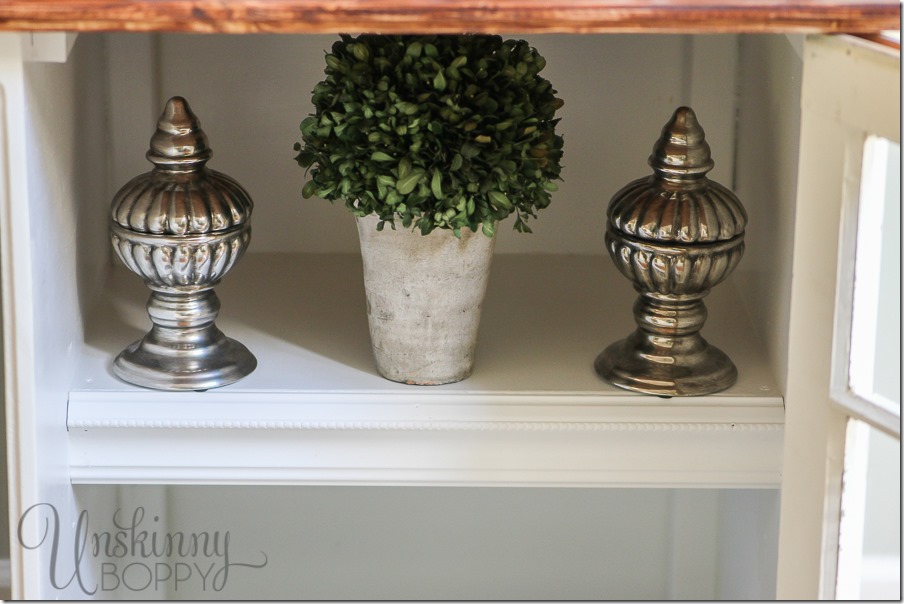
2. Always have some kind of greenery. Even if it’s the dead of winter and there is not a sprig of green to be found outside, find a way to add some to your décor. I love dried boxwoods, whether they were in kissing balls or wreaths, they are the perfect addition to any living room in need of some greenery.
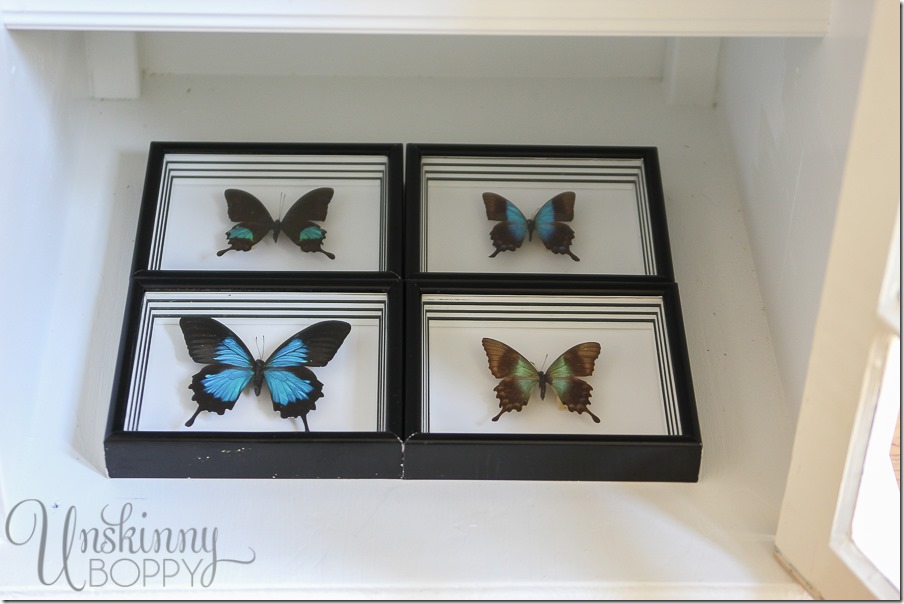
3. Display a collection in an orderly way. These butterflies are meant to hang on the wall, but lying them flat in the bottom of this open shelf invites folks in for a closer look. Matching black frames and mats keeps the collection neat and tidy. Also keep in mind– the more unusual the collection, the better display they will make. My husband buys me a new framed butterfly every year for special holidays. I love these guys so much.
4. Decorate inside of trays. Pretty inexpensive trays can be found at places like TJMaxx, Ross, or Marshalls for like $10-15 bucks. Sit your grouping of three items inside a weathered old tray, and it adds instant interest to the arrangement. I like that I can pick the whole tray up and clear the entire tabletop in one swoop if I’m entertaining and need the horizontal space cleared.
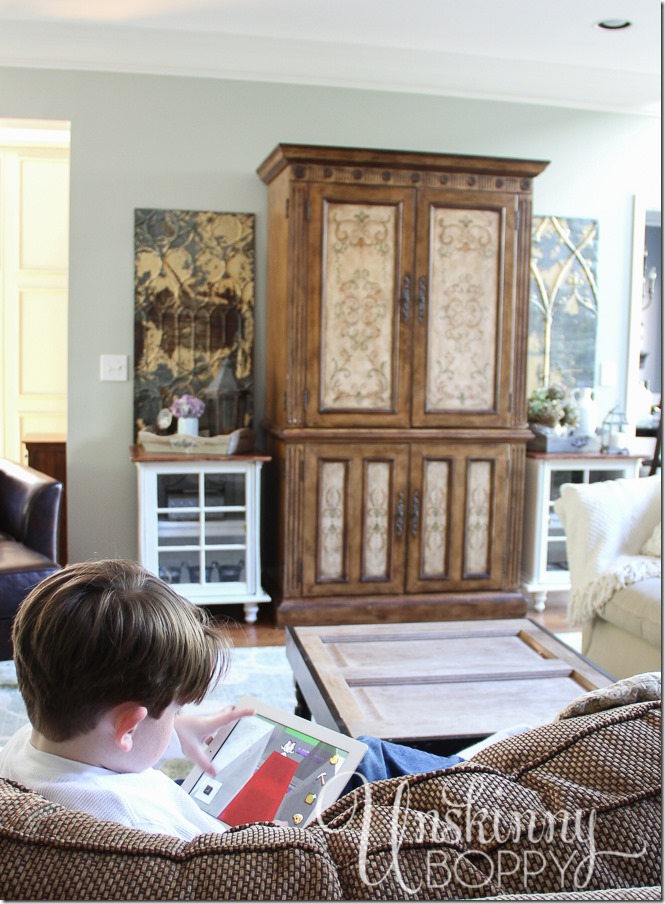
5. Stay symmetrical. Symmetry will never steer you wrong. I am a very symmetrical decorator. Having a matching pair of tables with equal amounts of knick-knacks balances out a room and makes me feel happy inside. Plus if you have a heavy piece of furniture like my tv armoire, it makes sense to add some big chunky statement pieces on either side of it to balance it out along the wall. The end tables alone were kinda wimpy next to that behemoth of an armoire, but when I added the pressed tin pieces behind them on the wall? Instant symmetrical balance.
So, there you go.
Pretty simple, huh?
I try to keep things simple around here, so that I can get back to more important things in life, like forcing a certain little boy off the iPad and outside to enjoy the sunshine. Lord knows we all need some Vitamin D after this long, hard winter.
Happy end table decorating, y’all!
PS: Be sure to check back here next week to get the full set of plans on how to build a set of these tables for yourself!
Did you enjoy this post? Check out more of my Lazy Girl’s Timesaving Tips!




Fabulous tips!! Excuse me while I wipe the drool off my chin over those end tables! Seriously Jeremy, you rocked the house in those! Can I put in an order for some? 😉 Heather
Mr. Boppy did good. I gotta run…. well walk around third base with my calculator and ear phones in. Cuz not only am I not good at math or playing piano, I don’t run so good anymore either. While I suck at vignettes as well, I was granted that husband with amazing woodworking skills.
Beth,
LOVE these end tables! I cannot believe your husband built them…..I think you won the lottery with him! The doors on the front are the perfect balance to your armoire!
Happy, happy day to you friend!
karianne
What a wonderful job your Mr. did on the tables. WANT!!! And a superb job you did on accessorizing them. Beautiful!
Happy today!
Hugs, Gee
Those are so awesome and I am hugely impressed with your wood staining tutorial. You got this!
I love the tables and the way you have them decorated. Thanks for the decorating tips. I’m trying to see what is on the other end table and inside it. Can you post pictures up close of that one also? Thank you so much!!!
Great advice Beth! I love the whole wall!
Your husband”s tables are amazing. I love your traditional style. I love reading your blogs . My husband and I are a good team too, but not in decorating. We are celebrating our 50th anniversary this year. I wish you and your husband 50 years plus.
P.S. That’s a cute little guy using his iPad.
I so enjoy seeing what you and your hubby come up with. I was NOT blessed with a talented woodworking hubby — the good Lord blessed him in other ways. I do have a very talented woodworking brother-in-law and you can bet I am showing my sister a pic of these lovelly tables.(Hope you don’t mind)
Love the tips! You’ve helped me see where I’ve made some mistakes in the past. Thanks for your blog, I’ve enjoyed your posts!
Great tips, thanks!
This is beautiful and just the inspiration I needed for living room! Where did you get the wall hangings that are next to the armoire?
They came from the Country Living Fair in Atl a few years ago. Thanks!
me encanta la decoracion
Why are end tables shorter than they used to be?
Some are so short, your chair would be on the floor.
How do you find tables that are 30″ or so?
Your house looks great! What is the color on your dining room wall?
Thanks! It’s a custom paint color you can find here: https://bethbryan.com/2011/07/new-blue-dining-room-paint/
This is beautiful! I do not have the gift for decorating and end up stressing terribly over trying to get anything done. Wish you lived next door and could pop over to help!
There you go. If after reading this entry you are feeling hacking your PS Vita is
worth it for you, then verify again on this site
to learn how to do it and the best way to reap the benefits of this process.
What a fantastic post! It all makes sense to me now. Thanks ever so much.
And your end tables are superb.
*Smiles*
Sweet girl! I am thankful I came across your site today and have had fun looking and getting my brain to going. You are a blessing indeed! And yes, you are blessed with your creativitiness that in turn blesses us!!! 🙂 Can you please tell me about your pressed tin pieces on your nightstands (great job hubby!) ? Did you make them from tin pieces or did you purchase them? I hope I didn’t over look that tutorial – and if so, sorry about that. Blessings and THANK YOU for your time!!!
Sorry, I just found the pressed tin pieces came from Atlanta. Thank you!
Yes! We found them many years ago at the Country Living Fair. That fair is amazing if you have one close to you!
Dear Lana,
It’s such a rare event that I get comments like this on my blog anymore, and I apologize for my delayed response. First off, THANK YOU for taking the time to read, comment and also for your kind words! I appreciate readers like you so much! The tin pieces came from the Country Living Fair in Atlanta. I’ve also seen similar pieces in antique shops but you really have to hunt for them! Good luck with your search.