As any mom of little kids can tell you, bathroom privacy is a Sacred and Holy Experience.
When we bought our house there was not a door between our master bedroom and our master bathroom—only a cased opening. Inside the bathroom there is an enclosed potty room and of course our bedroom has a door, but there was nothing but a short hallway to separate the bed from that big garden tub right there. Also, when we moved in, there were no blinds on the double glass doors that open to the back porch so every day I lived in fear of unintentionally flashing my termite guy or lawn care dude. Thankfully these blinds for french doors took care of that issue.
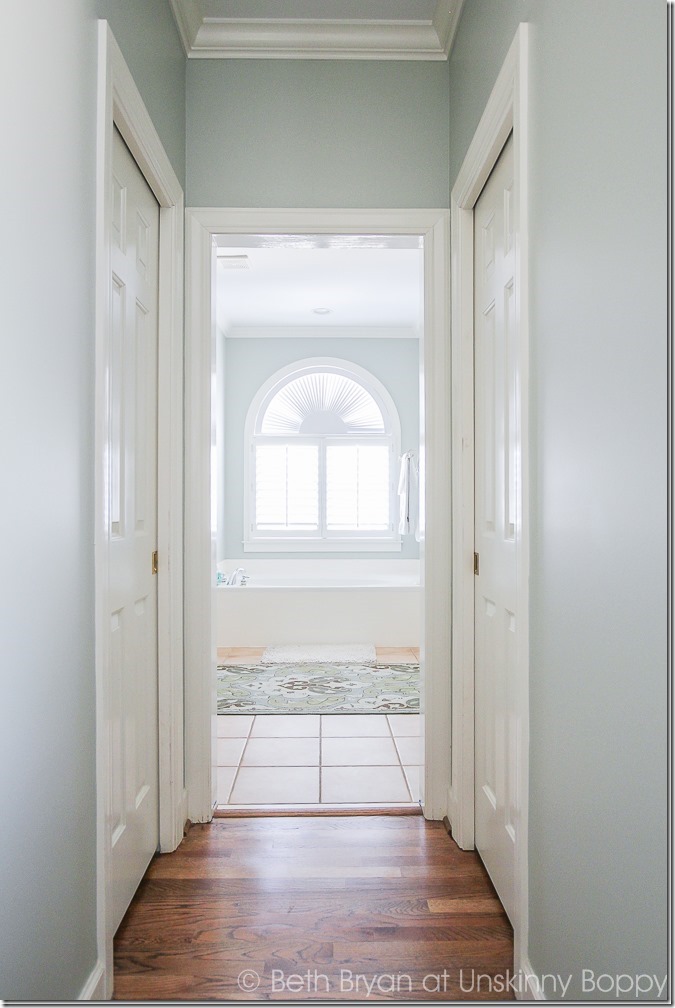
Now this type of wide-open living might suit you fine if you’re a nudist, or if you’re a couple without kids who are both on the same schedule in the mornings, but for my family?
Nope.
I need a door on my bathroom.
With a lock.
Because sometimes you just need a minute to hide yourself in there and have a moment of peace. Or to sleep a little later while your husband gets up at the butt-crack of dawn to get ready for work. Or to take a private bubble bath. Or to examine your face in the mirror and scrutinize all of your pores. Whatever your reason, you don’t want to be left naked and defenseless when your 8 year old son waltzes right in during Mama’s bubble bath and asks for a peanut butter sandwich.
Privacy is the common denominator here. That’s where this post comes in.
Sweet, sweet privacy has arrived in my bathroom. Hello, beautiful.
This post is not going to be a step-by-step tutorial because honestly? I did not DIY this do myself. I hired my Uncle Warren to do this job for me since it was a little bit above my expertise and woodworking ability. If you are skilled with table saws and measuring tapes and know the difference between 3/16ths and 5/8ths then you might be just fine DIYing this. But my sleepless momnesia brain doesn’t allow me to make those types of calculations these days, so I just stood back and took the pictures.
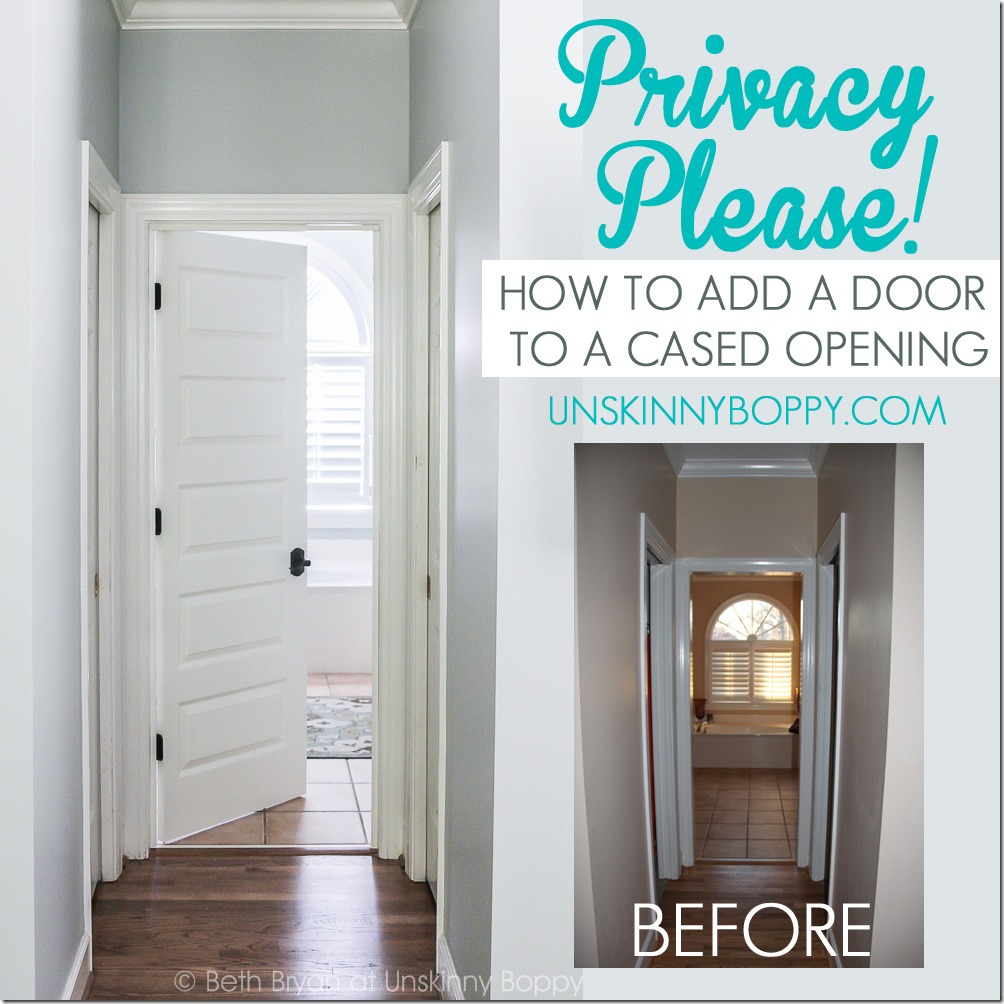
The point of this post is to show you that it CAN be done and give you a rough idea of how to accomplish it. For those of you (like me) who assumed that you would have to rip out your cased opening and replace it with a whole new door and frame, I’m here to tell you that is not the case. You can retrofit a door right inside your existing cased opening!
- Here is a very basic overview of the steps:
Measure the cased opening at the top and bottom (these number might not match) - Find a door that fits inside the smaller measurement with room to spare (or be prepared to do some cutting and sanding when it sticks)
- Figure out which way you want your door to swing and which side your handle/ hinges should go on. My door was not pre-drilled so this was not an issue but if you buy a pre-drilled door take that into consideration.
- Paint the door with a few coats of paint, drying full between each coat. You could do this after it’s hung but it’s easier to do it lying flat so you won’t have any drips.
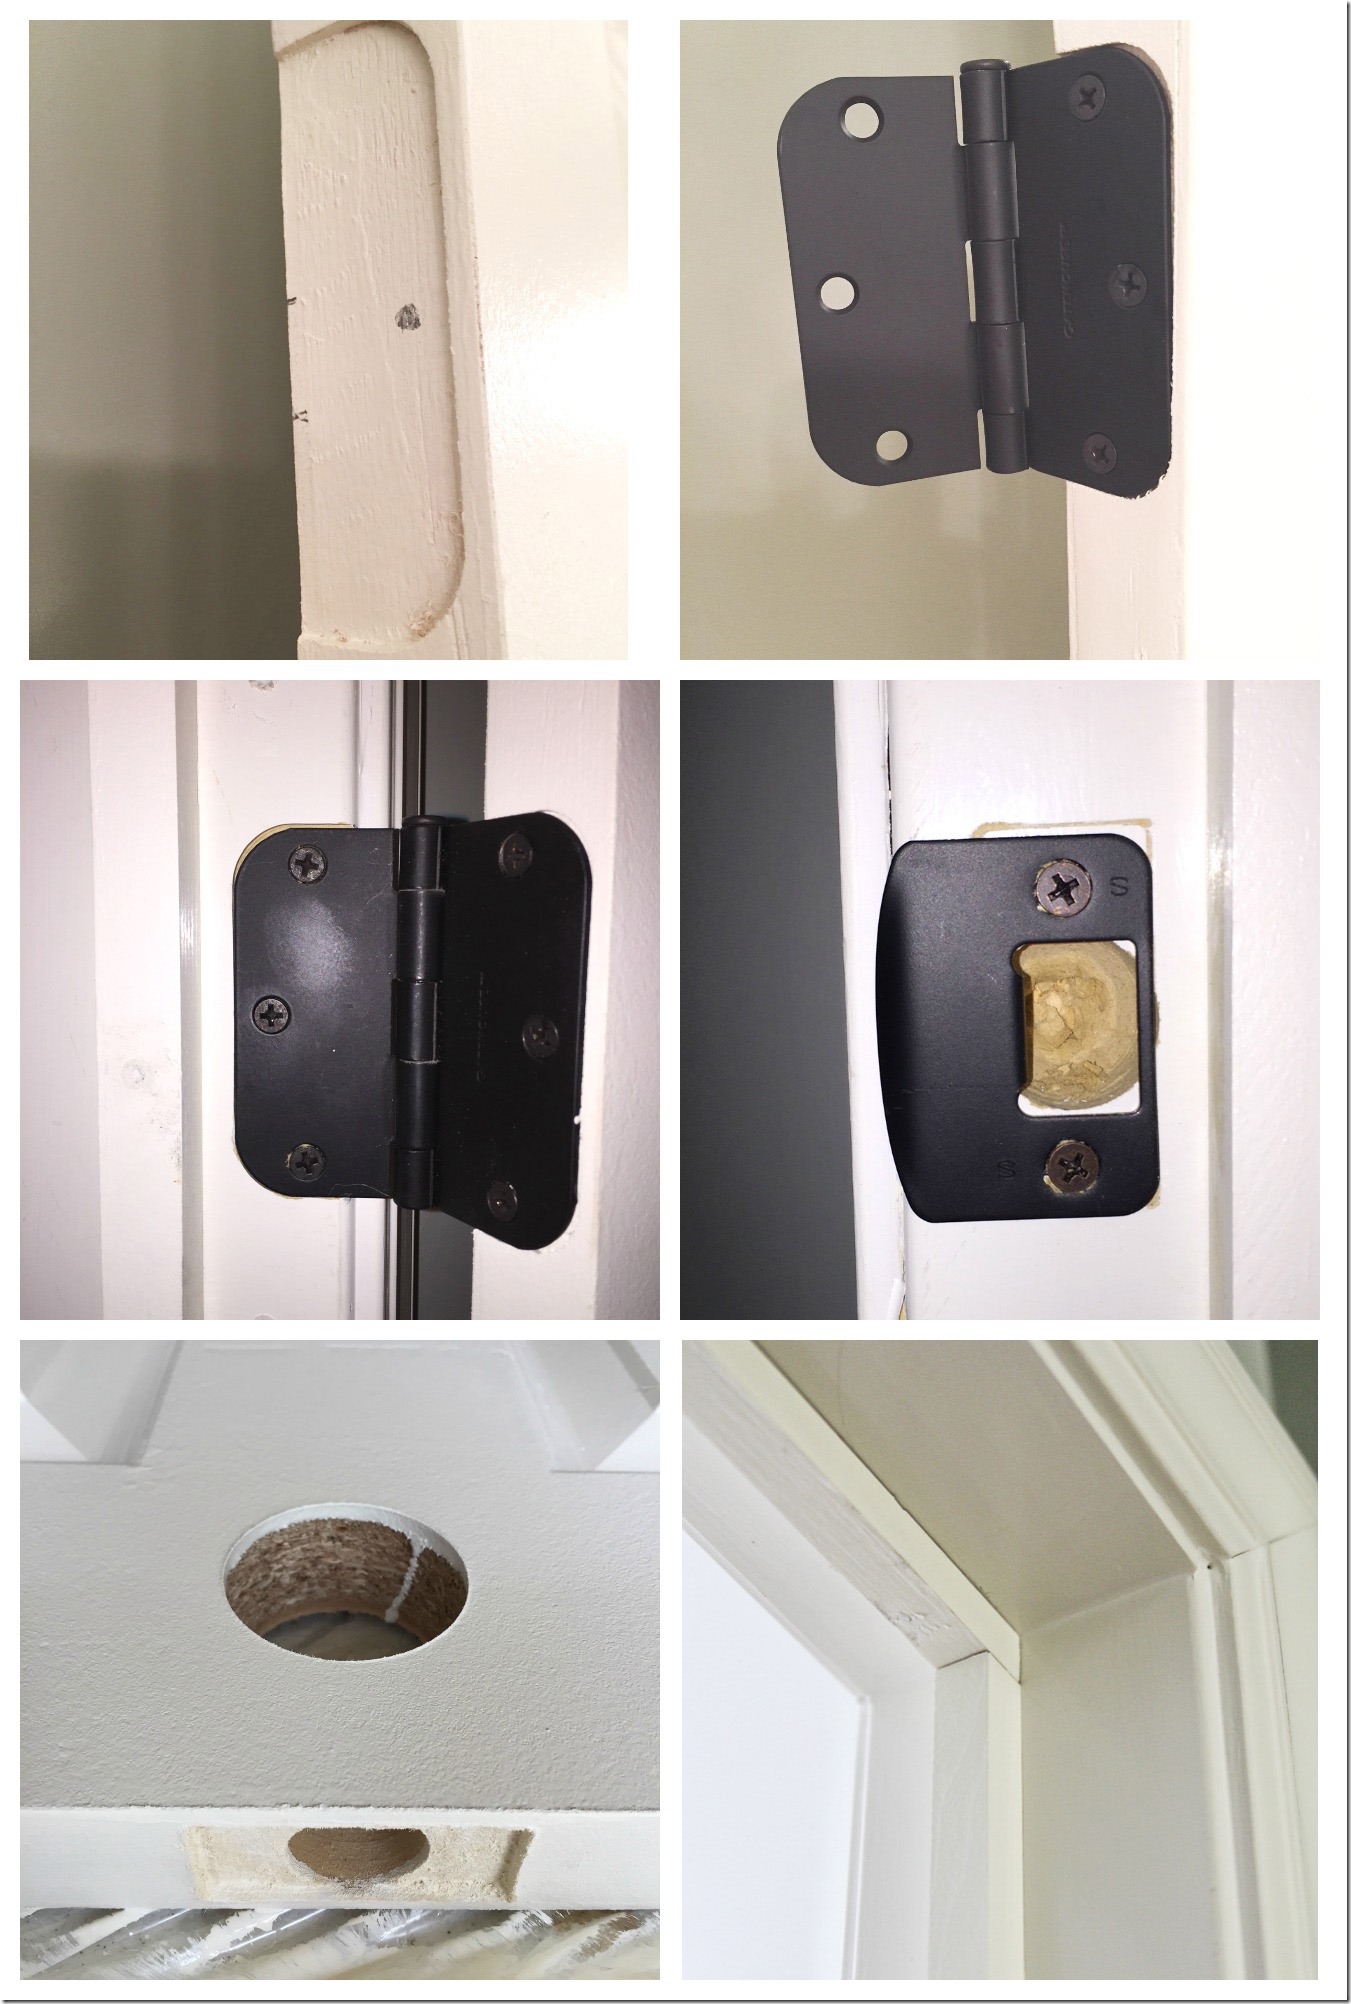
- Add 3 door hinges to the side of the door and mark those with an outline on your cased opening (make sure your door is not touching the ground so it will swing freely once it’s hung)
- Notch out 3 rounded mortises for the hinges using a complete door mortising kit (or something similar) with a router. You could also use a utility knife, hammer and a chisel to notch out the area for the hinges but it will not look as nice.
- Hang the door.
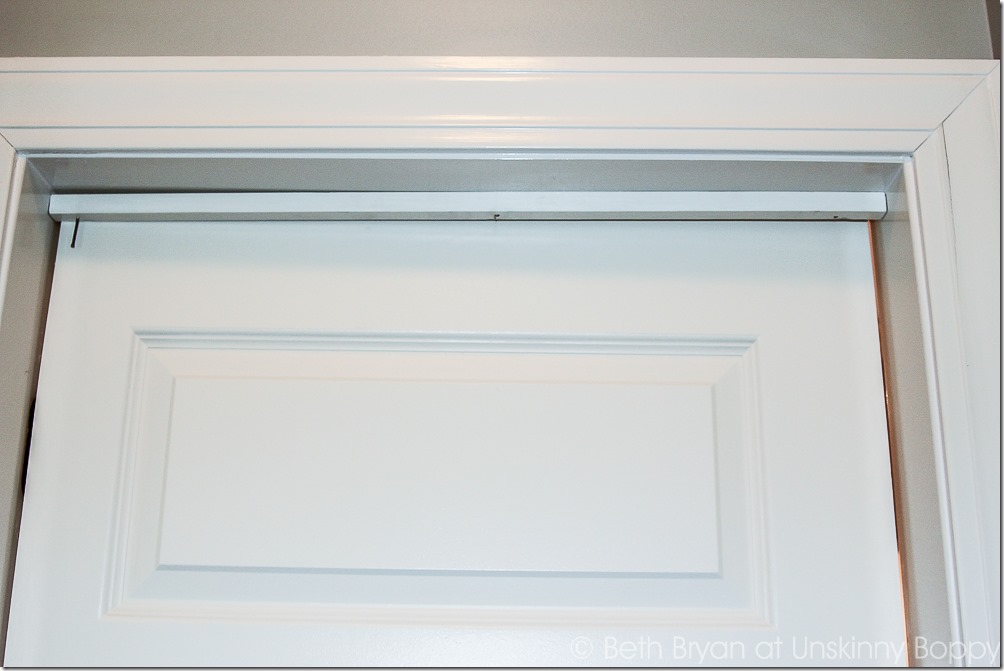
- Nail three pieces of 1×1 boards into the cased opening on the opposite side of the door swing to hide your gaps and keep the door from swinging too far inside the frame.
- Add your door handle to the door. I used this oil rubbed bronze privacy lever door handle.
- Match up and drill out the hole for the door latch on the cased opening.
- Touch up any scuffs in your paint.
- Enjoy your new privacy!
Here is a shot of the 1×1 getting nailed into the top of the door casing to help you visualize this step a little better. He repeated this step for both of the sides to hide that gap.
And a closer look at this beautiful door handle. I love the back of it the most. 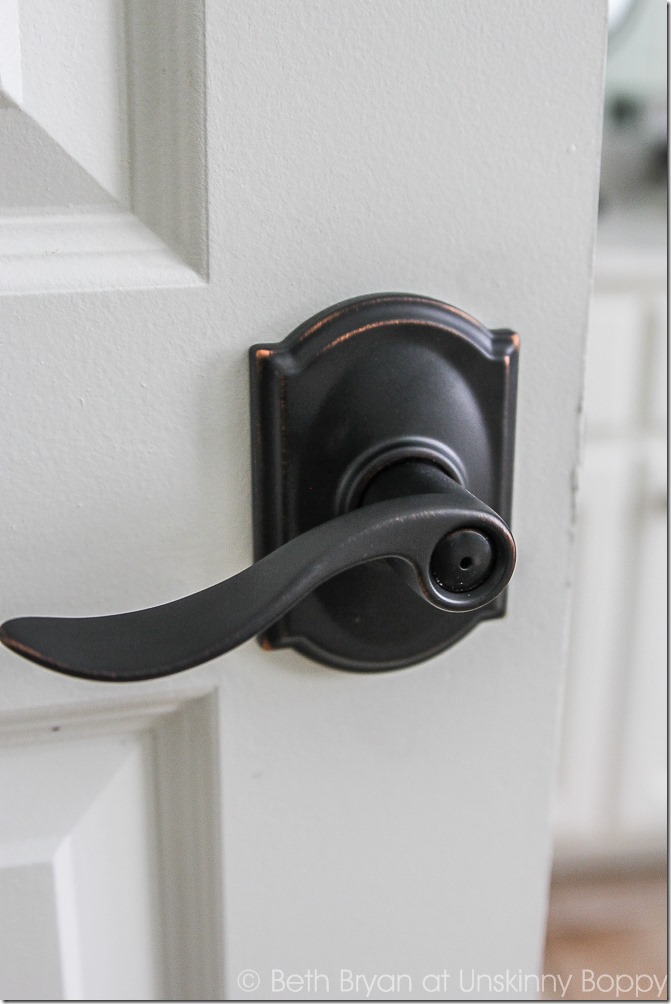
So there you go! I hope this quasi-tutorial helps you to see how you might turn an open area of your home into a private retreat by adding a door.
I considering adding a “Do Not Disturb” sign, but only one out of two of my children can read yet, so I’ll just use that push button thumb-latch instead.
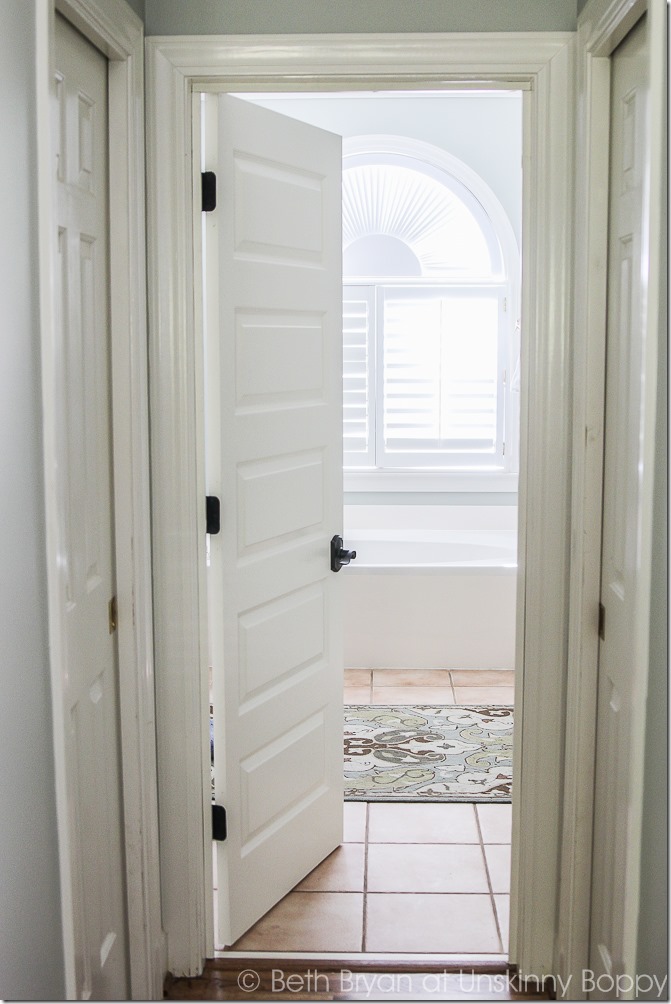
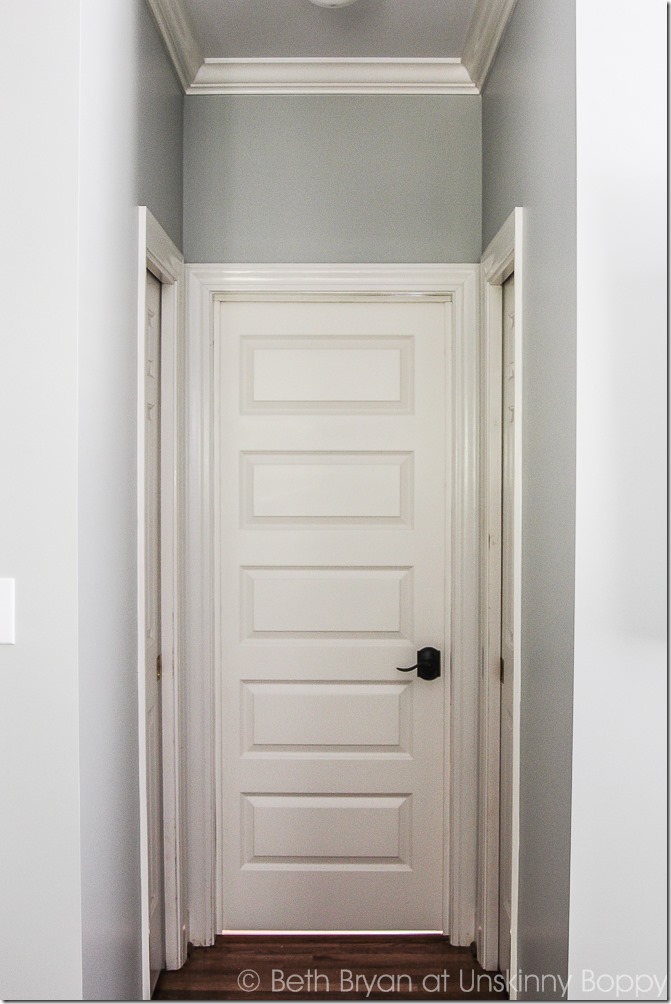
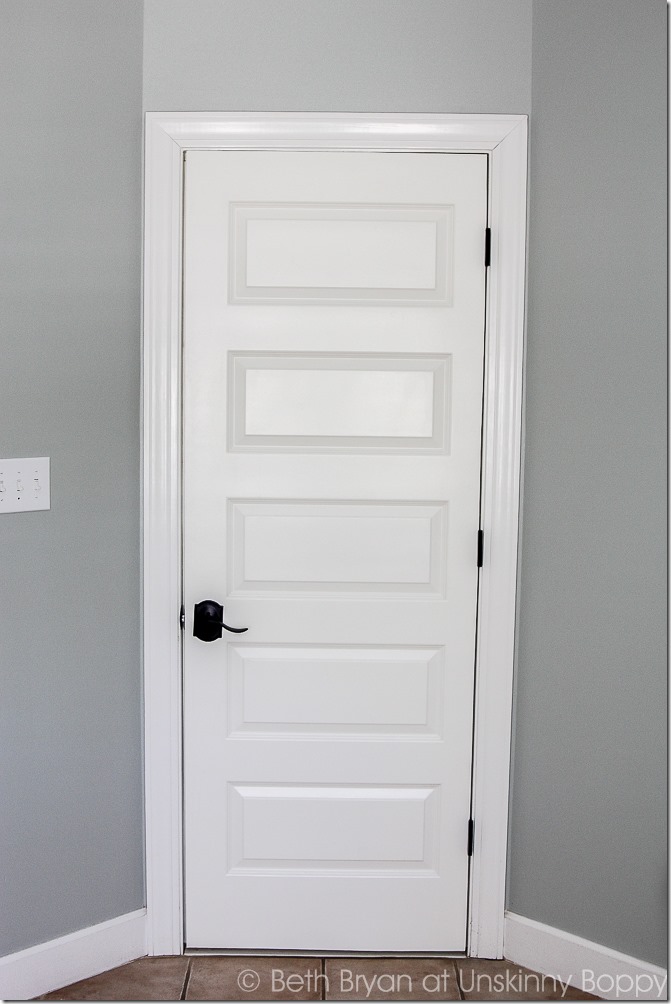
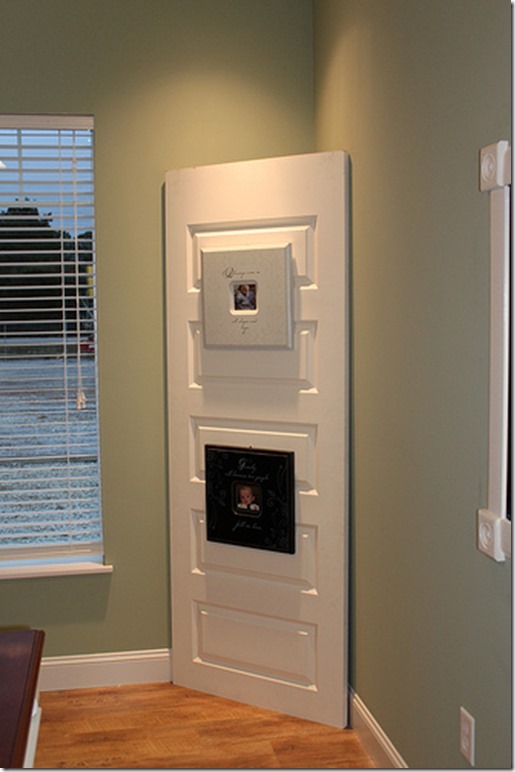
If this door looks familiar, it’s because I have been using it in my home as decoration for approximately six years now. I bought this gorgeous five panel door back in 2010 for $19.95. Here is a comparable one from Lowes. I’ve been using it in various spots around my house for years to display photos and décor items. Recognize this? Yep, same door.
But now, after six years of waiting, I FINALLY got it hung! Thanks to my uncle for having the skills and patience to get it done for me! I say patience, because my bathroom opening was 29” wide and this door was like 29 3/4” wide, so he had to do some extra cutting and gluing and sawing to make it fit, but it looks AMAZING!
Every time I walk past it I give it a little love-rub. We’re probably gonna need more touch-up paint soon.



Nice, now you’ll have your privacy.. Thank goodness for your Uncle..!!
Beth, more than the “no DIY”, I’ve loved your defense speech of a door bathroom! kisses ML
I TOTALLY get the point… the bathroom is a Mom sanctuary! I remember when my children were young, and I would go to the bathroom and lock the door, just to have that MOMENT of alone time!
Love the door by the way!
Thanks so much Dianne!!
Cheers to doors, and doors that lock 😉
And handy Uncles!!!
AMEN SISTER!
Yay for doors on bathrooms! I really do not understand the whole open bathroom concept. What were builders thinking?
I have EXACTLY the same set up…closet doors on each side, bath door at the end. However, behind the imaginary door to the bathroom is the glass shower door on the left, and the toilet on the right. Hanging an actual door means covering something crucial (or risking a broken shower door) when the door is not closed. 🙁 We’ve decided to add a header to the “hallway” entrance opening and hang a sliding “barn” door. Not perfect, but better.
I’m actually super interested in where you got the cover for that half moon window in your bathroom