The last time you saw the attic-turned-office/playroom it looked a lot like Noah’s Ark minus the stink.
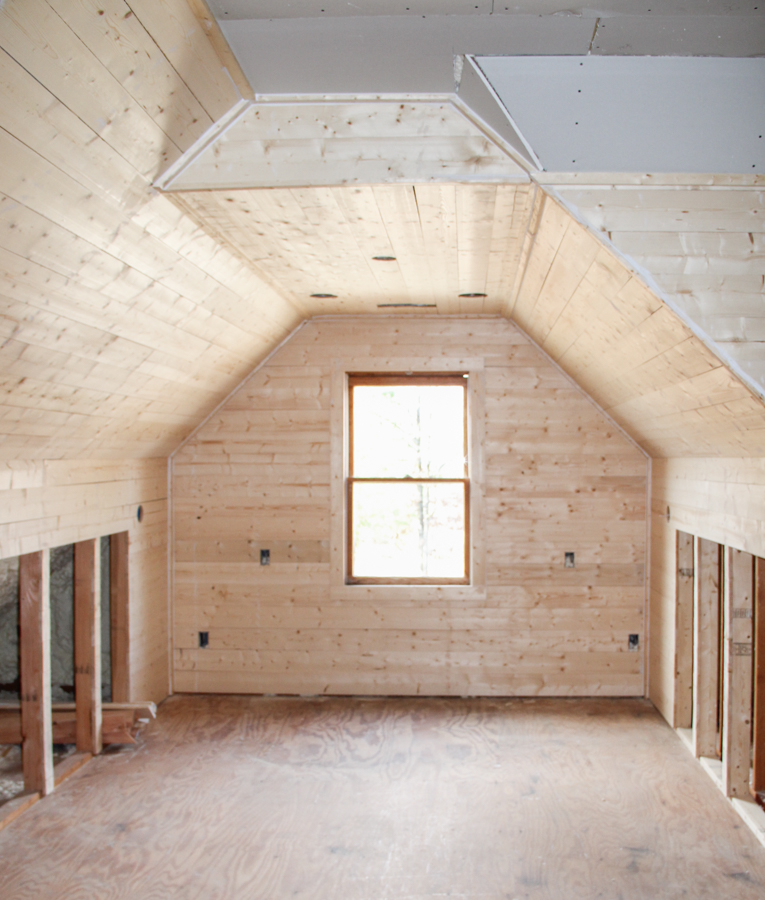
Today, I’m SO excited to share the update with the latest progress that’s been made in the past week!
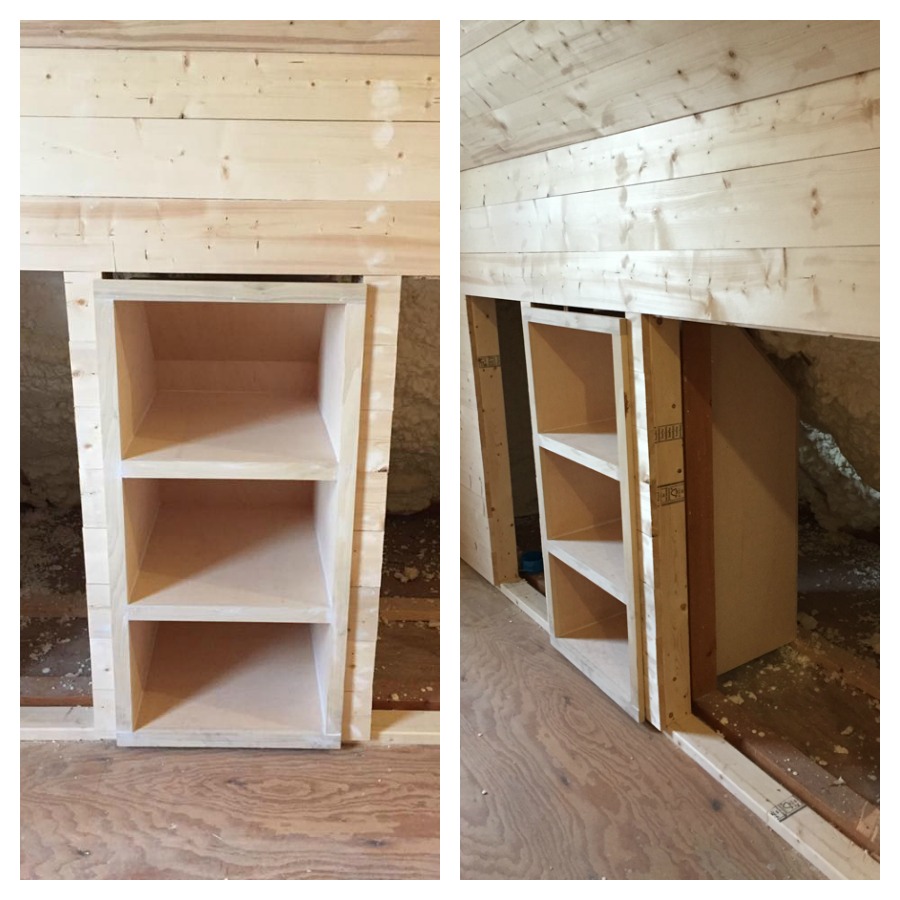
First off, the cubby-making is underway. Heath will be building in all the custom shelving at his workshop, but he brought one over to see how it will look. Here is one of the cubbies pre-paint job:
This post contains affiliate links.
Heads up: affiliate links ahead, y’all.
He is building individual cubby storage in kneewall using Purebond 3/4″ birch plywood from Home Depot so they will be super sturdy and kid-friendly for toy storage. You can see how he is following the slant of the attic rafters along the back of the cubby to maximize the storage space. The shelves will be 24″ deep on the bottom once they are finished. I’m already on the search for a TON of baskets to hide all the tiny toys.
Next up, the laundry chute is installed! I have a whole separate post planned with more details about this chute, but here’s a preview during installation: 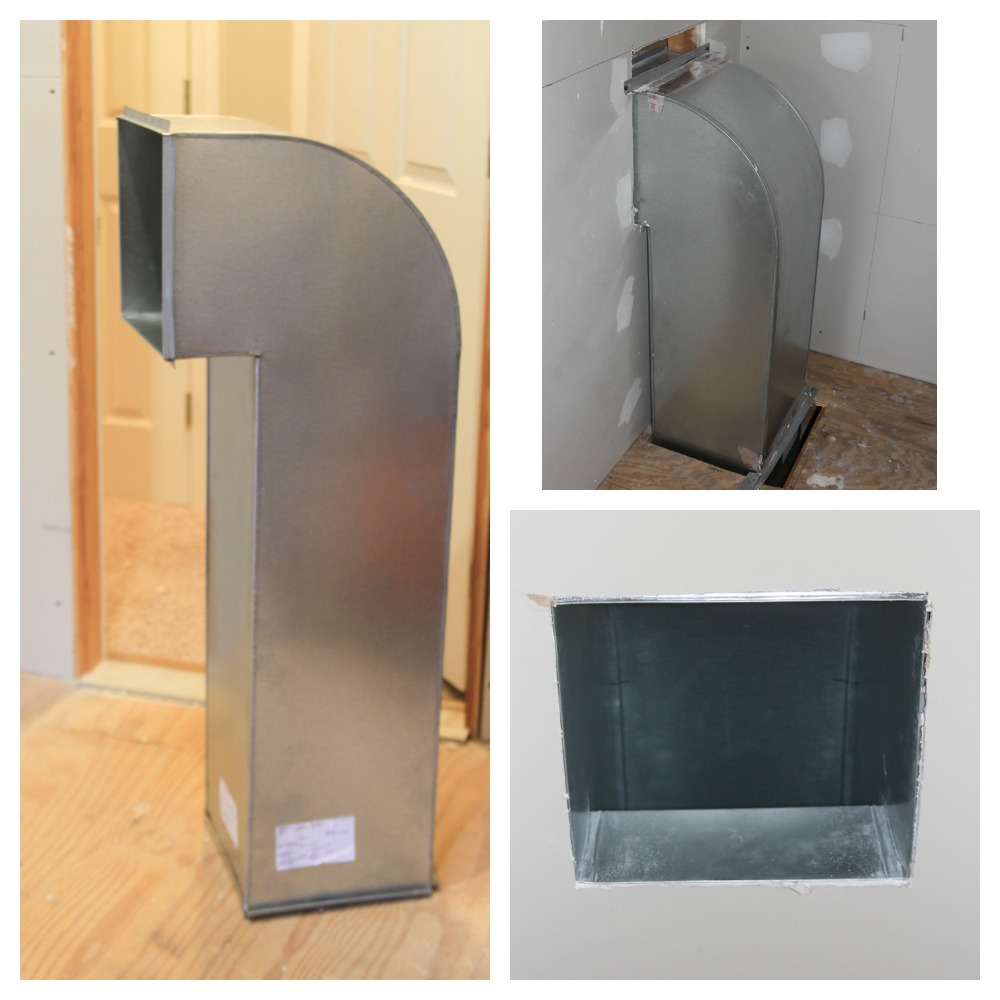
We had our HVAC company fabricate the metal laundry chute out of a piece of galvanized steel, so clothes will not snag on the inside. I’m excited to put this baby to use, but there is still some finish work to be done.
Heath will use that same Purebond plywood to build a shelf and a cozy bench area to hide the laundry chute inside this area to the right here. We are also getting a new door, so that’s why the old one isn’t painted yet.
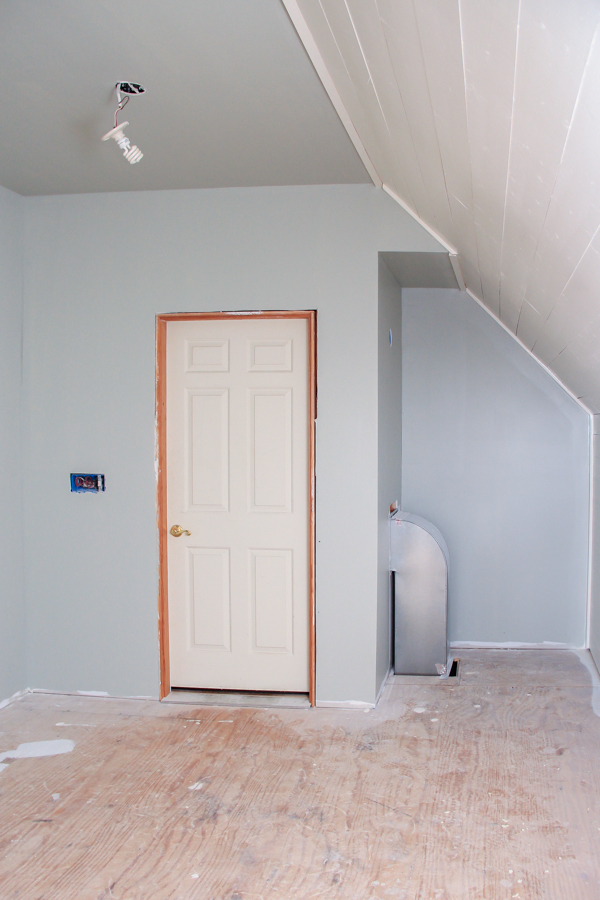
Heath did an awesome job of cutting the sheetrock around this weird ceiling angle. There is no way I could have made this angle happen so I’m glad this was not my job. He rocked it out, though.
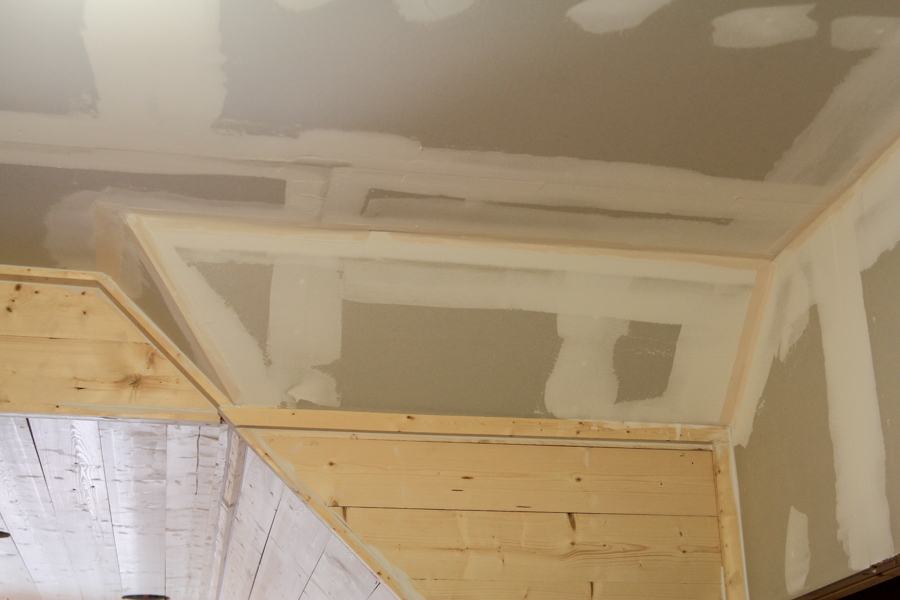
And here is what this area looks like now! The sheetrock still needs some sanding and another coat of paint, but it’s looking mighty finished in here.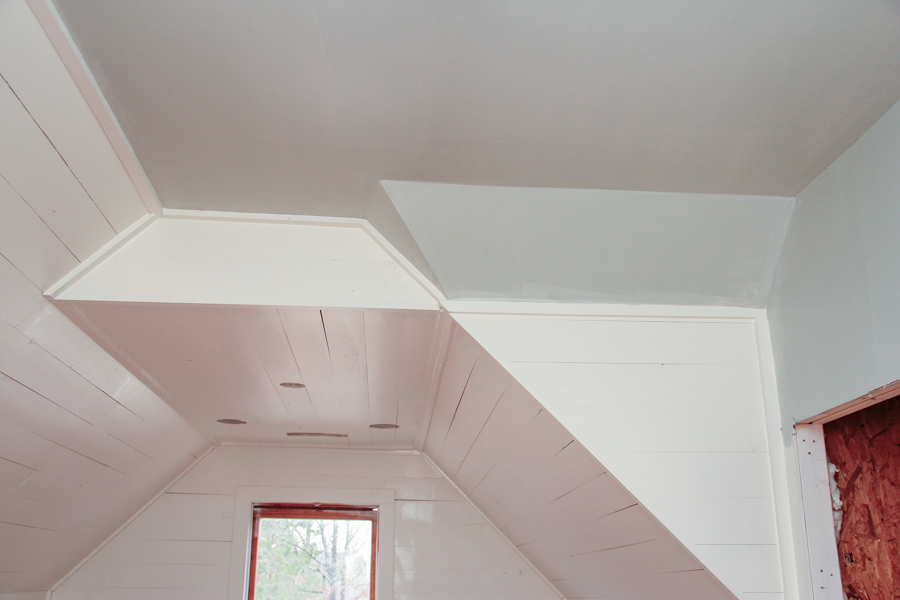
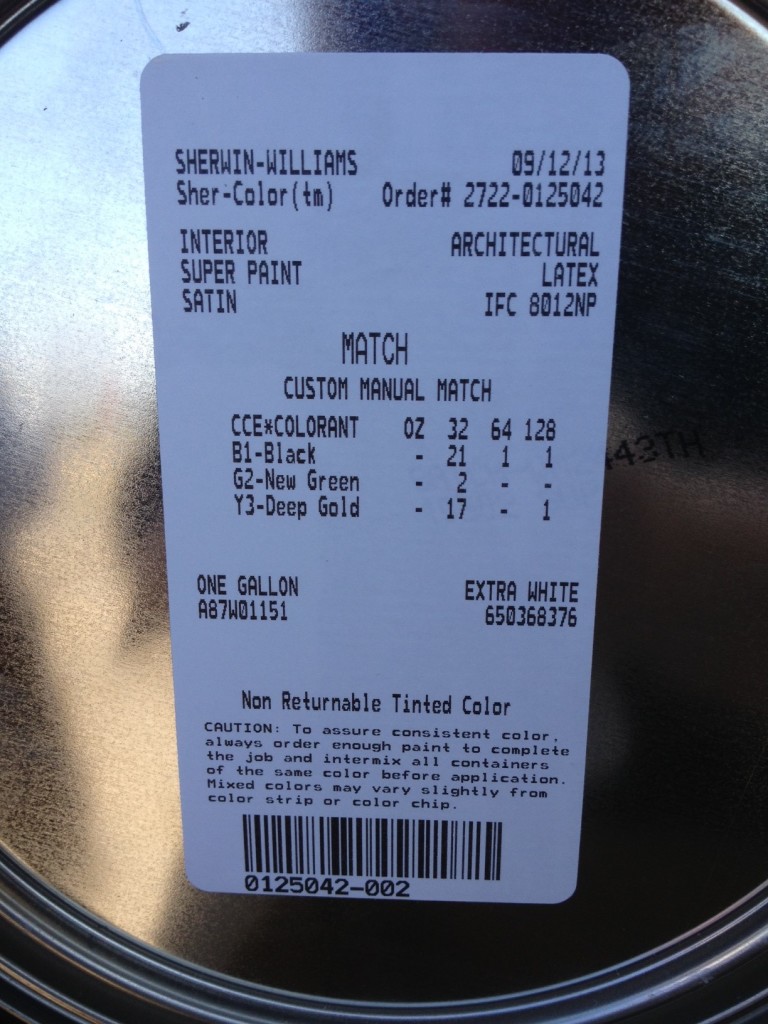
The blue/green ceiling paint is a color-match from Restoration Hardware Silver Sage. Here is the paint can lid if you want to match it up at your local Sherwin Williams store:
We used Sherwin Williams Emerald brand paint in Westhighland White with an eggshell finish on the shiplap. He sprayed it on with a sprayer to get a really nice finish without any drips or runs.
Sherwin Williams was nice enough to give me this Emerald paint+primer with stain blocking which is perfect for the wooden shiplap. I’m super impressed by how fast it covered the wood!
This is after just two coats.
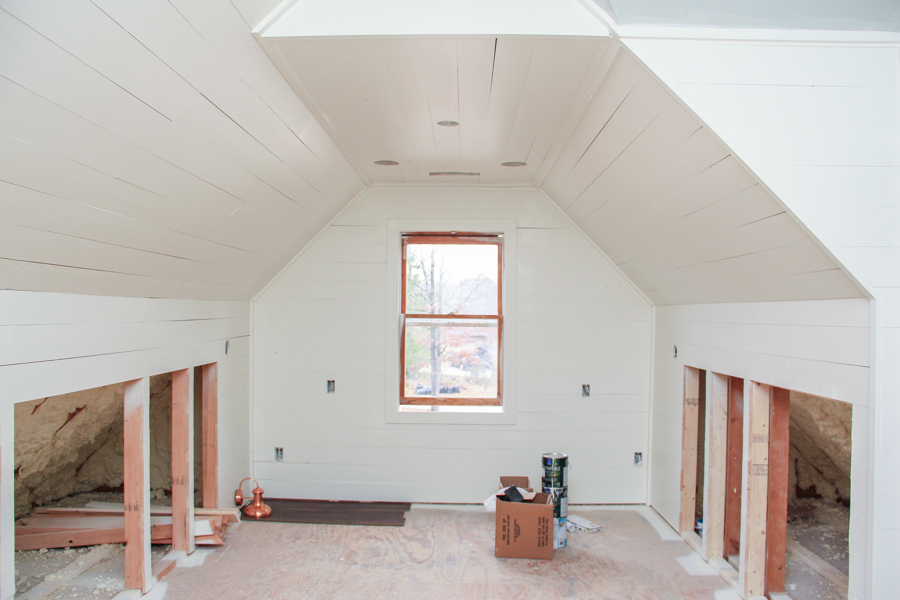
Y’all. This is the attic office/playroom of my dreams.
It looks exactly like what I had pictured in my head, which is always a good thing when you’re in the middle of a major home renovation like this.
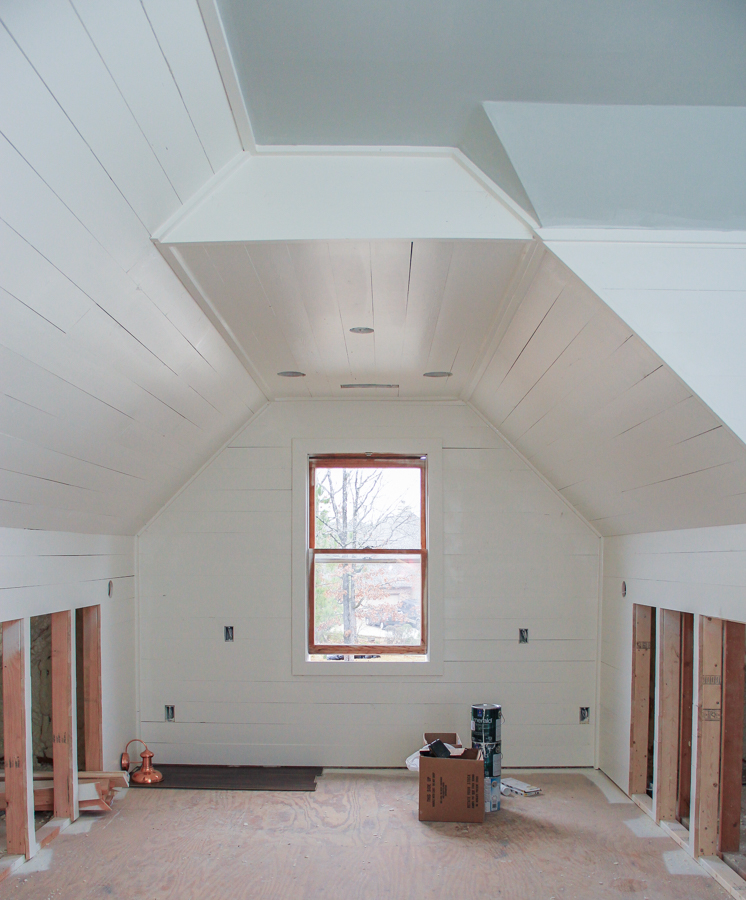
The flooring has arrived but it’s not ready to be installed just yet. Still, I couldn’t resist pulling out a few pieces to get an idea of what the finished room will look like. Here ya go, if you can envision this from one tiny corner.
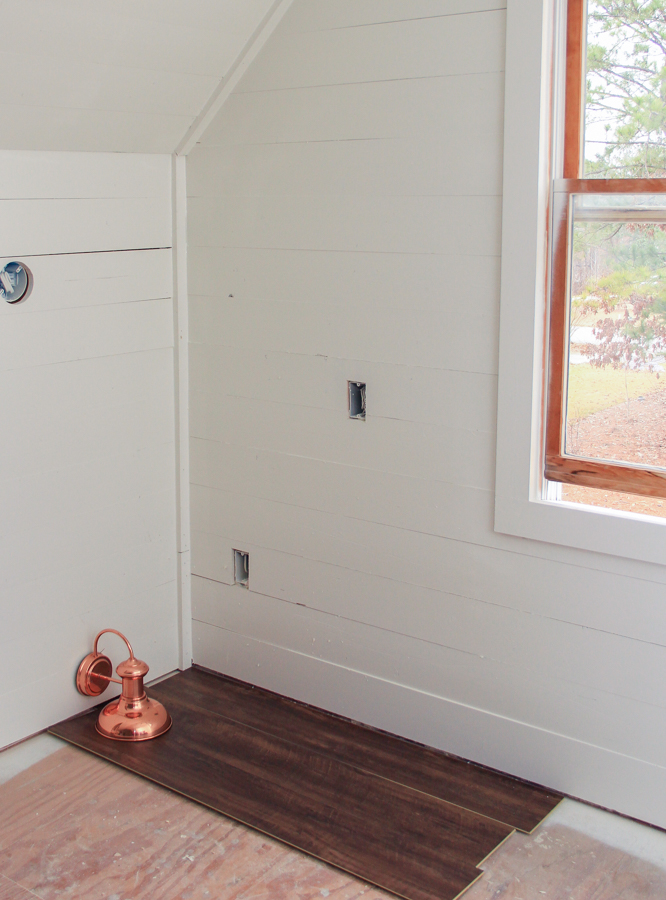
The flooring is a luxury vinyl tile with a cork backing that snaps together pretty quickly so I’m excited to see it fill the space.
Also, my AMAZING copper wall sconces arrived so I had to show you how they will look once they are installed! (Say hello to iPhone-face!)
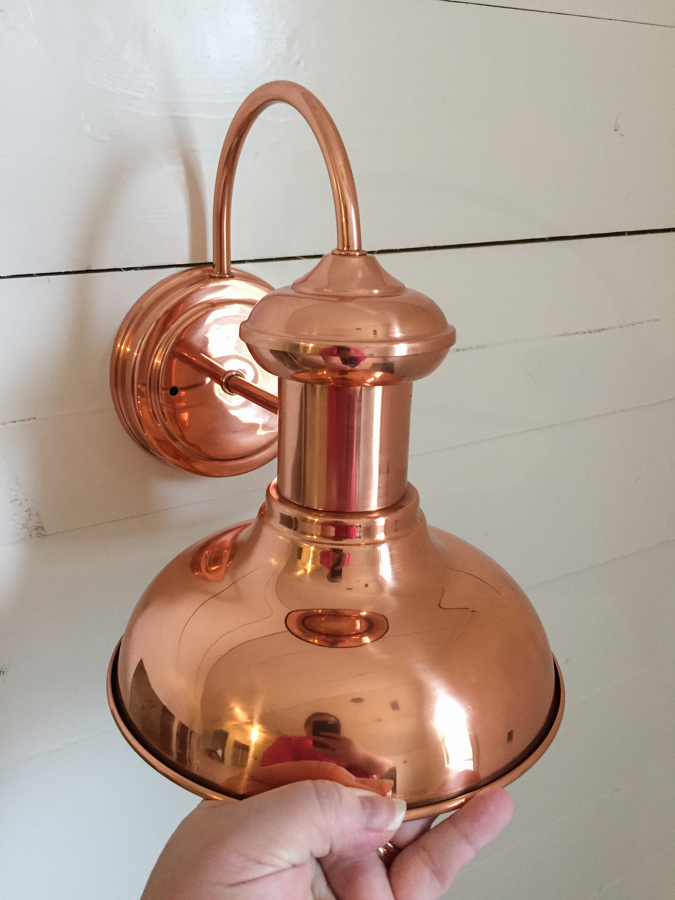
Ahhhhh, I love it all so much!! I cannot WAIT for this room to be ready so I can move in. But, there is still a lot of work to be done. We are looking at mid-January before it’s completely finished, so I am working on cleaning out my current office and shredding papers that will NOT be moved up here. My goal is to be nearly paperless from here forward. I’m also planning another doozy of a yard sale in the Spring to clean out a ton of old toys and things. I am in de-crappification mode in a major way.
This new space is going to be the perfect way to kick off 2017. New office, new playroom, new organized toy storage. I’m a happy, happy mama.
Disclaimer: I’m grateful to Purebond and Sherwin Williams for provided me with birch plywood and paint for this attic renovation. I’m not being compensated to work with these guys, I just really like their stuff. As always, all opinions are my own. Also, this post contains affiliate links.



LOVE LOVE LOVE IT ALL!
Thanks Karen!!
Oh man, I dream of doing the exact same thing to our attic. It’s going to be gorgeous.
I’m SO excited to move in. I’ve been dreaming of this attic for years! 😀
Loved the cubbies, in fact, I was really a fan of the closetmaid cubeicals, but really loved these cubbies
What is the other color paint you used?
The blue/green ceiling paint is a color-matched of Restoration Hardware Silver Sage. I have used this paint all over my house. I edited the post so you can see the color match numbers on the can lid if you want to replicate it. You can show that to your local paint store and they should be able to match it up.