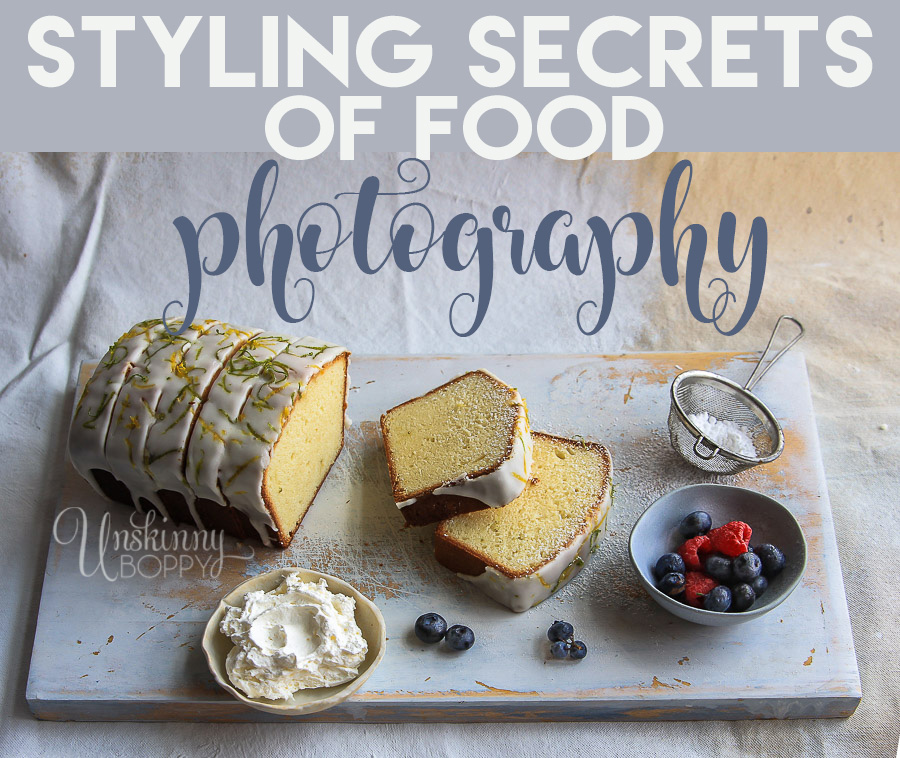
This past weekend I had the pleasure of attending a workshop here in Birmingham that taught us all about prop styling for food photography.
Jessica from Spiffy Eats hosted it along with two ladies who work as food stylists for Time, Inc.
All day long Rishon Hanners and Audrey Davis style food photos for magazines like Southern Living and Cooking Light.
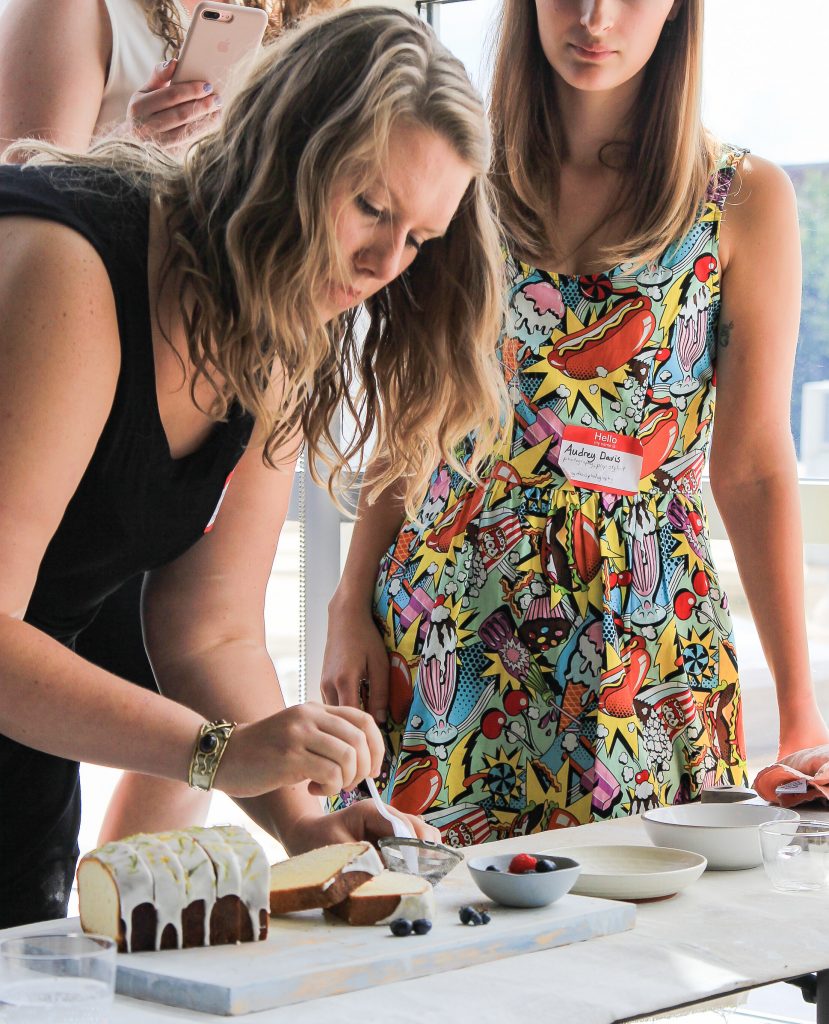
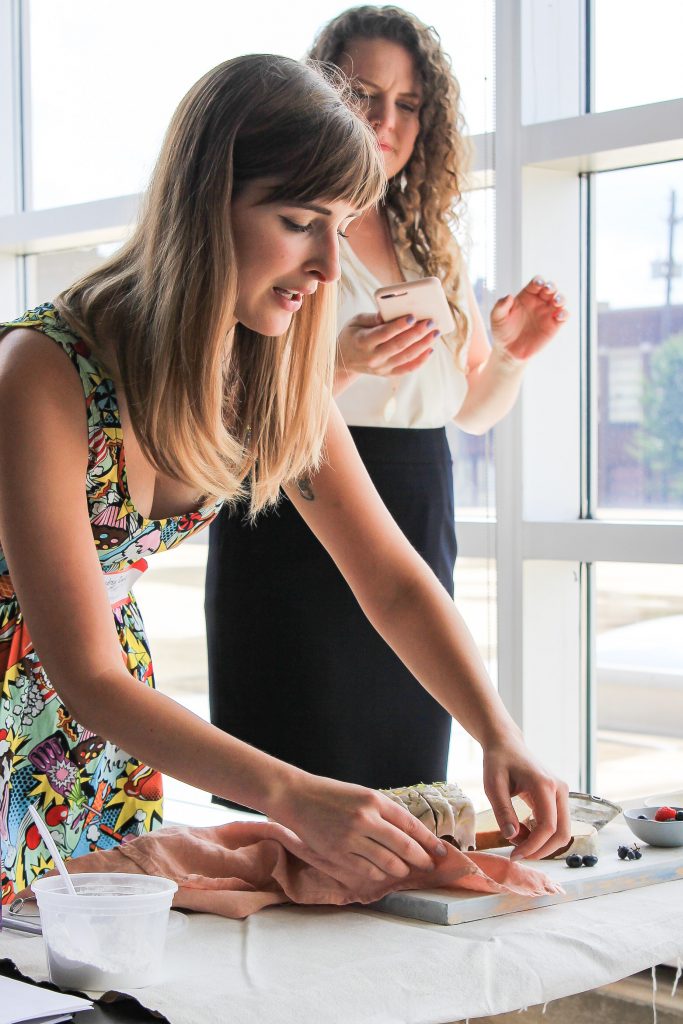
It was a joy to watch them work together to set up the perfect shot. They made it look SO easy, when in fact it takes a lot of skill to set up a hero shot for food photography. Rishon does the food and Audrey does the props. They were a dynamic duo.
Beth Branch of bethcakes.com also talked to us about the art of food photography. Her photography is SPECTACULAR, so it was great hearing her perspective on things. Look at how beautiful her pics are!

For real, beware of following her on Instagram because she will make you gain 10 lbs just looking at her pics.
After the speakers and workshop lessons, we all set to work styling our own plates. They had tables set up by the windows for us to work on. You can see my back and my ear in this photo…lol
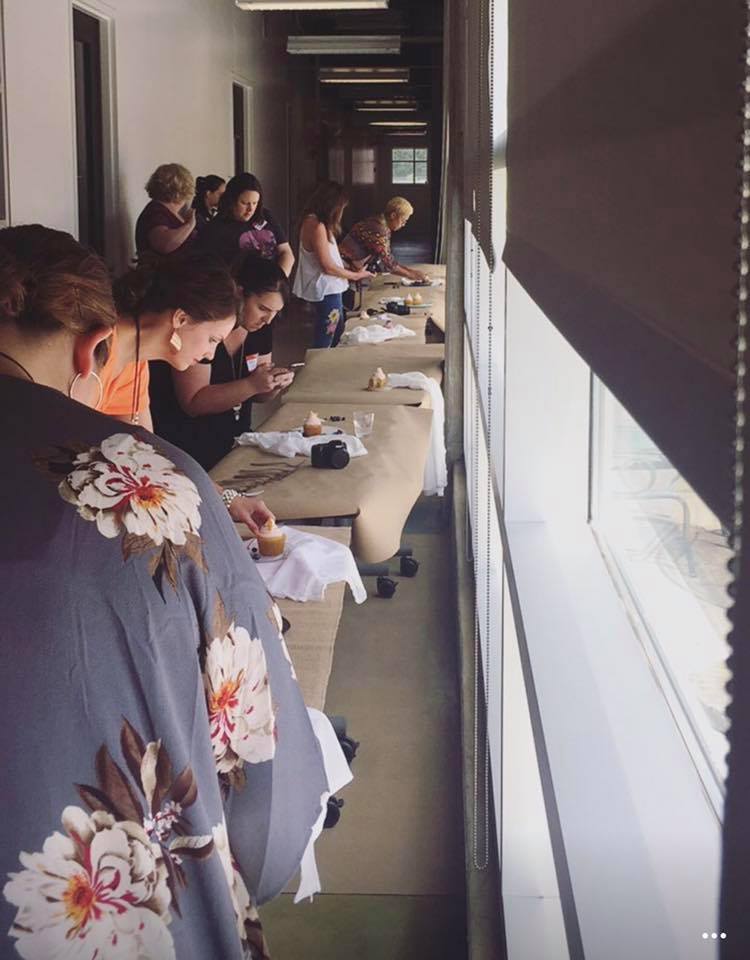
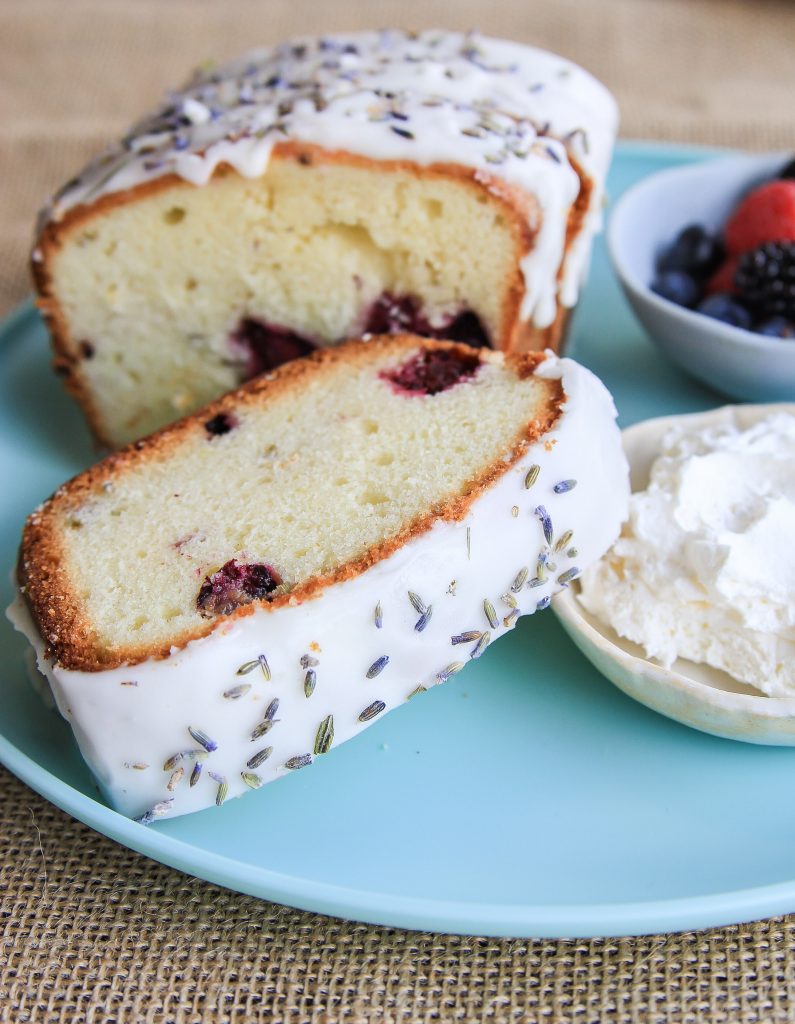
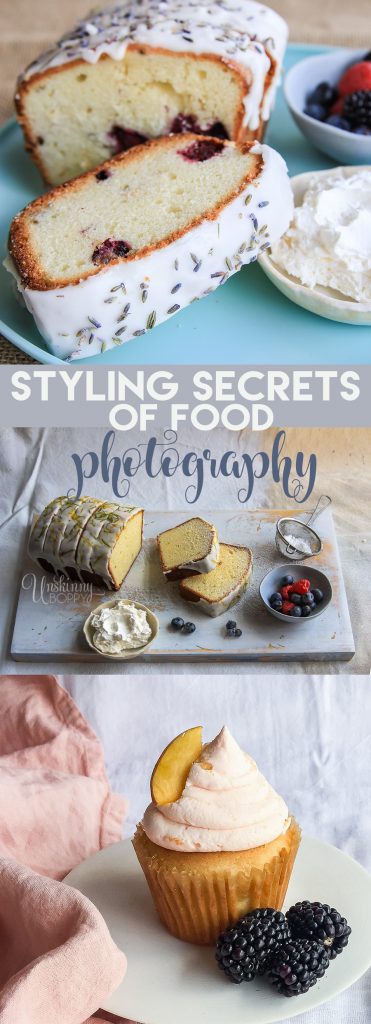
Beehive Baking Company in Birmingham provided us with GORGEOUS desserts to photograph, including this lemon pound cake topped with lavender. Yes, I might have squealed a lil’ bit when I saw it.
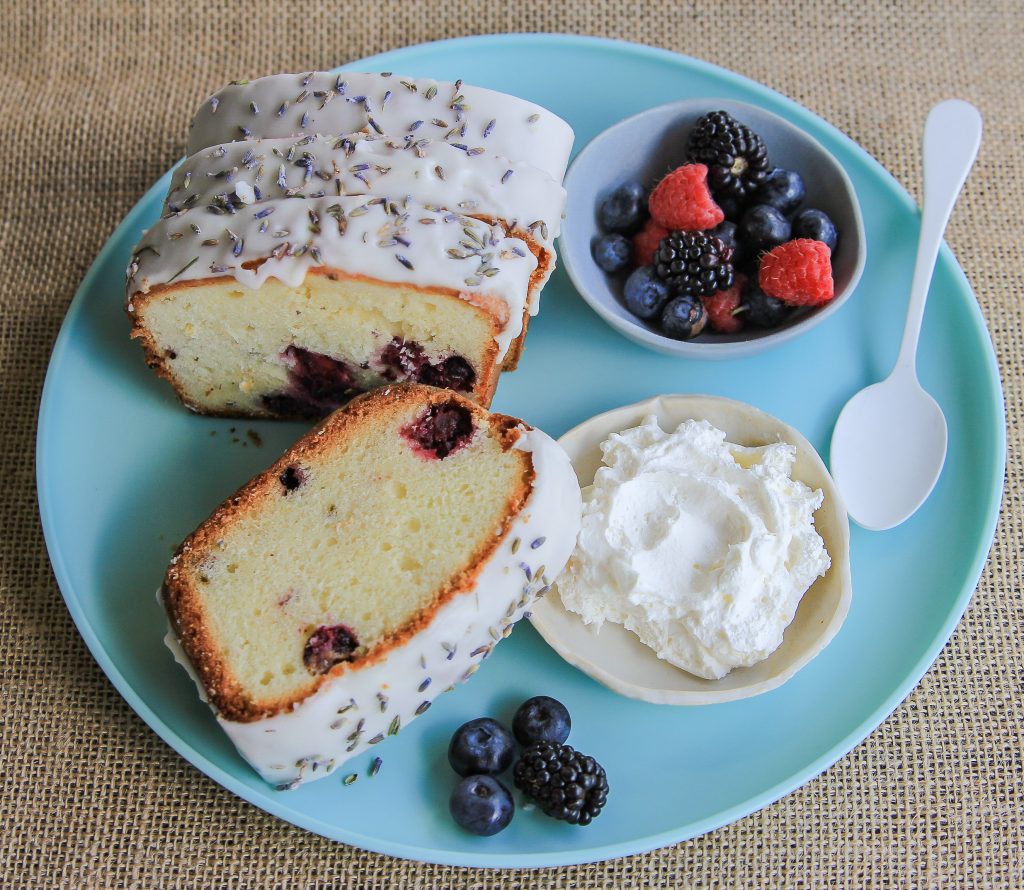
Isn’t this is the most photogenic pound cake you ever did see? I love lavender.
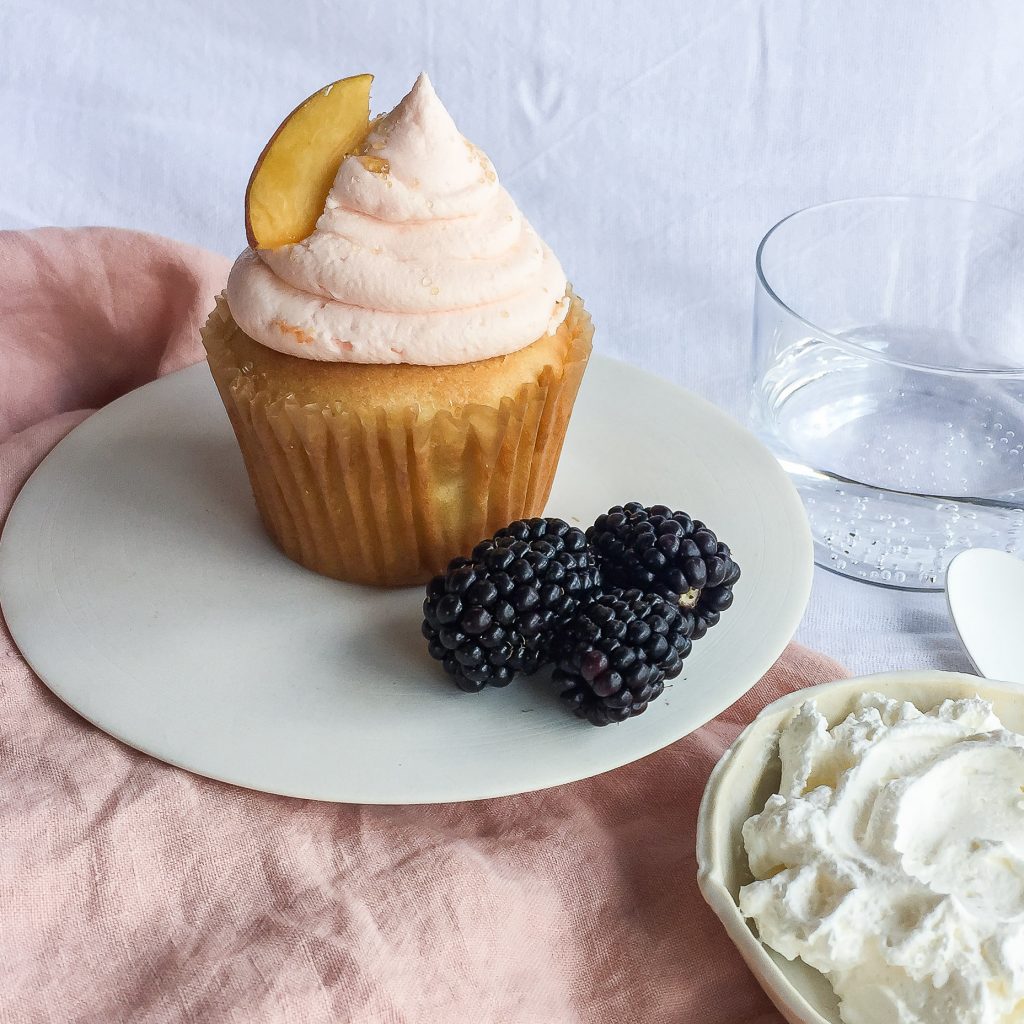
But there were also cupcakes! I chose this Peaches-n-Cream one to photograph.
Here’s the view Caroline has when she dives head first into a plate of cake. Look ma! No hands! NOMNOMNOM.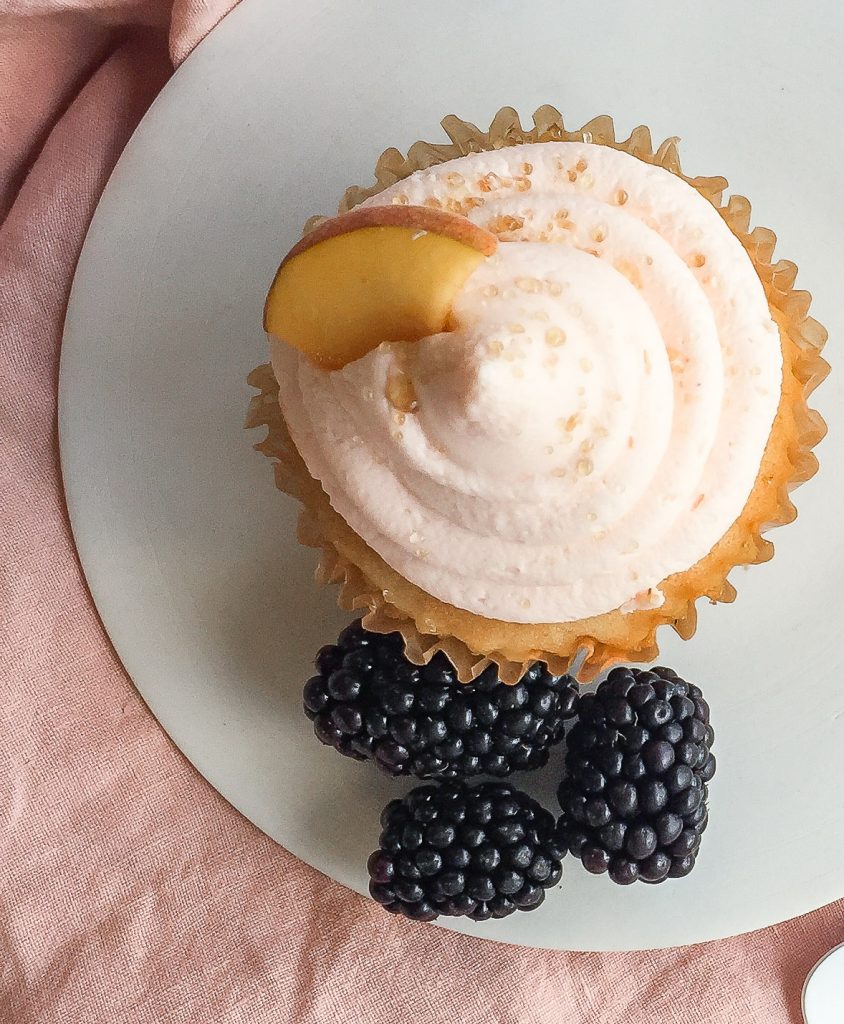
This side-angle shot is better, though. Don’t you love how that blush linen drapes around that cake plate? It took a lot of work to get that fabric to wave around all casually like that. That might have been the hardest part of this picture, actually. 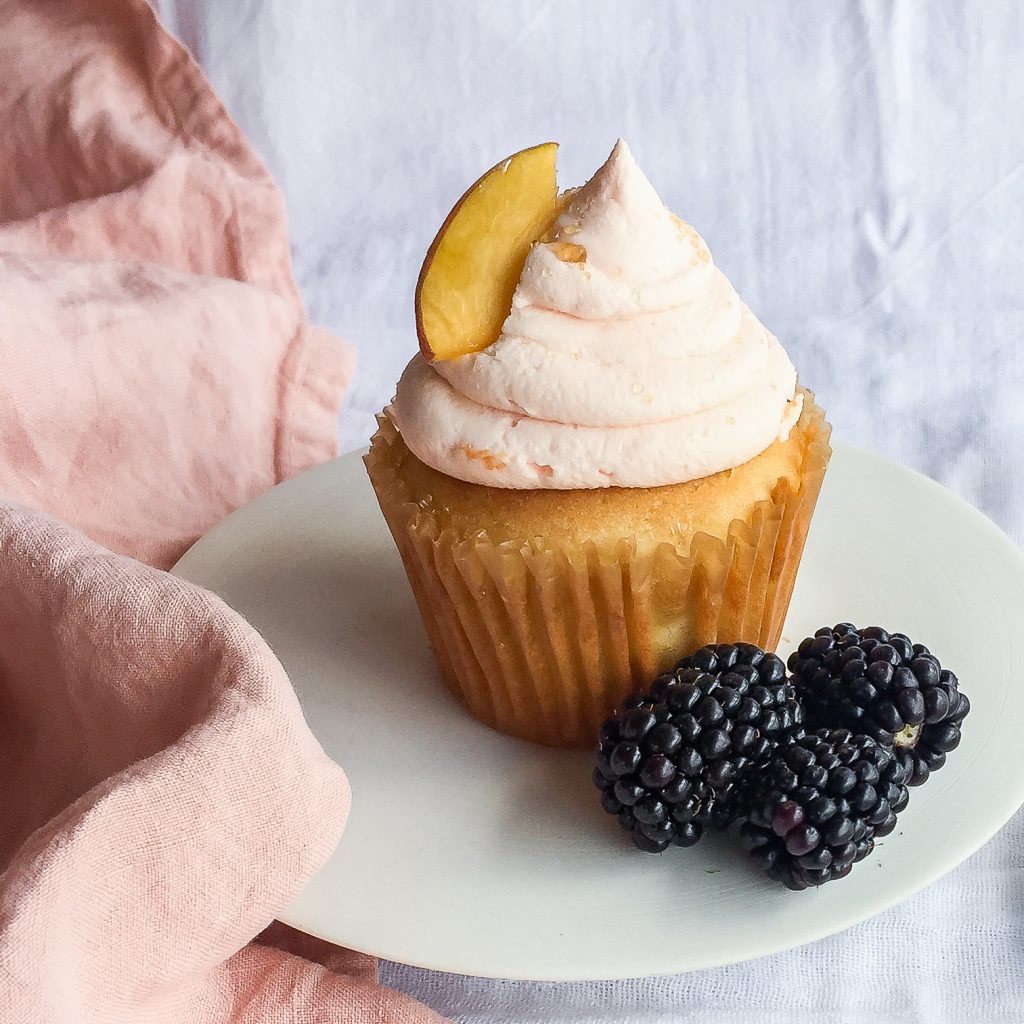
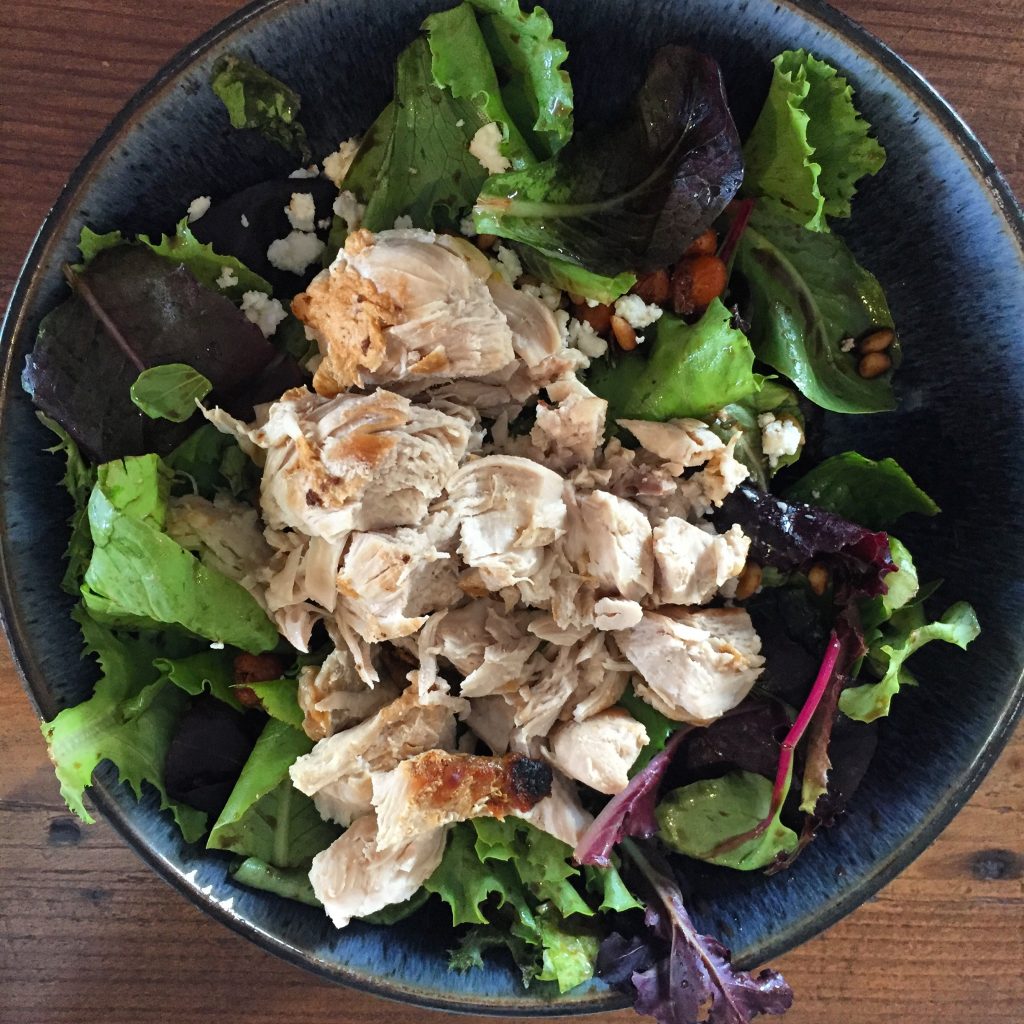
After an amazing hands-on workshop, we all headed over to Real & Rosemary in Homewood for our first photography challenge. Here is my lunch- an amazing grilled chicken salad with feta, pine nuts and some kind of magical chickpeas.
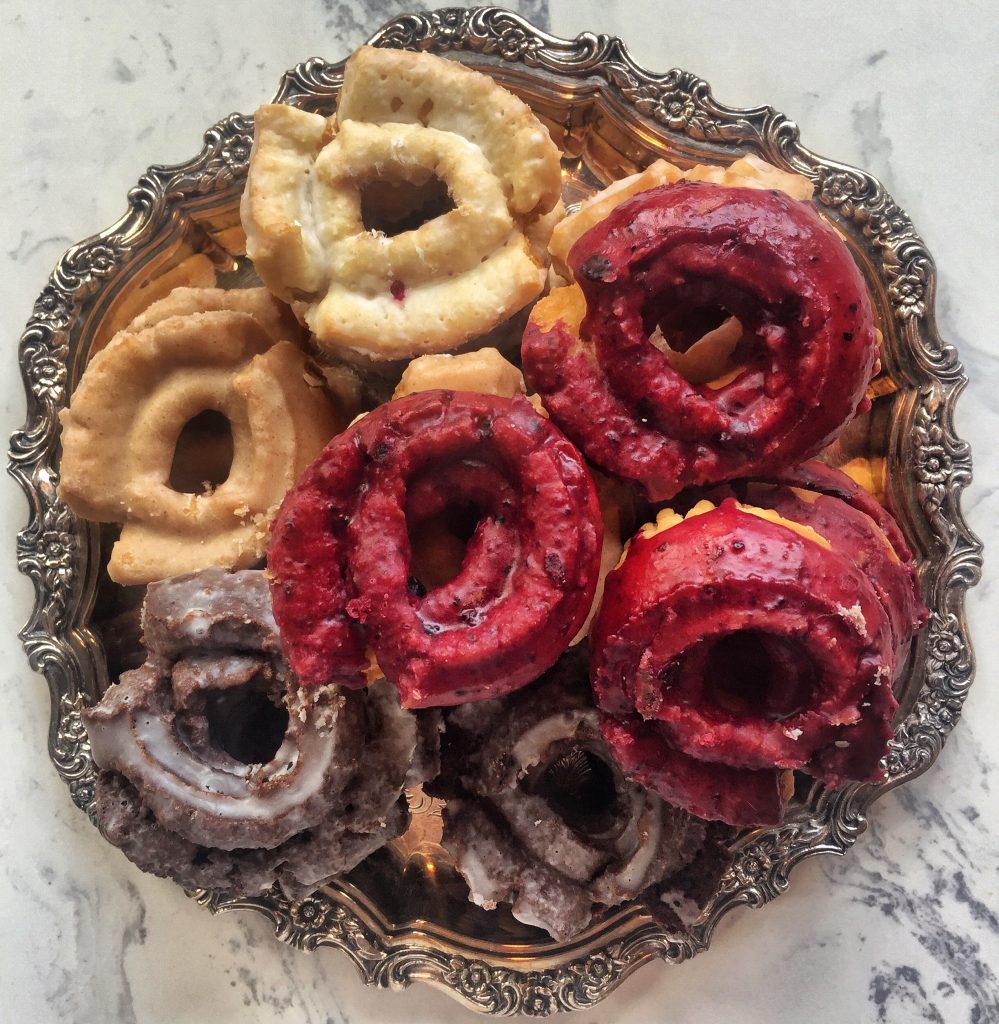
But if I’m being honest, I would have preferred this plate of donuts sitting by the register as my lunch instead.
HOLY DONUT-HOLEY!
Here are a few of the highlights that I picked up yesterday about how to take better pictures of food.
Food Photography Tips from the Pros:
Use natural light – find the best light in your house and setup a workspace there. Even if it’s your covered porch or an open garage door- find the best natural light that is not in direct sunlight.
Turn off all overhead lighting so there is no orange glow from the incandescents
Use a backdrops with neutral texture- think woodgrains, nubby textiles or even a canvas dropcloth painted with spattered in white paint
Avoid honey or red toned woods because it can make a picture look dated.
Try to find matte or satin dinnerware or vessels so there is no reflection.
Consider the height or rims of bowls or plates and how they will affect the photo of the food. If they are distraction or cause shadows, find something different.
Shop thrift stores or ebay for single pieces of serving ware that are unique (and cheap!)
To style a linen or napkin, shake it out first, the loosely toss it down beside the plate. This is a casual move we do all the time at restaurants so make it look like it happened casually, not stiff and posed.
Try to get the edges or corner of a linen showing in the frame so it’s obvious what it is.
Smaller props take better pictures. Try to find smaller plates/ bowls and glasses so they don’t overpower the photo.
What type of mood do you want to convey? Dark and moody or bright and happy? What is the story you are trying to tell with your image? Think about the story before setting up the shot and try to incorporate the right type of props and lighting to convey that in the photo.
If you are adding text to the photo, consider the negative space where the words will be overlaid.
Keep it simple and trust your gut!
Keep a bag of photo styling tools on hand so you don’t have to run all over the place to find them every time. Here is the toolkit that Rishon carries on her shoots.
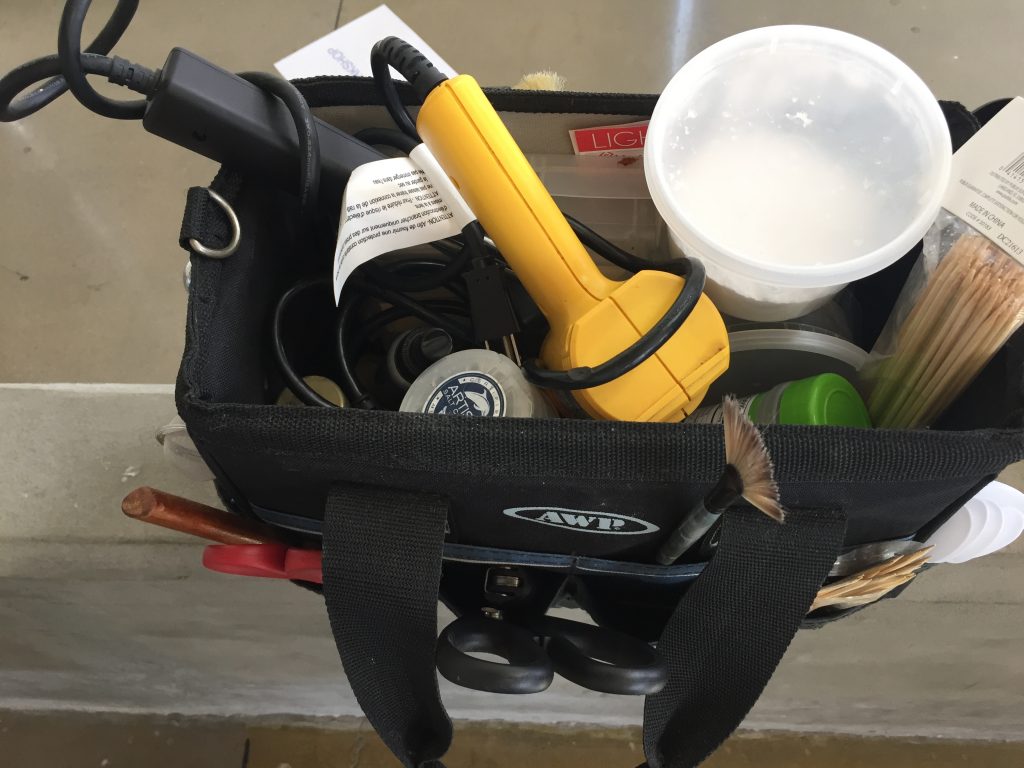
It contains all SORTS of things, but here’s a few items to note: (my affiliate links)
- Heat gun– melts things or browns food
- Electric Grill starter– creates grill marks
- Course Sea Salt and cracked pepper to add texture
- Spritzer of Olive Oil to add shine
- Spray bottle of water for shine or to revive veggies and fruits
- paint brushes to brush away excess crumbs
- extra long tweezers to move tiny pieces of food around and place it in a better spot
- spoons/ knife/ skewers
- twine/ scissors
- clothespin or clips for pinning fabrics
- Powder sugar + metal duster
It was such a great workshop with some really talented folks there to guide everyone through the process. I saw old friends and met some new ones, which is always a bonus.
I’m SO thankful to Jessica at Spiffy Eats for assembling this awesome group of local foodies and photographers together to talk shop. If she ever hosts another event, y’all be sure to check it out!!
But in the meantime… watch out.
I might start making desserts and dishes just for the sole purpose of taking pictures of them. So far in my blogging career I have resisted that crazy urge, but now I can totally see the appeal in it. There are lots of bloggers who make beautiful food, photograph it and then give it away to their neighbors. I have a feeling my neighbors would not say no to that situation, but it would have to make it out the door and not down my big mouth first.
Suddenly I feel the need to bake naked cakes and sprinkle them in lavender and coarse salt and cracked pepper with a tiny spritz of olive oil for extra shine.
Yep. I’ll let y’all know how that turns out.



This is great! For me, food pics are the most challenging! They never look as appetizing as I would like them to. I appreciate these tips!
So many great tips! I never thought about the color of wood making the picture look dated! –Shelley
Hi Beth This is so cool! I just went to a DSLR workshop the other night. It was a bit overwhelming and my notes have not moved from the corner of my desk, but it’s so fun to learn new things. I love the cupcake. I think it’s my favorite. Great job! And, with my cooking skills I need all the photo tips I can get my hands on! ha
Laura, I just assembled an e-course that breaks down how to shoot in Manual and LOTS more photography tips. 🙂 It’s packed full of info and only $29! I’d love for you to check it out- https://bethbryan.com/2017/11/how-to-christmas-card-photos-kids/
Wow! Those are pretty impressive and it looks like you had fun. We’d love to attend a workshop like that if you hear of another one. Atlanta area would be great, but traveling to Birmingham not out of the question.
Thanks Beth for sharing all these fabulous tips! You are THE BEST! I would have loved to have attended a workshop like that. But, your generous sharing is so helpful. Thank you!!
Now I know why food never photographed on my dining room table. It’s pine! Thanks for these tips!
Such great tips! Thanks for sharing your workshop tips. Now I need to go thrift shopping and find a few (non-reflective) serving pieces 🙂
Yum, these desserts look all so delicious I can almost taste them.
Catching up on my blogs… EEEK, I’m behind! Your pics look terrific… you did a super job. 🙂 I pinned this for reference… these tips actually can translate into decor photography, as well.
Thanks, Beth!