Every lake house needs a good sign pointing the way down the winding roads, don’t you think? Here is an easy DIY directional sign idea you can make from scraps of wood.
One of my favorite things about the drive to our lake cabin is this tree that sits at the intersection where you turn off the main road.
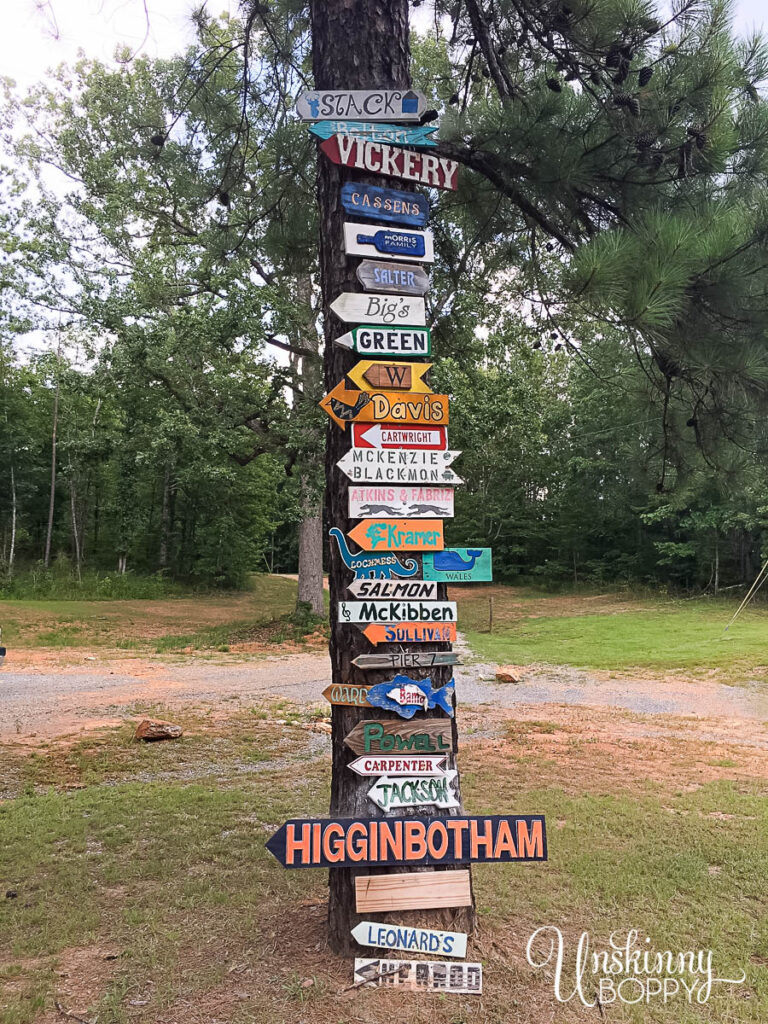
Many generations of families have used this tall loblolly pine tree as a guidepost to their little lake cabins that are scattered up and down the Coosa River. Over the years they have piled sign upon sign, last name upon last name until they are well above the reach of a tall man or even a tall ladder. The signs are decorated with pictures of whales and deer and birds and music notes and wine bottles. There’s even a Loch Ness Monster right in the middle there.
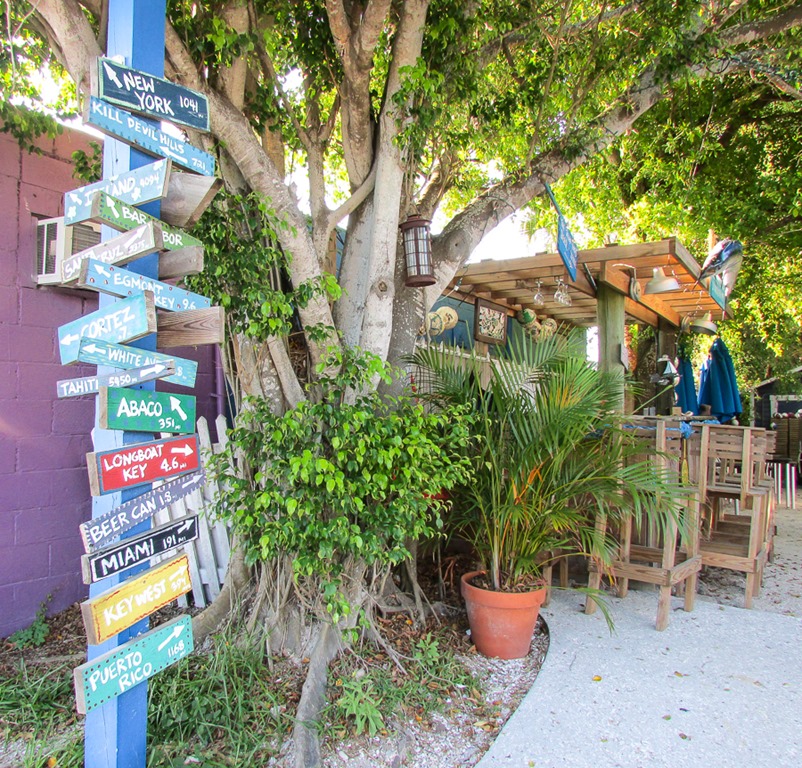
It reminds me so much of one of those tropical signs pointing out the direction and mileage to neighboring islands. The signs are so colorful and happy and you just know there’s a good time and a cold beer waiting at the end of that destination.
We have had a bunch of scrap pieces of 2×4 cedar lying around ever since we enclosed the back porch with raised garden beds. I intended to make some birdhouses out of them but y’all know how that goes. :coughneverhappenedcough”
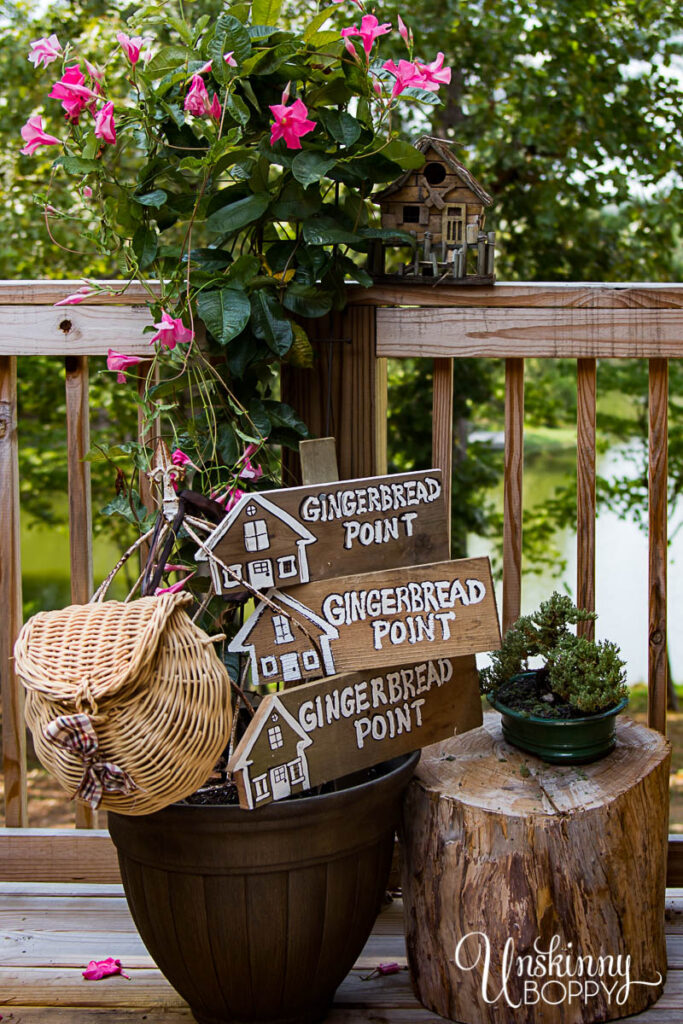
But, I finally put that scrap wood to some good use this week and made these cute signs to help lead our guests to our little gingerbread cabin out in the woods. We have named our lake house Gingerbread Point because
1. it looks just like a little A-frame gingerbread house and
2. It sits on a point surrounded on 3 sides by water.

If you’re interested, you can take a tour of Gingerbread Point right here.
We have also listed the cabin on AirBNB so it’s available for rentals! This is very exciting, but we needed a way to help folks arrive safely at their destination since they are driving in from all parts of the country and are unfamiliar with the area.
So, I decided to turn my scrap cedar boards into directional lake house signs to point the way. Here’s how we made them.
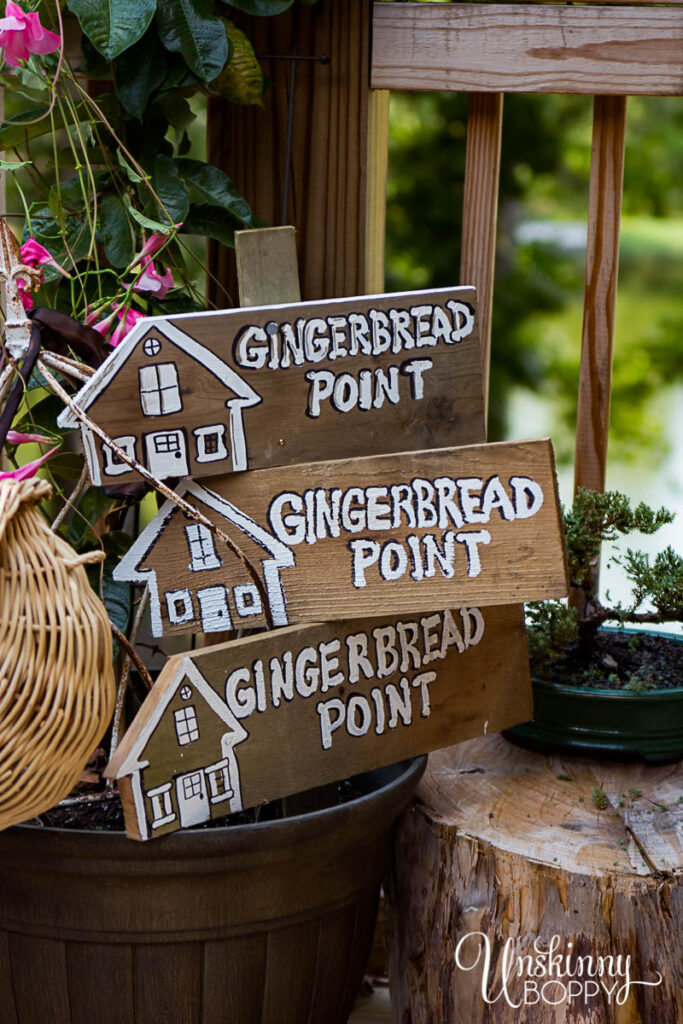
Step 1: Cut the Boards
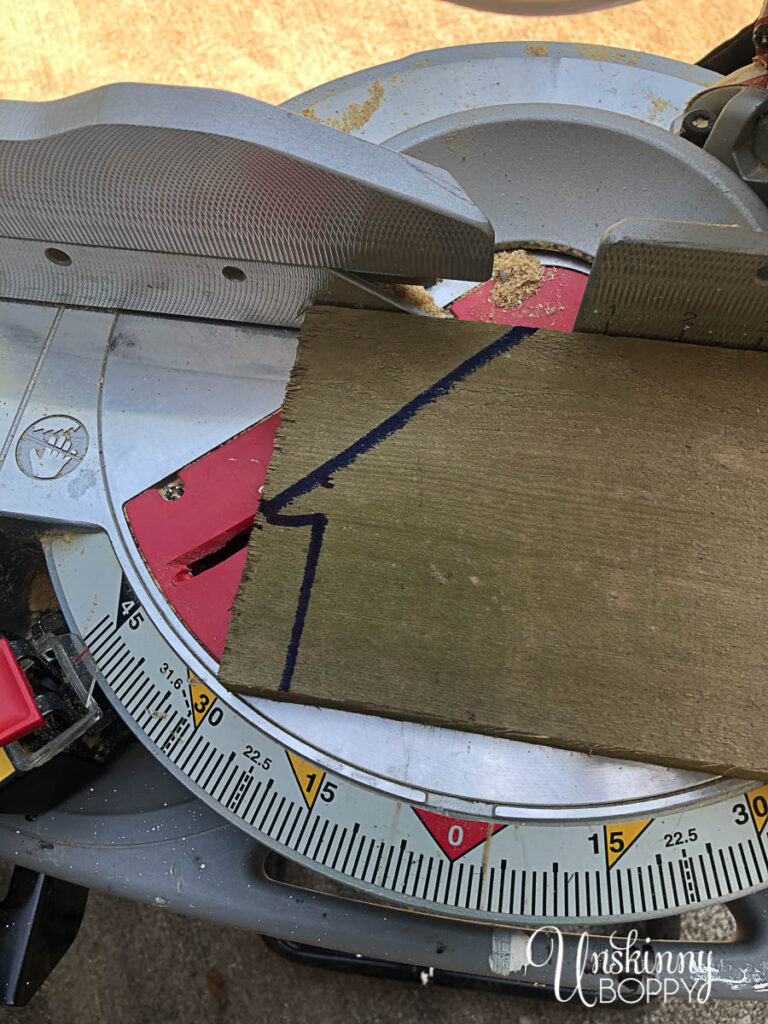
I started out by drawing the shape of the house onto the boards to use as a cutting guide. We have a miter saw so that made quick work of the 45-degree angle of the roof lines.
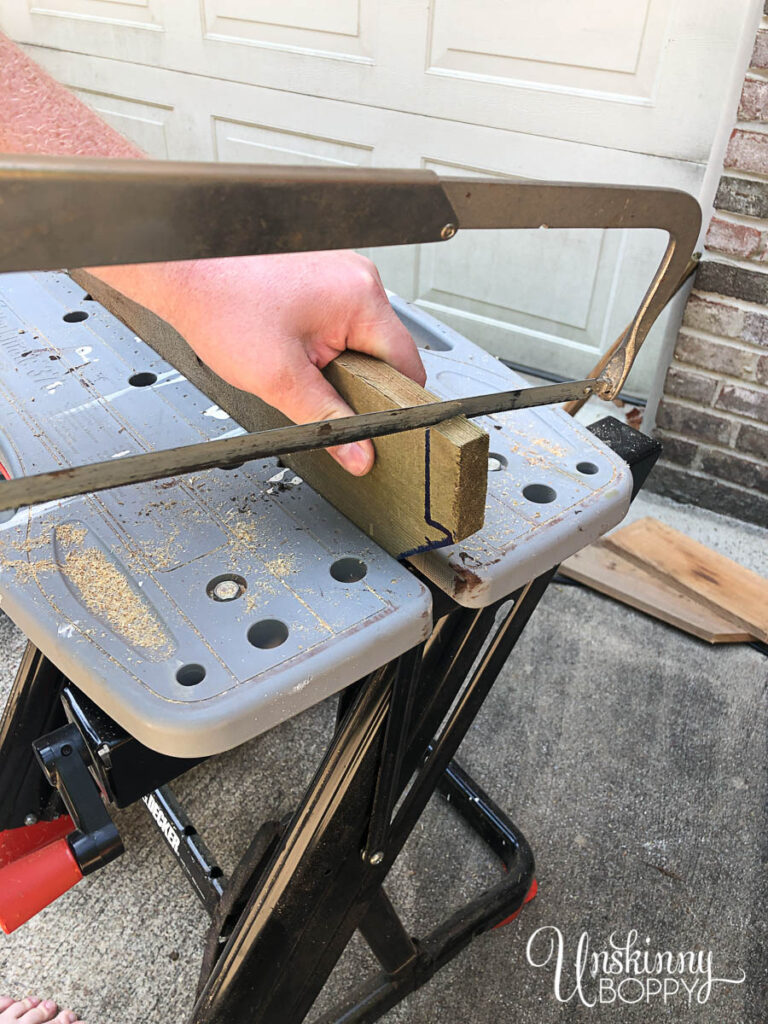
Things got a bit tricker when we had to cut the straight lines because, of course, we had taken our Skillsaw to the lake house to cut some things down there! This is the problem with having two homes- you never have the stuff you need at the right house. We improvised with this rusty old hand saw, which took way more elbow grease than anticipated. It finally worked, though. The cedar smelled great as we sawed it, and we kept all of our digits intact, so that was a plus.
Step 2: Draw the Shapes
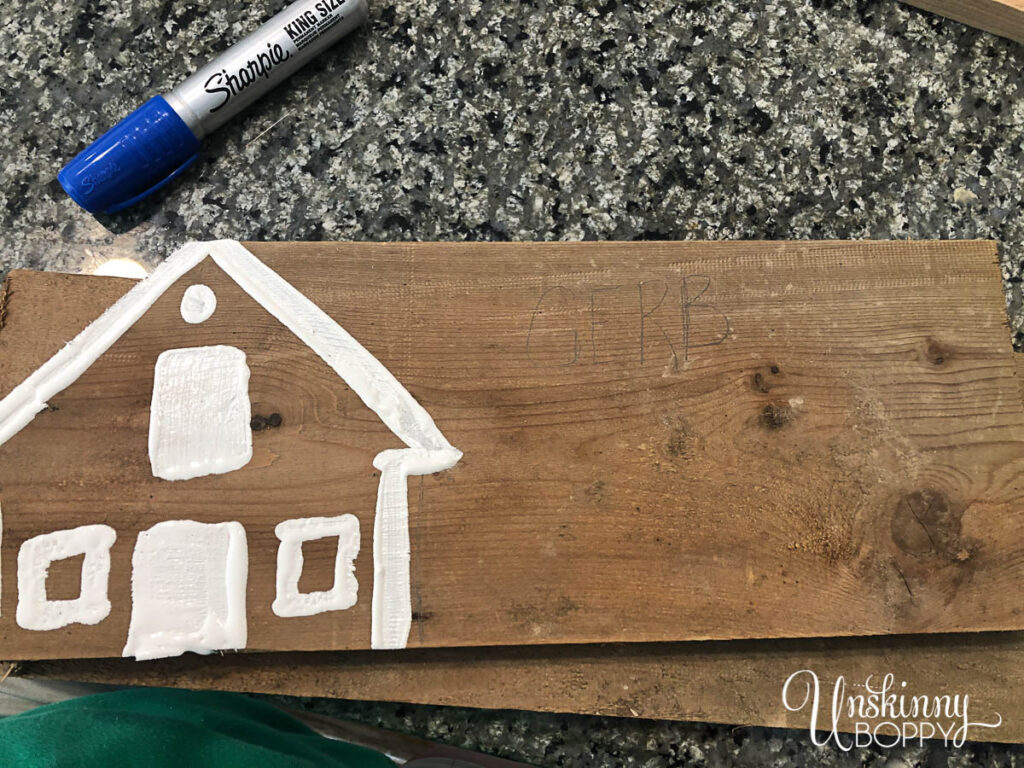
To keep the house symmetrical I flipped one of the boards over the other and mirror imaged the roofline to sketch out where I wanted to paint.
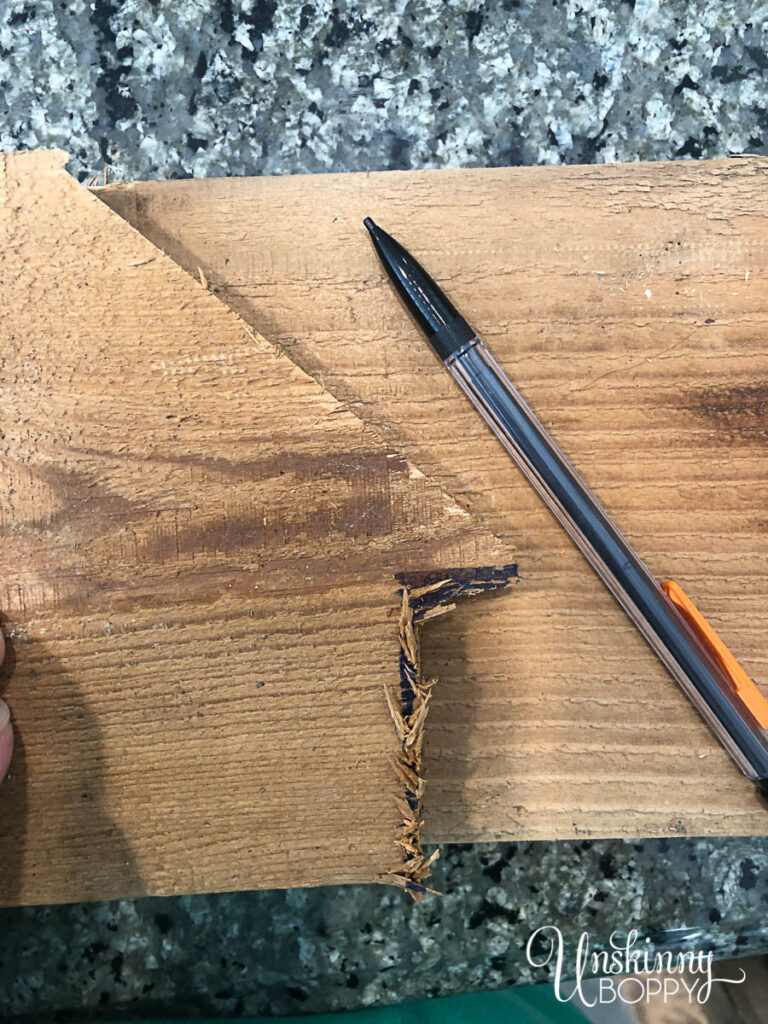
This gave me a simple little gingerbread house shape.
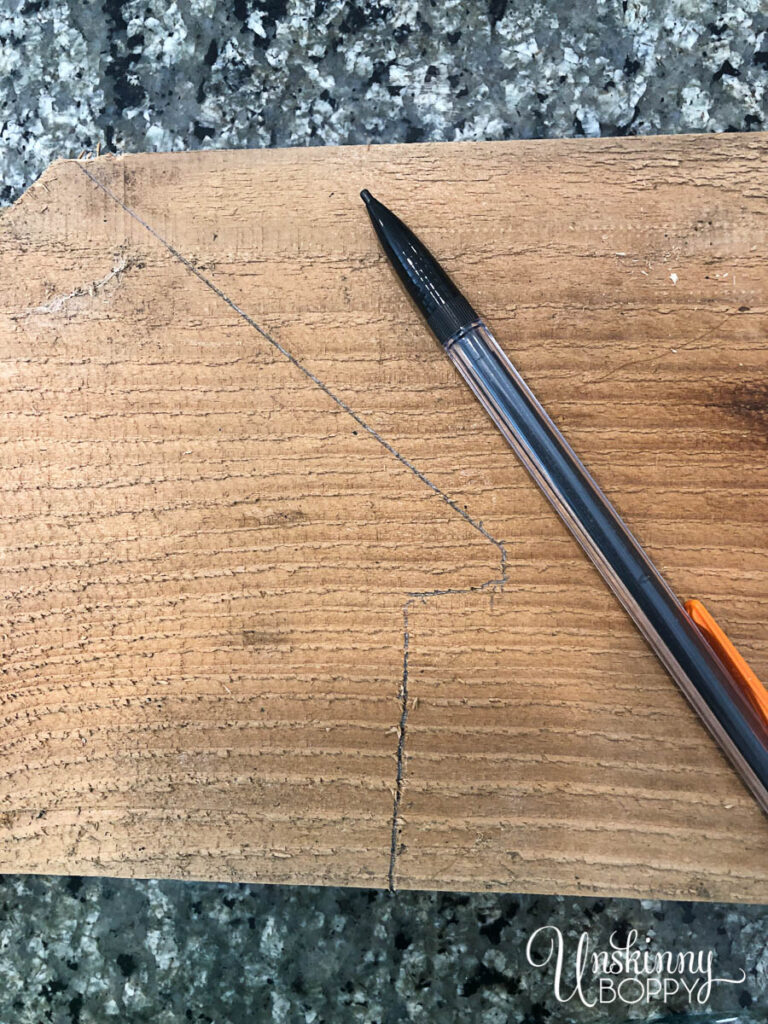
Then I hand-sketched the letters. This was a bit tricker because I wanted them to all fit onto the board without running out of room. I made sure to start with the center letters in the center of the space and work my way in either direction until I got them spaced out just right. You can barely see my pencil marks with the “GERBR” part of “GINGERBREAD” in the middle.
Step 3: Paint and Outline
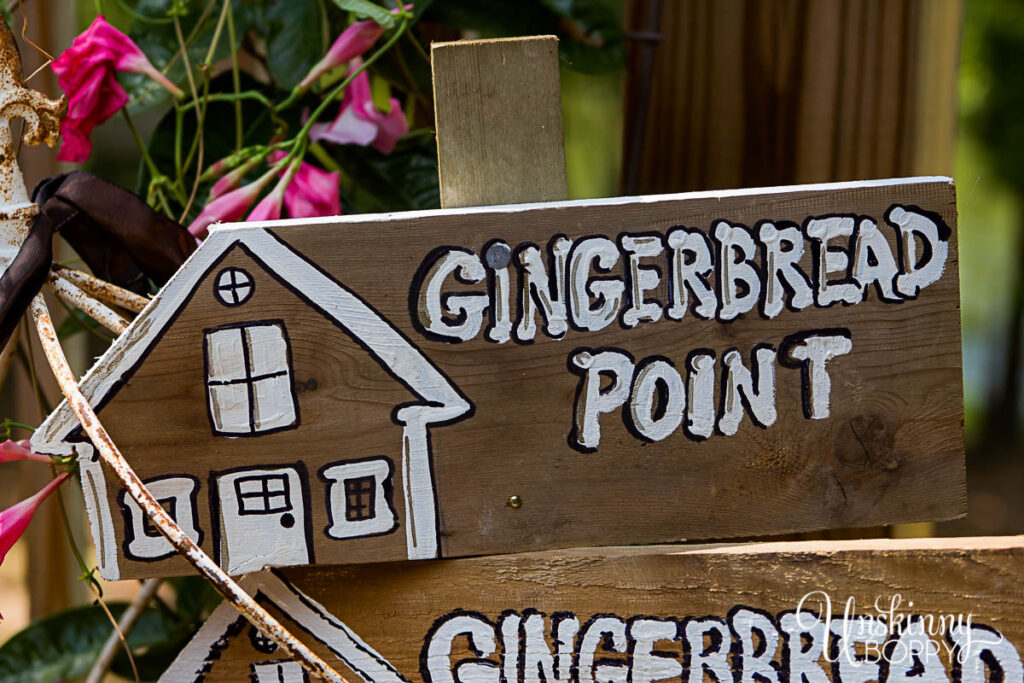
Once I got the letters spaced correctly I just painted over my pencil marks. I just used some leftover Sherwin Williams wall paint for the white parts and a big black Sharpie for the shadows. I went back over the top of one with a gold paint pen, but you don’t have to get that fancy.
Step 4: Use a Weatherproof Sealer
Once these are all painted, the last step will be to seal them all with a thick coat of exterior Spar Urethane. Since these will be outside in the weather I want them to last for years to come, a sealer is definitely recommended.
I really like this spar urethane from Rustoleum because it’s water-based so I don’t have to use any mineral spirits to wash brushes. Also, oil-based urethane can turn yellow as it ages but water-based will stay clear.
Note: For the sake of timing of this post, these pictures were taken before I applied the urethane, so the end result will look a shade darker. It should not affect the white latex paint, though.
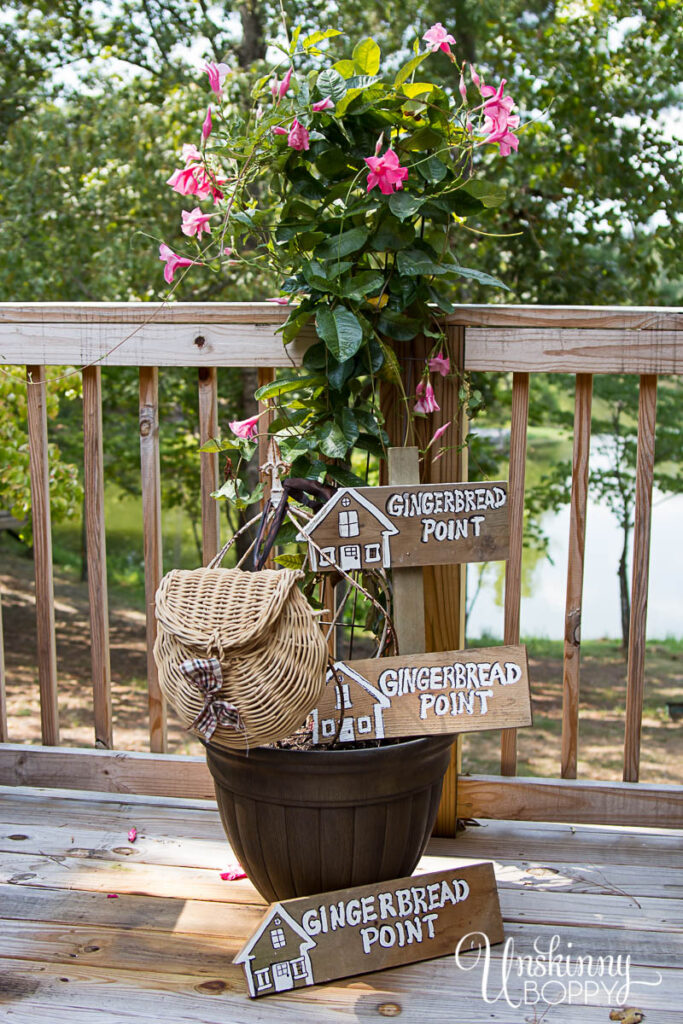
I’m really happy with the way these signs turned out! We plan to put one out at the main road, and if we don’t break our necks falling off a 14-foot ladder then we will put another one at the last turnoff to the house and another down on the seawall for folks who come by boat.
EXCITING NEWS!
I’m officially one of the newest members of the Thrifty Style Team! That means on the 2nd Friday of every month I’ll be posting a simple DIY project made from thrifted, scrap or dollar store materials. I was invited to join the team with some of my amazing blog friends who have been hosting these parties for a looooooong time. It’s a well-established group of super creative women and I’m really excited to be a part of it! Today was my first thrifty styled post so I hope you enjoyed it.
Make sure you follow these links below and check out all of the other thrifty decor ideas for this month!

- OPERATION HOME PURGE…SAVE MONEY BUYING & SELLING ON FACEBOOK by Redhead Can Decorate
- FUN HALLOWEEN CANDY CENTERPIECE DIY by Chatfield Court
- VINTAGE ENAMEL BUCKET by Bliss Ranch
- COZY FALL BEDROOM DECOR IDEAS by DIY Beautify
- UPCYCLED DETERGENT POD CONTAINER PUMPKIN CENTERPIECE by Salvage Sister and Mister
- THRIFTY BOHO STYLE PILLOW TUTORIAL by What Meegan Makes
- 5 WAYS TO UPGRADE A BATHROOM ON A BUDGET by The Creekline House
- DIY LAKE HOUSE DIRECTIONAL ROAD SIGN ON SCRAP CEDAR by Unskinny Boppy
- EASY DIY LEATHER PLANT HANGER by The How-To Home
- COUNTRY COTTAGE CUBBY MAKEOVER by Cottage at the Crossroads
- TURN A SUMMER WREATH INTO A FALL ARRANGEMENT by Duke Manor Farm
- VINTAGE HALLOWEEN PRINTABLES by I Should Be Mopping the Floor
- PAINTED PLASTIC JACK-O-LANTERN MAKEOVER by 2 Bees in a Pod
- EASY KRAFT PAPER AND PAINT TABLERUNNER by Jennifer Rizzo
- THRIFT STORE LAMP UPDATE by The DIY Village


Thanks so much for joining me today along with this team of lovely, talented ladies! I cannot wait to see what all they create next month.
If you liked this project, be sure to check out all my thrifty DIY ideas:



Hey Beth – so glad you are part of the team! Your directional signs are adorable and we loved the tour of Gingerbread Point! Your guests are so fortunate to have a beautiful place to relax!
Thanks ladies!! I’m excited to be joining all of you every month! This is the kick in the behind I needed to start making things happen again.
Oh my goodness, Beth! Your lake house is gorgeous!! What a wonderful retreat for you and the family! The gingerbread sign is too cute–and such a welcoming and perfect way to greet your Airbnb guests! I’m so glad you have joined us on the Thrifty Style Team! xoxo
Thanks Kristi! We are so in love with our little cottage and I’m excited to make more changes to it with all these monthly challenges of keeping up with all of you! LOL
So excited to have you join the team! 🙂 Love how creative these little signs are with the side of the house cut out!
Thanks Court! Happy to be here!
Hey Beth, your signs turned out so cute, and I’m pretty jealous that you even have a little gingerbread cottage to make signs for! Welcome to the TST, we’re so happy to have your creativity!!
Thanks so much Cindy! I’m excited to be a part of the TST!
The sign is marvh and now I have a hankering for some gingerbread. Welcome to Thrifty Style Team, I for one am happy you’re there.
Thanks Bliss! I have been hankering for gingerbread ever since we bought that place! LOL I bought a pack of gingerbread cookies to leave with my AirBNB renters and they have chowed down on them so it’s not just us. 🙂 I’m glad to be here!
What a creative and fun way to direct your guests.
Your guests are so lucky to have you as their hostess.
I am so glad you are on the Thrifty Style Team! I have admired your creativity for a long time. It’s fun to work with you.
Awe, thank you SO much Meegan! I appreciate your sweet compliment. Happy to be here!
Wow!! You did such a nice job on this adorable sign, Beth! I am looking forward to seeing what’s next!!
Your signs are so cute and perfect for that gorgeous lake house that you have! It looks like a great place to get away and relax. 🙂 Welcome to the Team!
Beautiful DIY lake house sign! The rustic charm of scrap cedar wood adds a unique touch. Considering durable signage options? Explore https://kbmediacorp.ca/signage-wraps/ for quality and customizable solutions to elevate your outdoor decor!