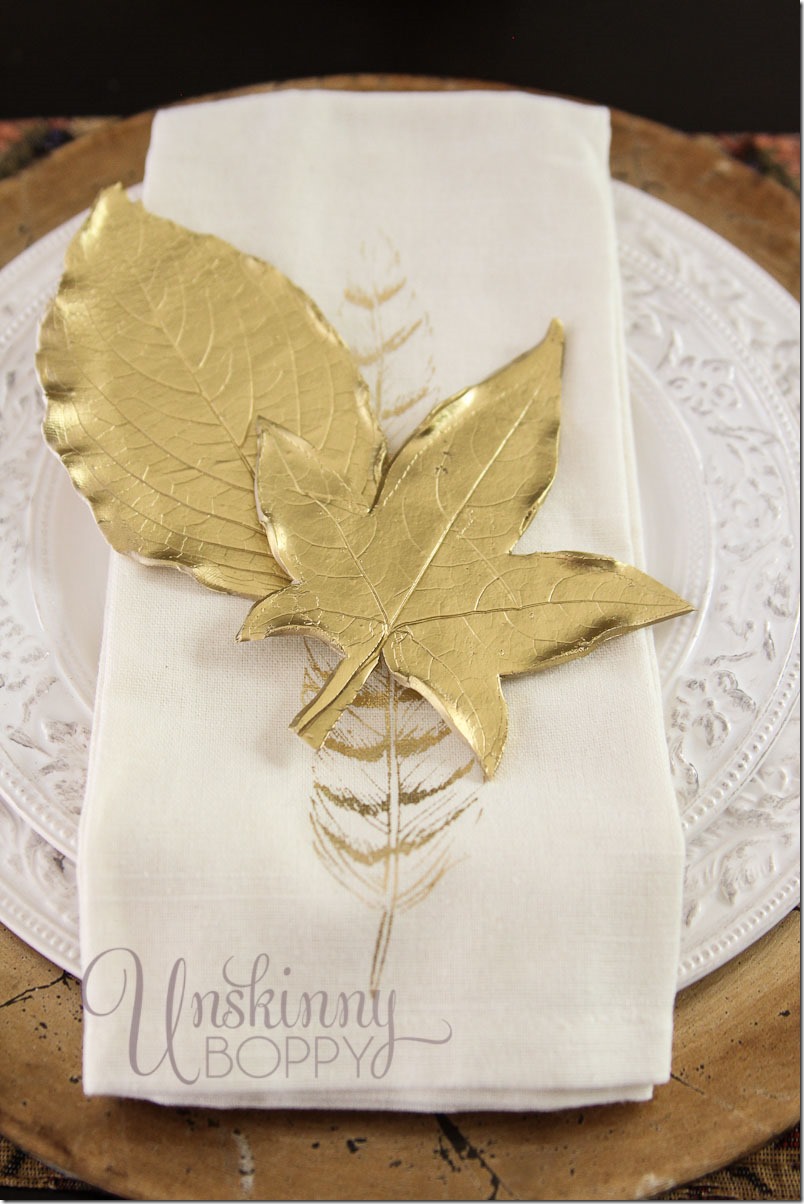
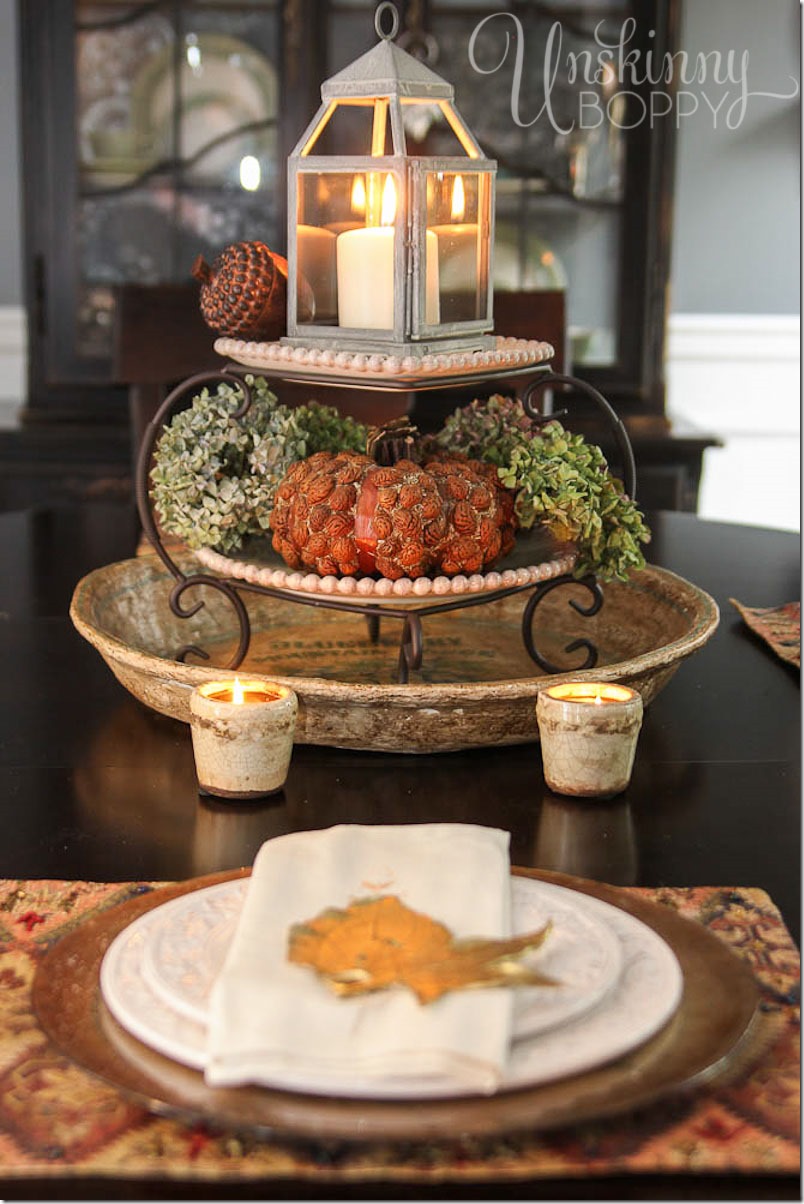
In yesterday’s post about fall decorating ideas I promised to tell you how to make these gold leaf place settings from my table. Are you ready? Don’t blink, you might miss it.
It’s super simple.
Step 1. Gather leaves from your yard. I found that green hydrangea leaves worked really well since they left deeper grooves in the clay. The pointed sweet gum leaves worked well, also.
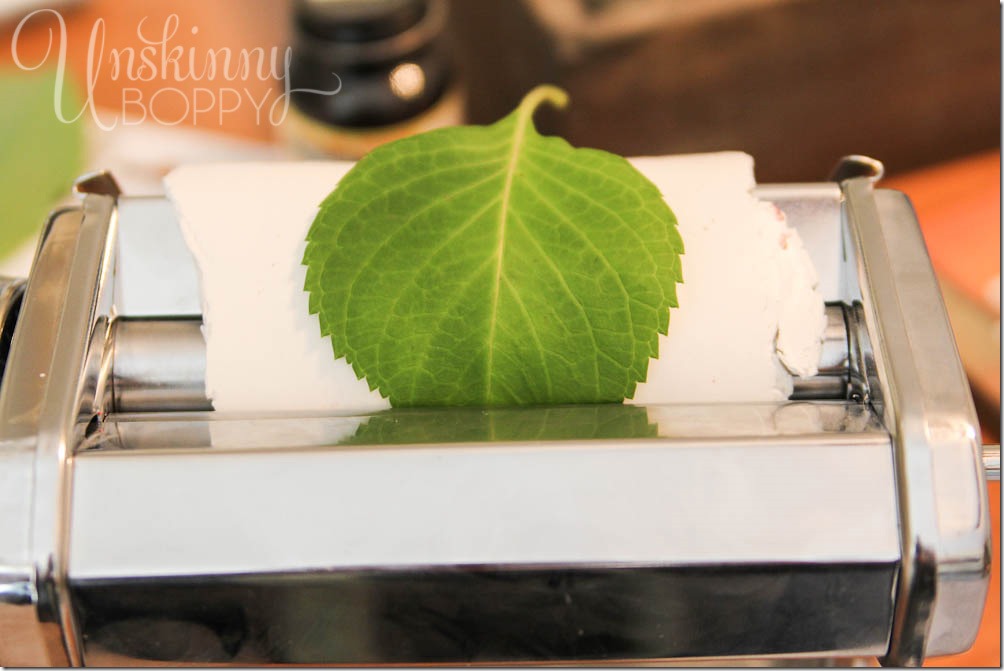
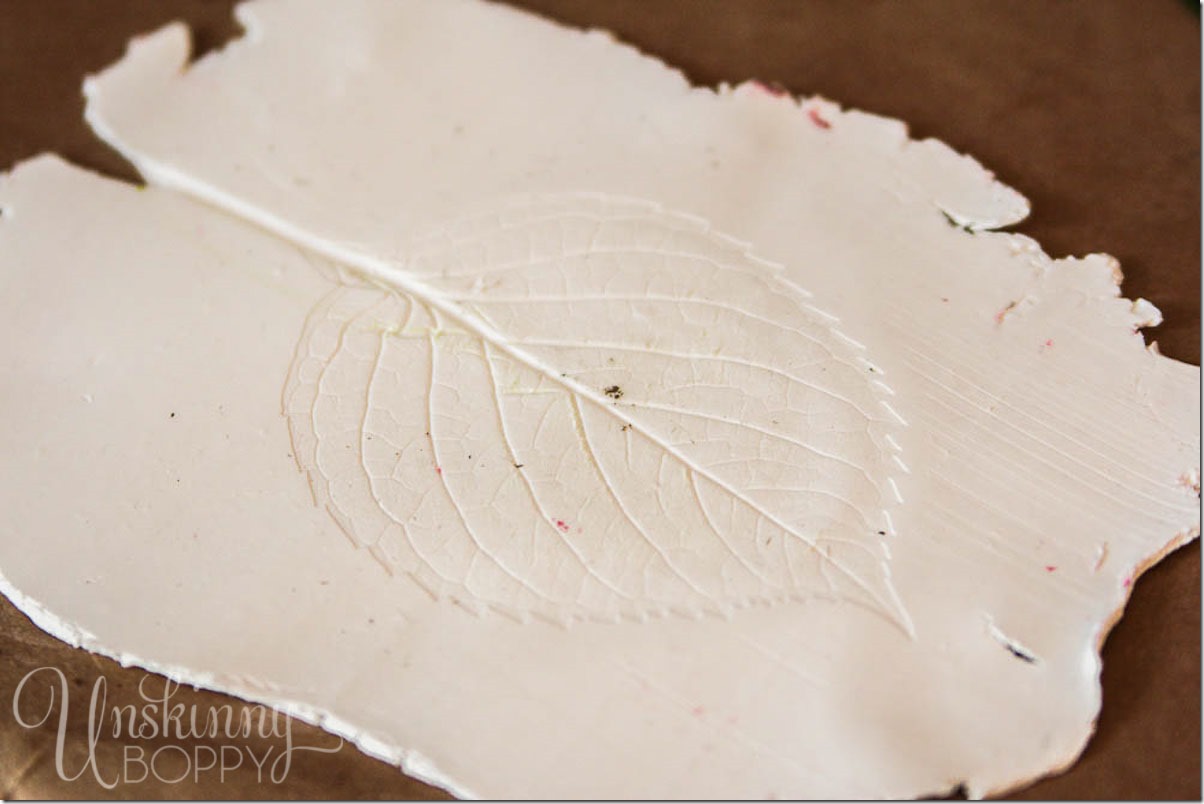
Step 2. Flatten out a lump of white polymer clay so it’s about 1/4” thick. This will require a pasta maker to get the clay smooth and flat enough. Trust me on this. I’ve tried flattening out polymer clay by hand and it was pretty impossible. Running the clay through a pasta machine a few times is quick and easy. Once you have a nice big rectangle of clay, center your leaf up in the middle of it and roll it through the pasta machine right on top of the clay. I found it works better if you narrow the width on the pasta machine down just a smidge to get it to press deeper into the clay (but not too much or it will crush the leaf).
That should result in this:
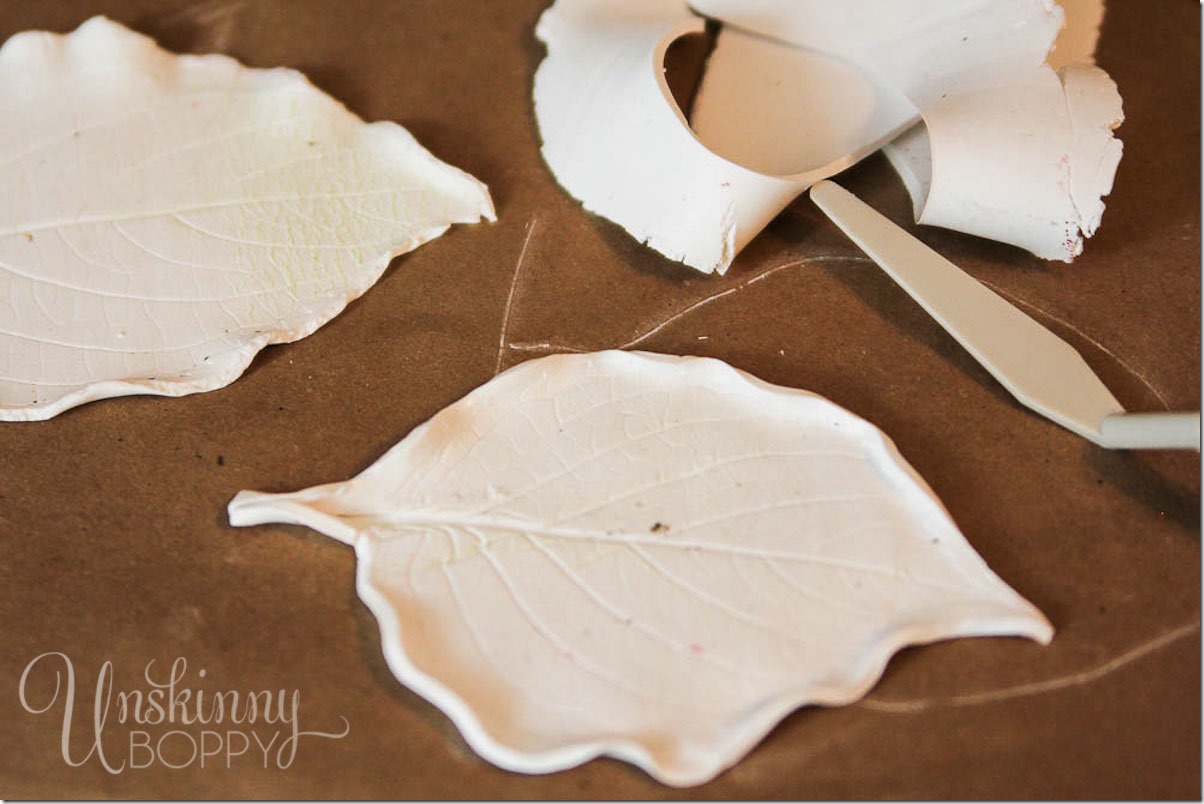
Step 3: Cut around the outside of the leaf shape and use your fingers to slightly crimp and smooth the edges to make it look like a real leaf. If you want to make an ornament out of these, now is the time to punch a hole of the string! I meant to do that part but totally forgot.
Step 4: Bake the polymer clay leaves on wax paper in a 250 degree oven for about 20-30 minutes. Let them cool outside so the stinky plastic smell doesn’t fill your house.
Step 5: After they have cooled down, spray paint the leaves gold using your favorite spray paint. I used Rustoleum Metallic Gold spray paint on these.
And that is it! Five simple steps to creating golden leaves from polymer clay. These would be great on a Christmas tree or a fall wreath. Use your imagination and get crafty with it.
Supply List:
Leaves from your yard
wax paper
Rustoleum Metallic Gold Spraypaint
Want more Fall tablescape inspiration? Check out my 2014 tablescape and placesettings!
And more fabulous Thanksgiving tablescapes and decorating with natural elements from 2013:



You are a genius!! These look like so much fun to make! Gotta go find my old pasta machine!
xo
Karen
It was super fun, Karen! I love working with polymer clay. It’s like play-dough for adults.
I don’t have a pasta machine, nothing else would work? 🙁
Kelly you can use your hands and a dough roller, but prepare to get a workout!! Polymer clay gets more pliable as it gets warmer, so the heat from your hands will mold it. You can roll it out like a snake, then fold it over itself and just keep working it to get a piece that thin, but it’s going to be super frustrating, I can assure you. I tried to do it with my hands to make an ornament and it took a long time and lots of patience, but it was doable. The pasta machine made it super quick and easy.
Those are beautiful Beth!
Thanks Abbey!
amazing idea! I love it!
I can only say WOW-
Clever, clever. Look out hydrangea leaves, here I come!
Ok Midas, that was easy. Can you whip me up some plain old gold now?
Hehe. Just one minute, lemme hide my donkey ears.
Yeah, those are awesome.
These are beautiful! I absolutely love them!
These are beautiful. I thought of another idea. You could write the guests names on each leaf and use them as place cards!! I’m so going to do this 🙂
I seriously adore you! How brilliant are these things? On our honeymoon we bought two (real, supposedly?) leaves that were dipped in gold. Gorgeous. These look like a close second and I am thanking you so much for the tutorial! You rock chica
Thanks Diana! I have a necklace of my Granny’s that was a leaf dipped in gold. I can remember her wearing it in the early 80’s, and when she passed I inherited it. I have always loved gold dipped leaves. Every time I go on vacation somewhere mountain-y I try to buy a golden leaf ornament for my Christmas tree. I understand the addiction. 🙂
I love this idea. I need to put it on my (long) list of DIY’s. Maybe for next year. Your blog is wonderful. I just found it at the link party on Centsational Girl!
I wonder if pressing with a book or rolling pin would work! I don’t have pasta machine but really love these leaves!
Yep, I bet you could make it work! Just use your body heat to get the clay flattened out, then press by hand or a book. 🙂
Love these Beth! So elegant.
What about using the pasta machine for food products afterwards, though? Will it be safe, or affect the flavor of any pasta run through it after this project?
I wouldn’t use the pasta machine for food after using polymer clay in it. I bought the machine only for clay projects. But since I’m a kitchen slacker who buys all her pasta in a box, it works out just fine. 😀 Have a great day!
Beautiful and inspired. You have an amazing eye. Are the gorgeous napkins DIY, or can you tell us where you got them?
Hey Anne! Thanks so much! The napkins came from Target last year. 🙂
Beth,
Congratulations on being featured on Pottery Barn’s blog. The gold leaves are perfect for the season. I actually was thinking they were real ones, that you had sprayed. Great job! Now, I must ask, did you paint the gold leaf outline on the napkins? They are perfect with the leaves you made.
Bravo!
Helen
Wow! That is a fantastic project! You make it look easy. Congratulations for this project being featured by Pottery Barn’s blog! You rock, girl!
Excellent idea! So simple and beautiful. I’m looking for cheap craft ideas for my Autumn wedding next year since we’re trying to keep costs down. I’m going to use this!
Hi Beth, nice idea. Hey found quick way to hardest clay. As soon as it comes out of the oven, immerse it in very cold water. Sets the clay and hardens it fast. I keep a bottle in fridge labeled clay water, do not use for the purpose. Works great.
What a great idea! Just one more reason I need to get a pasta maker!
I literally just bought a pasta machine that attaches to my mixer. I will look around for a used one though for a project like this. I love dipped leaves too. They have always been my favorite. Actually just about any leaf projects or gifts. Yours is gorgeous!