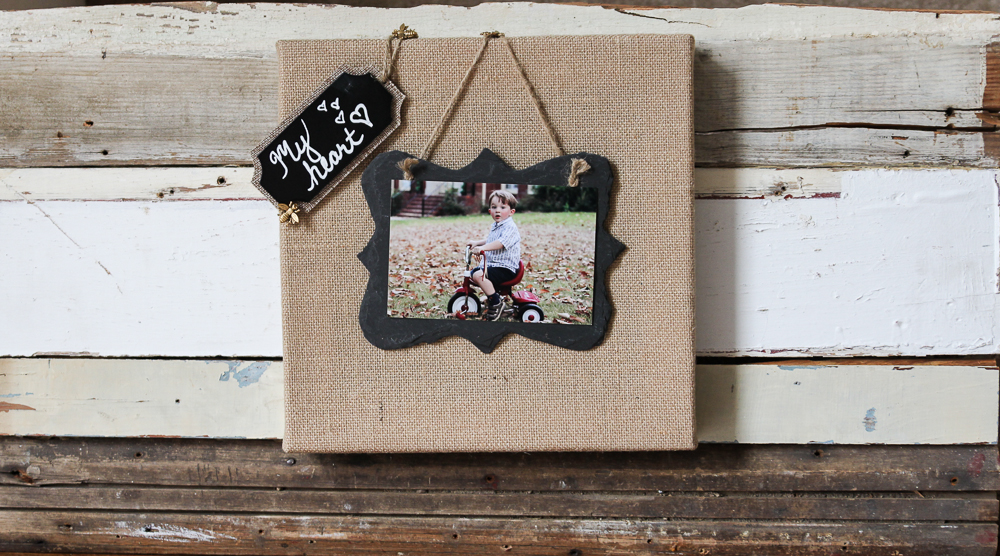
My Grandparent’s home stayed in our family after they passed away, so when my uncle decided to renovate it he gave me a bunch of the old wooden trim from around the doors and windows. I even scored the kitchen door threshold, which holds decades of dusty memories and family history within it’s grooves. I needed a way to preserve this cherished wood and display it in my own home today, so I came up with this unique photo “frame” idea. This is one of the most special projects I’ve ever created, and it will always hold a special place in my DIY loving heart. You can read all about how I created the reclaimed wood piece by clicking here.
On a side note… Did you know that I’ve never shown you guys my pantry on the blog before? True story.
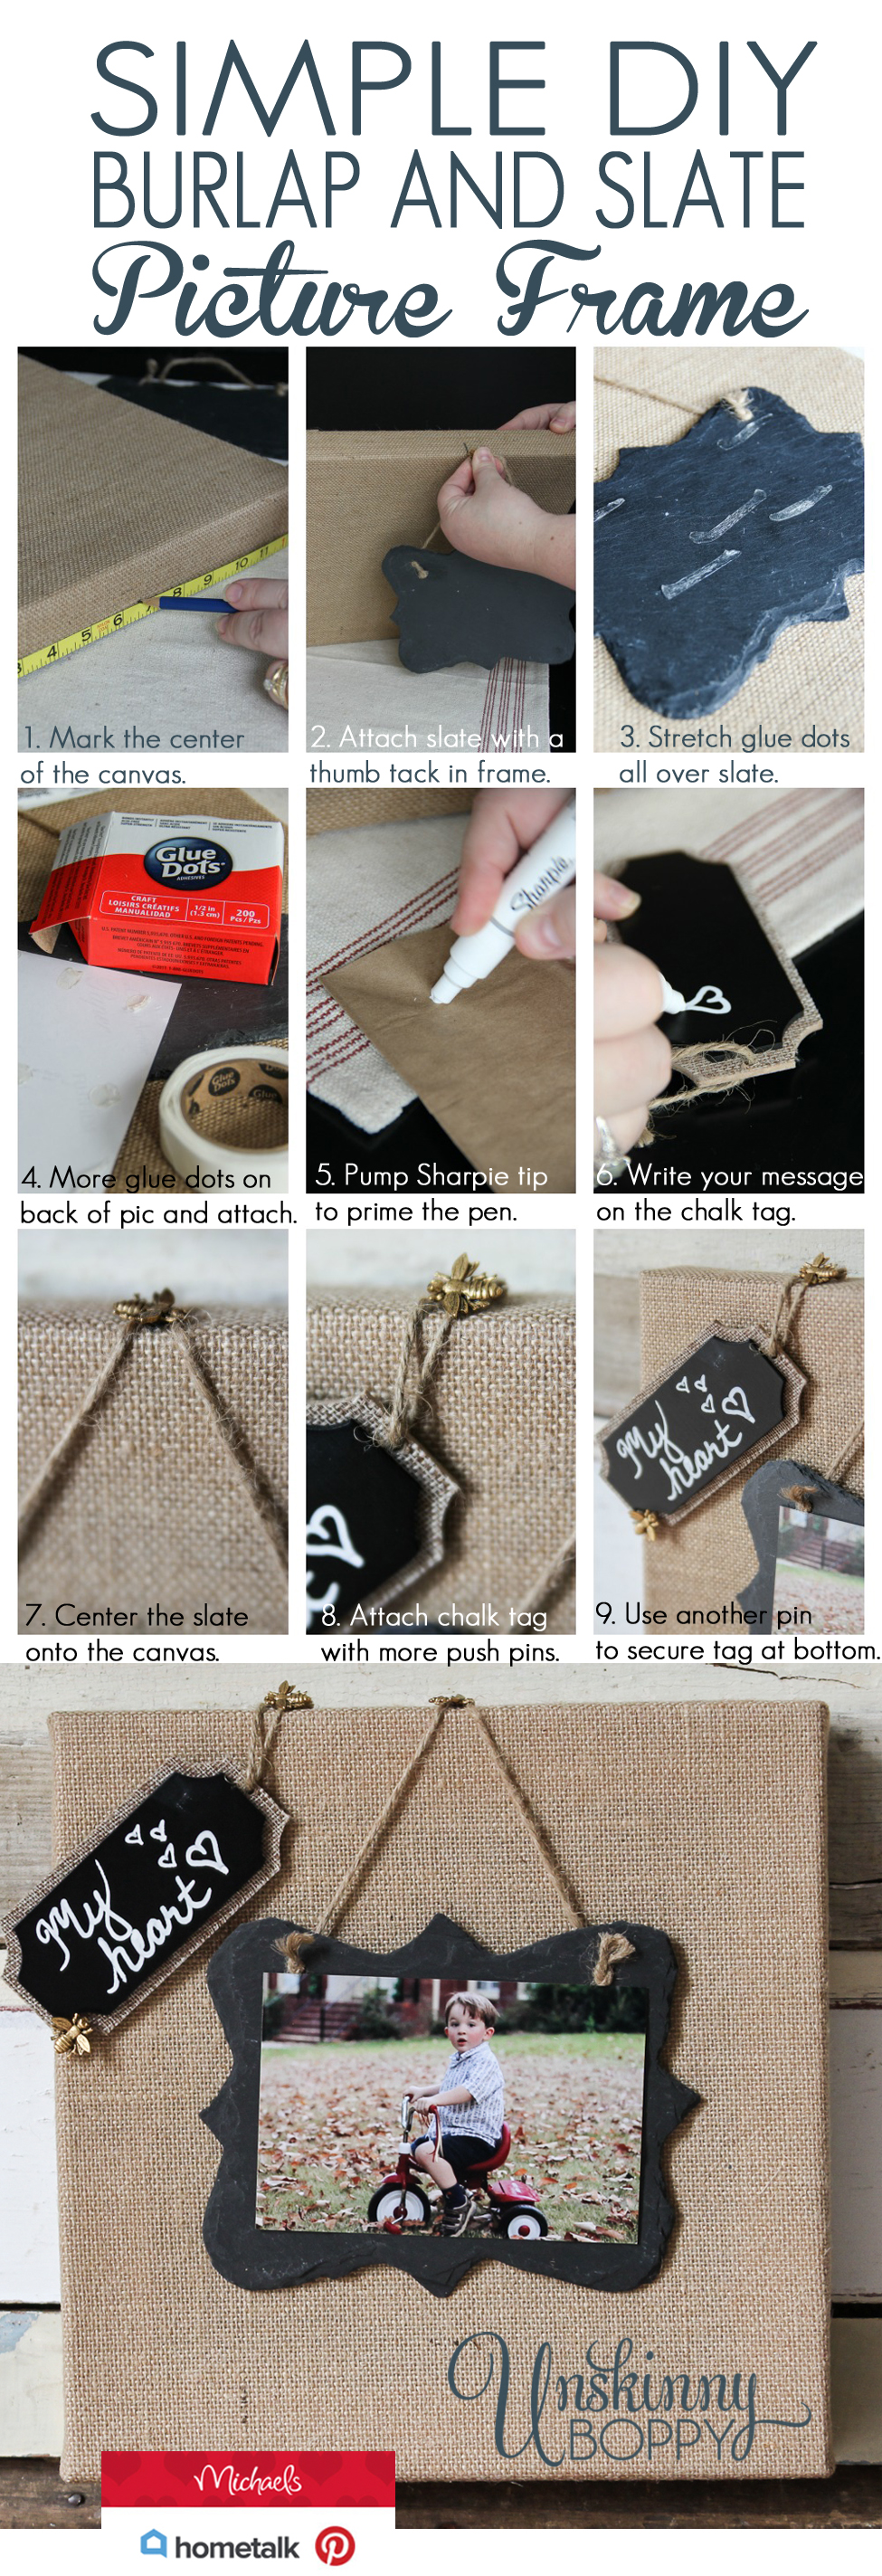
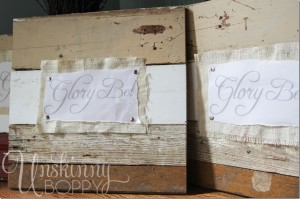
I’ve never had the nerve to do it since it’s the landing spot for all of our coats and bags as we come into the house from the garage. I finally got it cleaned up enough to snap some photos, which I am going to reveal to you in tomorrow’s post, along with some juicy before photos that will make you see how cluttered my house REALLY is most of the time. But I’m getting ahead of myself. What a tease, huh? Today, I need to show you this SUPER cute burlap and slate photo frame that I created to decorate the wooden sign that I made with reclaimed wood from my Granny’s house.
Did you guys know that Michaels carries these stretched burlap canvases? I didn’t either! When I saw them in the store, I knew immediately what I wanted to do with it.
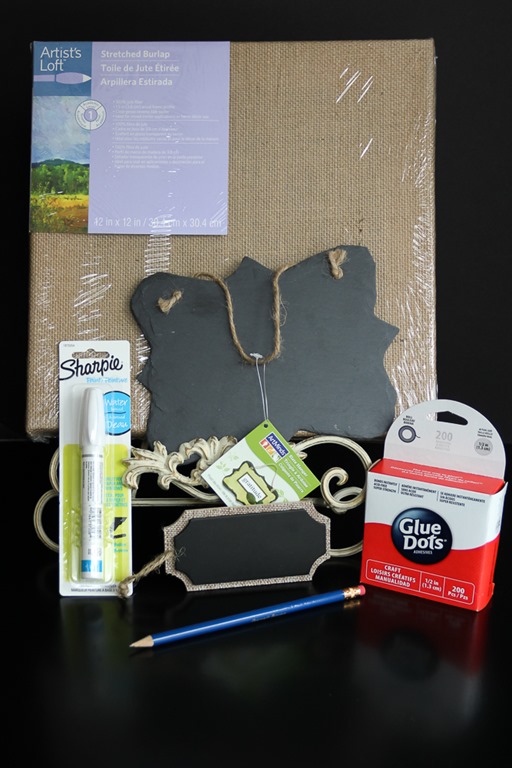
Here are the supplies I gathered up for the project:
- 12×12 stretched burlap canvas
- hanging slate tile in a fun shape (found in-store at Michaels)
- chalkboard and burlap tag (found in-store at Michaels)
- white Sharpie water-based paint pen
- glue dots
- pencil and measuring tape
- thumb tacks (any type will work, but I used these bee push pins that I’ve had for years)
How simple is that?
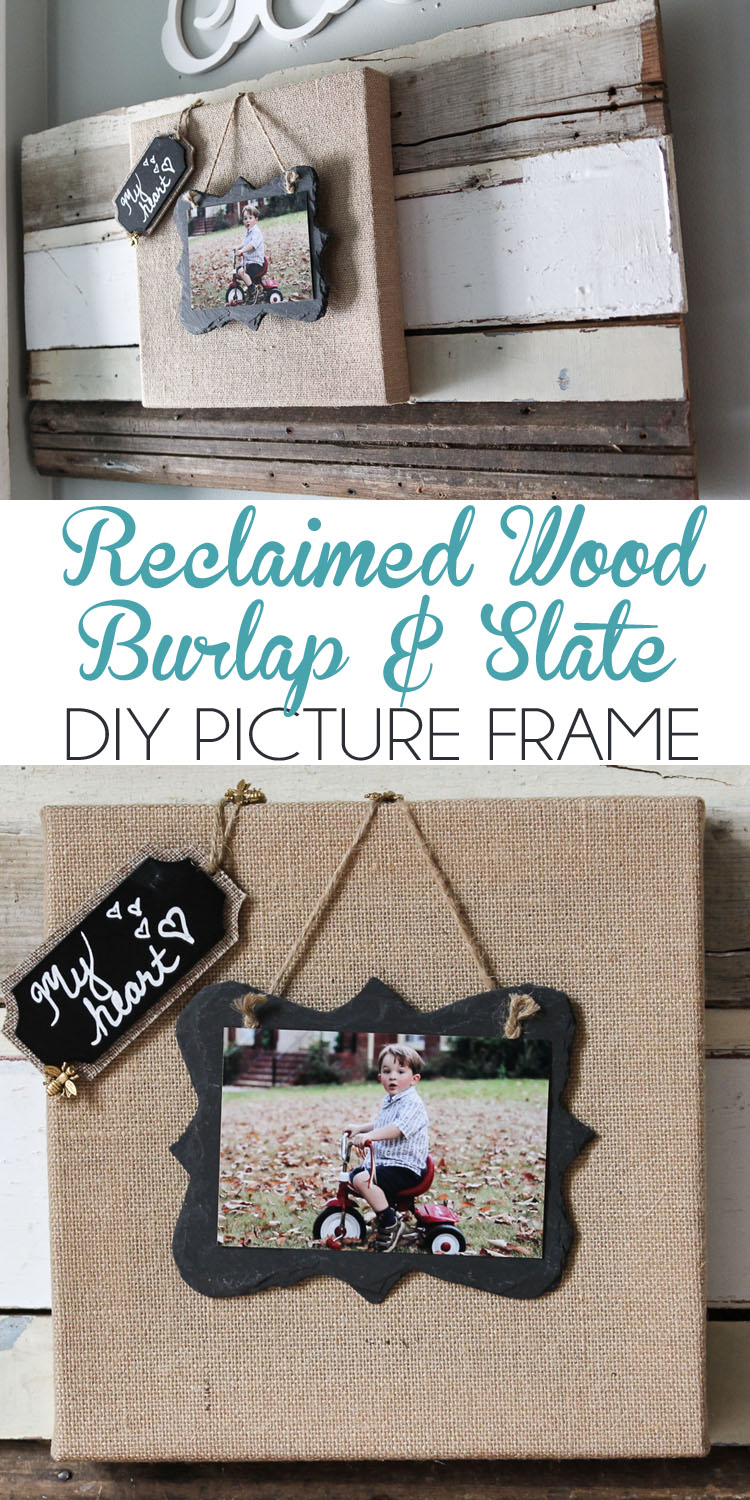
Here is the final completed project all assembled together. It’s my new favorite thing!
Be sure to PIN IT, if you love it too!
And if you liked this post, be sure to check out my tutorial for making the reclaimed wood signs!
Disclaimer: I have been compensated by Michaels for this post and my time at the in-store event. All projects and opinions are my own.

Great project Beth! I love the reclaimed wood too! <3
So, so cute! Wish I could be at your party!
How adorable is this, Beth! Love it! Good luck with your party!!!
What a pretty project! I hope you have a great at the Michaels party. Your community sure is lucky to have you hosting it. I love your project ideas.
I love it! It is so pretty and it looks aged using the slate and burlap.
Such a beautiful project and an absolutely ADORABLE photograph! Thanks so much for sharing, Beth!!
~Abby =)
Your project is great Beth! Love the look and the pins make it so fun!
Hi friends, its impressive post regarding educationand completely
defined, keep it up all the time.
Cute, cute! Love the picture on the chalkboard.
You all know how much I love Burlap! Love this Project Beth!
I wish I lived in AL, I would love to attend your Michaels party. I wont say what city I’m in but I’m not sure how the blogger was chosen for my local Michael’s party, I wont be attending.
Such a clever creation! Enjoyed getting to know you + your blog from the Pinterest Party!
This is so cute . Thanks for sharing
It was a pleasure meeting you yesterday. My mother and I had so much fun at the impromptu “pinchers” party. LOL Now I’ve given my mom the skinny on Pinterest and she got the craft bug. We are so excited to do more DIY projects! Thanks for the ideas.
[…] Burlap and Slate Picture Frame on Reclaimed Wood by Unskinny Boppy […]
Attractive section of content. I just stumbled upon your site and in
accession capital to assert that I get actually enjoyed account your blog posts.
Any way I will be subscribing to your feeds and even I achievement you access
consistently rapidly.
You actually make it seem so easy with your presentation but I find this matter to be actually something which
I think I would never understand. It seems too complicated and extremely
broad for me. I’m looking forward for your next post, I’ll try to get the hang of
it!
[…] And if you want to see more about how I made the reclaimed wood wall hanging over there, be sure to check out this DIY tutorial right here: Burlap and Slate Picture Frame on Reclaimed Wood […]
[…] can read all about this project here and find the tutorial here, but here’s the Reader’s Digest Condensed version: My […]
[…] Burlap and Slate Picture Frame on Reclaimed Wood by Unskinny Boppy […]