Today I’m tackling one of the biggest questions I get asked as a DIY blogger, along with a fun painted furniture project.
Question: How do I choose a paint color for DIY furniture painting projects?
Answer: It depends. I have painted SO many different pieces of furniture over the years, and I learn a little bit more each time I create a new project. I tend to lean toward the “muddy” paint colors– and by that I mean the ones that have a lot of grey or brown added to them to tone them down. But for some projects, like a happy playroom, I wanted a bright and clean paint colors that were more pure with white added to them. The key to finding a great paint color for your project is to consider the space it will sit in. Sometimes you will need a paint color that is clean and bright, and other times you’ll want a hint of muddiness to it. It is really a matter of personal preference and taste, but usually paint colors call my name if I look around long enough.
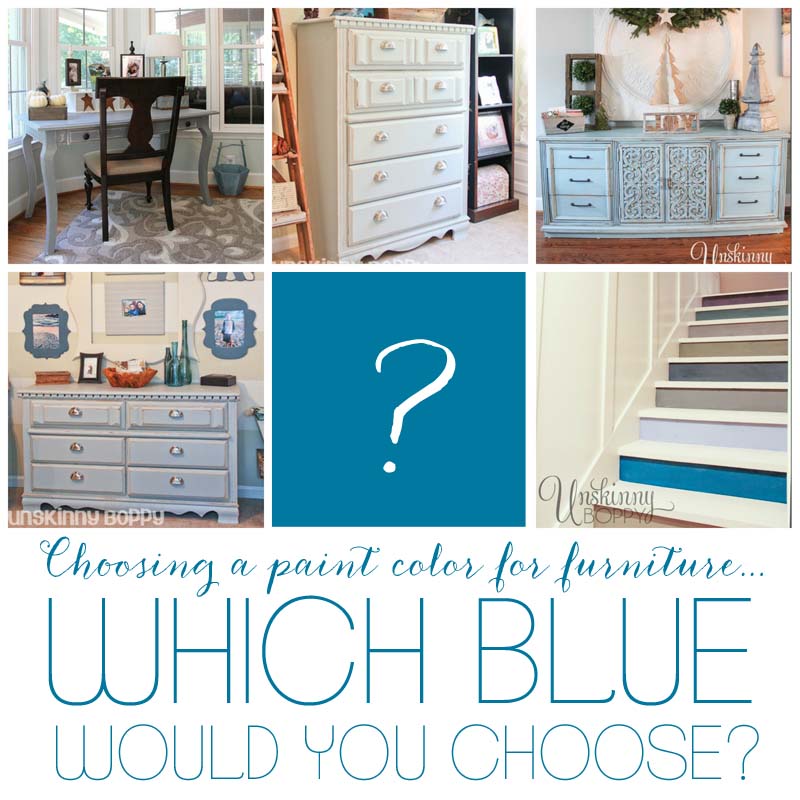
If you’ve been reading my blog for any length of time, you might have noticed that I have a serious addiction to painting furniture blue. It all began with this turquoise blue dresser painted Robins Egg Blue by Glidden. Then came the Craigslist desk painted a smoky blue color to match another blue end table I have in my sunroom. During my Bob Ross phase I painted my entire childhood bedroom suite a pretty shade of light dusty blue for my craft room. Then there was that other time when I painted the back of my china cabinet blue. OH! And don’t even get me started on how to use all those leftover blue paint samples. So, when Glidden reached out to me recently to ask if I would review some paint for them, can you guess what shade I wanted?
Would you laugh if I said blue? Because that is where I headed first when I was searching for a color on the Glidden website. I was searching for a nice smoky, grey-blue color that was close to charcoal but not quite that dark. After browsing around the new Glidden paint color charts, I was STOKED to find the perfect color waiting for me over in the Charcoal and Grey section of the site. Look how pretty all these are! THIS is what I mean by muddy– see how all of these colors have a grey or brown undertone to them? I love it. It’s calm and traditional and screams comfort to me.
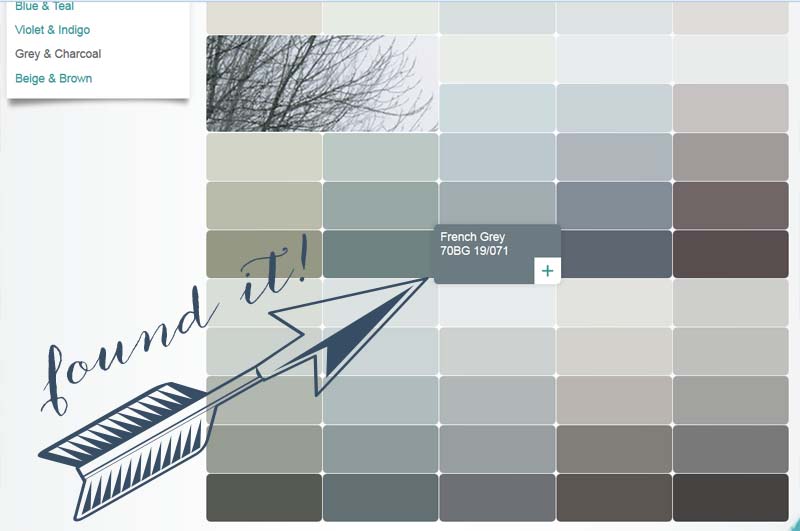
The color I chose was Glidden French Grey (which is totally not grey but actually a pretty blue color). So, here we go again! Let’s start another painted furniture project! I’m even pulling out the same ol’ schtick of painting childhood furniture, but this time it was my husband’s. My in-laws have been storing his old 80’s bedroom furniture in their basement for 30 years, so I figured it was time to do something cool with it. I have had it in mind to create a mini serving bar in our basement for some time now. We have had an empty wall down there just begging for something to be added to it. So, this was my chance!
Here is the piece before:

It’s small and lightweight, which I loved, but that oak finish has got to go… Sorry, mother-in-law, for all those weekly cleanings with furniture polish for all those years. Today all of that hard work went right out the window. I sanded that sucker down. I know that this is the part people hate to do when painting furniture, but it is such a crucial step, especially if there is any sheen or gloss finish at all to the piece. Paint just ain’t gonna stick to anything glossy. So, sand, sand, sand, then wipe it all down with a damp cloth and sand some more. Use a lower number sand paper (I used 80 grit) to take off more of the finish. The higher the grit number, the finer the sand you’ll get. You really want to do some heavy duty sanding so go low, low, low…

I knew I wanted a white stripe in the middle of this piece to coordinate with the retro vibe we have going on down in our basement, but I wasn’t quite sure how wide I wanted it to be, so I just slapped some white paint in the center of the piece with all the drawers inside (after I took off the knobs!) to give me an eye ball guide.

Then I removed the drawers and added a second coat of white, and then measured 10” in from either end of the drawer edges to get my stripe centered up.

Repeat and tape off each drawer.

Then I stuck the drawers back inside the cabinet and measured the distance from the ends to get my new tape lines for the top and front.

The measurements don’t have to be exact, but try to get it within 1/4” or so if you can. I don’t go for perfection, but in this case, getting the measurements pretty close is kind of important. But don’t stress… I was off by about 1/4 inch, and you don’t notice it on the finished piece.

After that I primed the rest of the piece so that the paint would stick even better. It’s another step that is just essential for me when I paint furniture. Then, bring on the blue! I painted the outside of the drawers and the rest of the cabinets with the Glidden color.

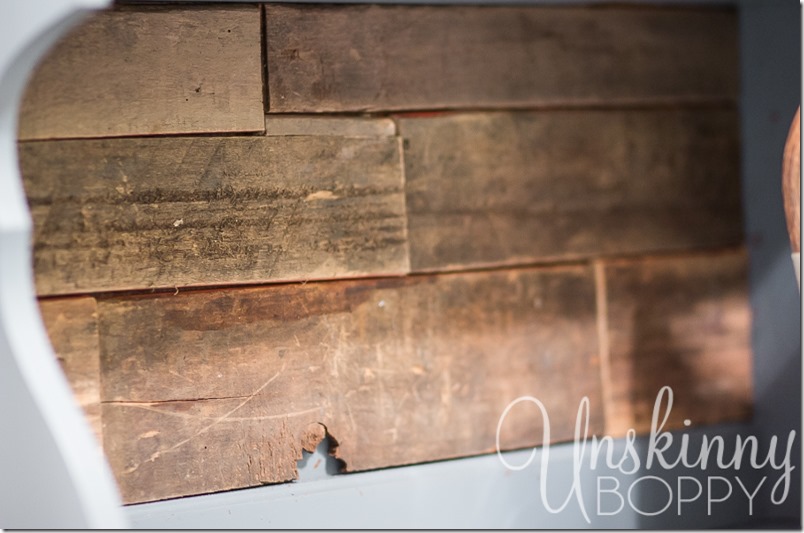
Remember those Coke crate night stands my husband built? Well, we had a ton of scrap wood left over from that project. Instead of letting it go to waste, I decided to put it to good use inside the back of the bookshelf! We found pieces that were the same width, and lined them up inside the back of the shelf, then cut the boards to fit snugly in the back of the cabinet.

Not gonna lie—this part was trickier than it looked, but as long as the widths of the boards were the same, you could stagger them like brick across the back by cutting different lengths. We attached them to the back with some heavy duty wood glue.

Before the final assembly I had to go back and touch up some of the areas where the paint came off when I removed the tape. See that gloss under there? Looks like I missed a spot with my sander. This is why you sand and prime, people… 
Ok, are you read for the big reveal?? I cannot WAIT to show you how this fun cabinet turned out. Here are some sneak peeks:
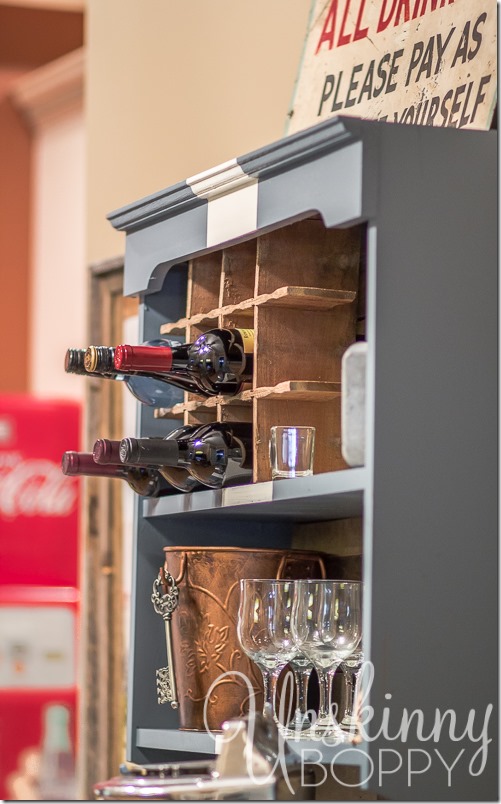
But you’ll have to click here to see the final project it in all it’s striped glory!
If you have a paint project in your future, be sure to check out the Color 101 page at MyColorTopia.com. Glidden has TONS of useful info over there about how to pick your paint. Which–as we all know– is usually the hardest part of the job.
Disclaimer: I have been sponsored by the Glidden brand paint for PPG to write this post but the thoughts and opinions expressed are my own.
Want to learn more about painting furniture?
My friend Danielle wrote an AMAZING e-book all about it!
CLICK HERE TO BUY (affiliate link)

Noooooooo. Total tease.
I agree with the paint colors. I like my walls like I like my wine. Muddy. I have no idea what that means.
Homie, I’m witcha… And good call on the wine before you even saw the reveal! 😉
[…] I talked about how I chose my Glidden paint colors for a fun new DIY painted furniture project using the Mycolortopia website, and today is the big […]
teasing = not cool Beth! Hrmph. ;-P
It’s up!! 🙂
I. LOVE. How the blues and the warm tones of the old wood pair together! Beautiful!