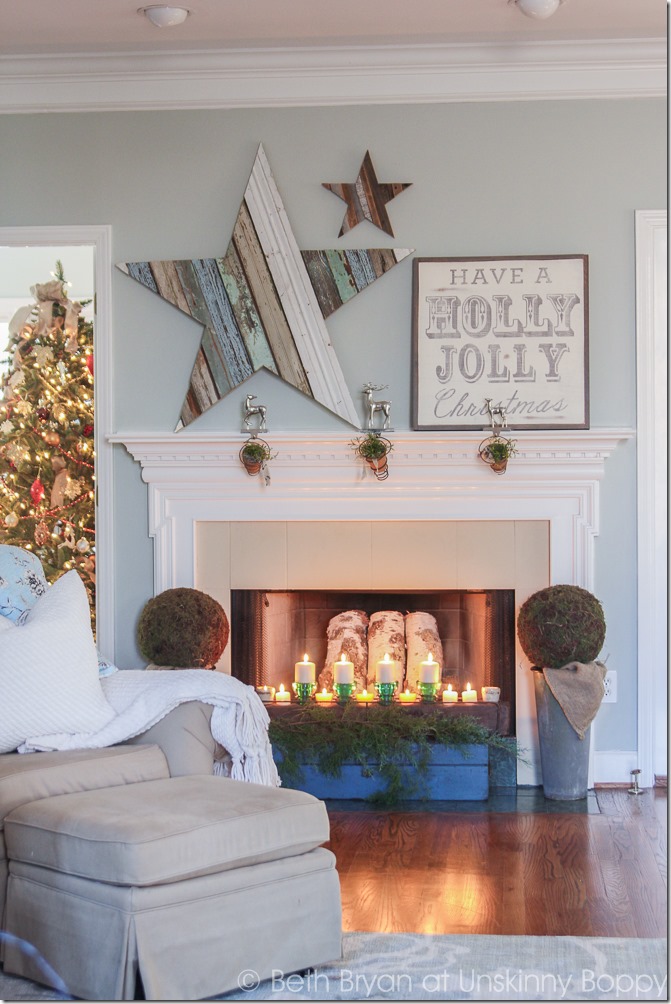
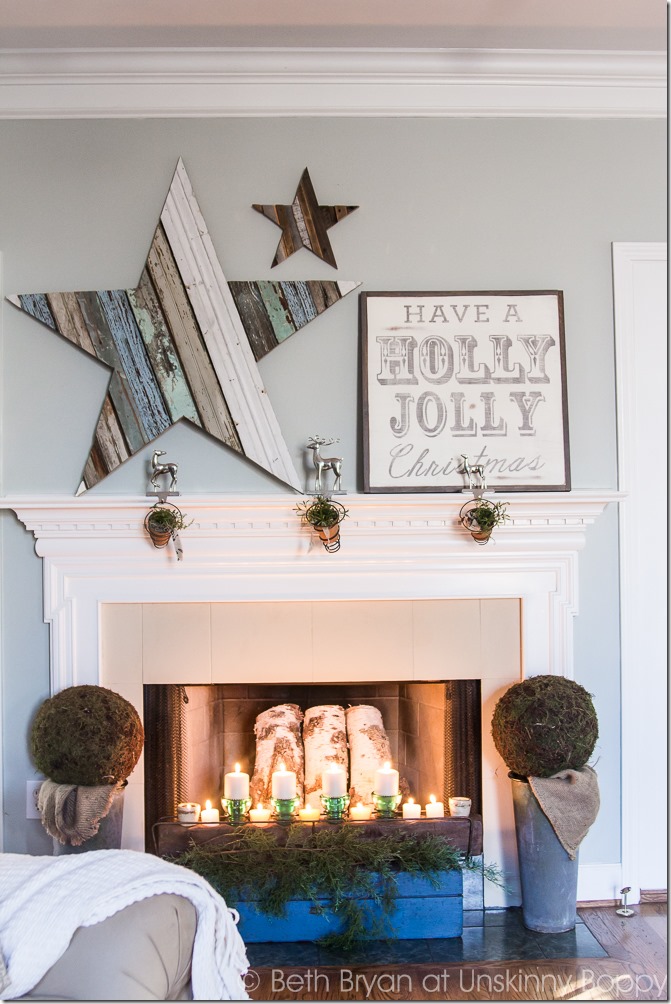
When it came time to decorate my Christmas mantel this year, there was absolutely no doubt about what I wanted to create for it. Remember my late summer mantel post when I showed y’all the scrap wood star that everyone raved about? I just couldn’t get that pretty little star out of my mind, so I decided to recreate it in a BIG way for my Christmas mantel this year. 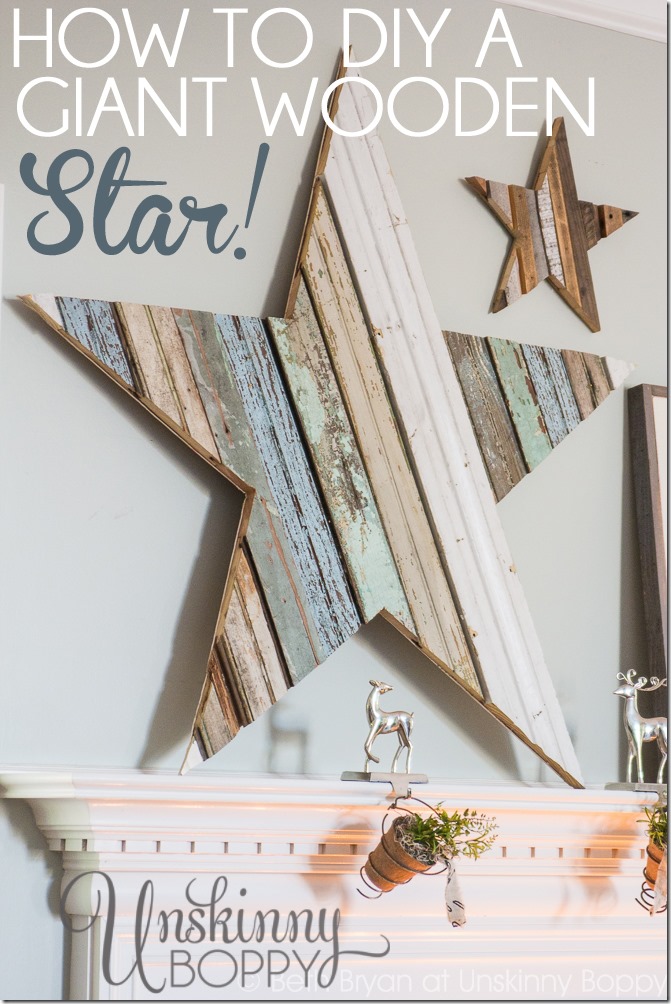
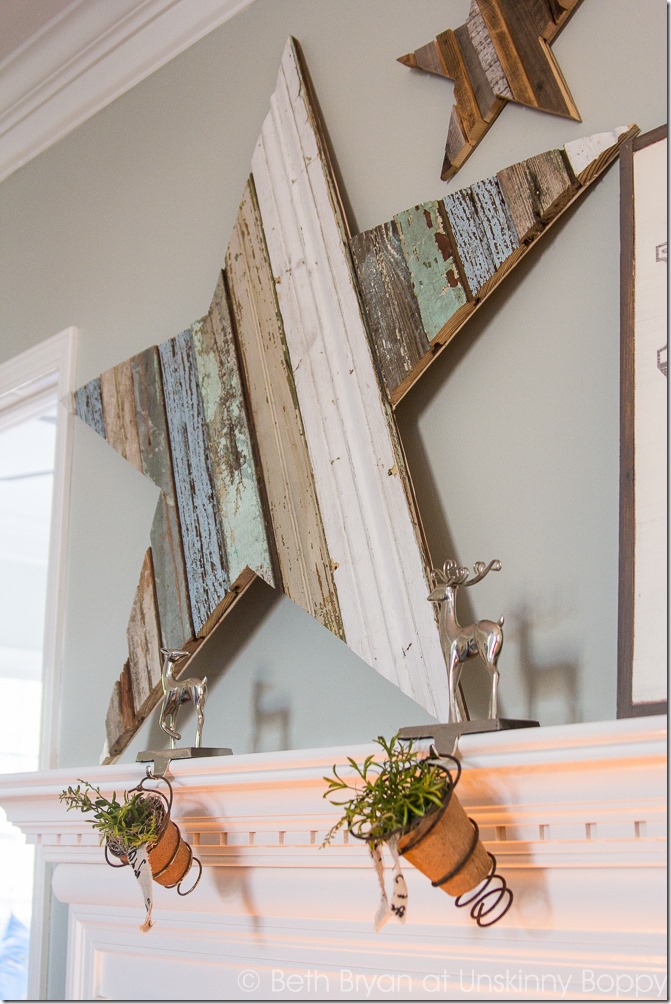
Here is my version of the scrap wood star… standing 42 inches high, looking totally chippy and marvelous on my mantel. The size and scale of it makes such a huge impact! I grin and do a little happy dance every time I see it. What a statement piece this turned out to be.
I am so in love with it… the colors, the texture, and the fact that it was SO simple to DIY with the help of my husband. Come along and let me show you how we created this one-of-a-kind wall hanging by hand in just a few simple steps.
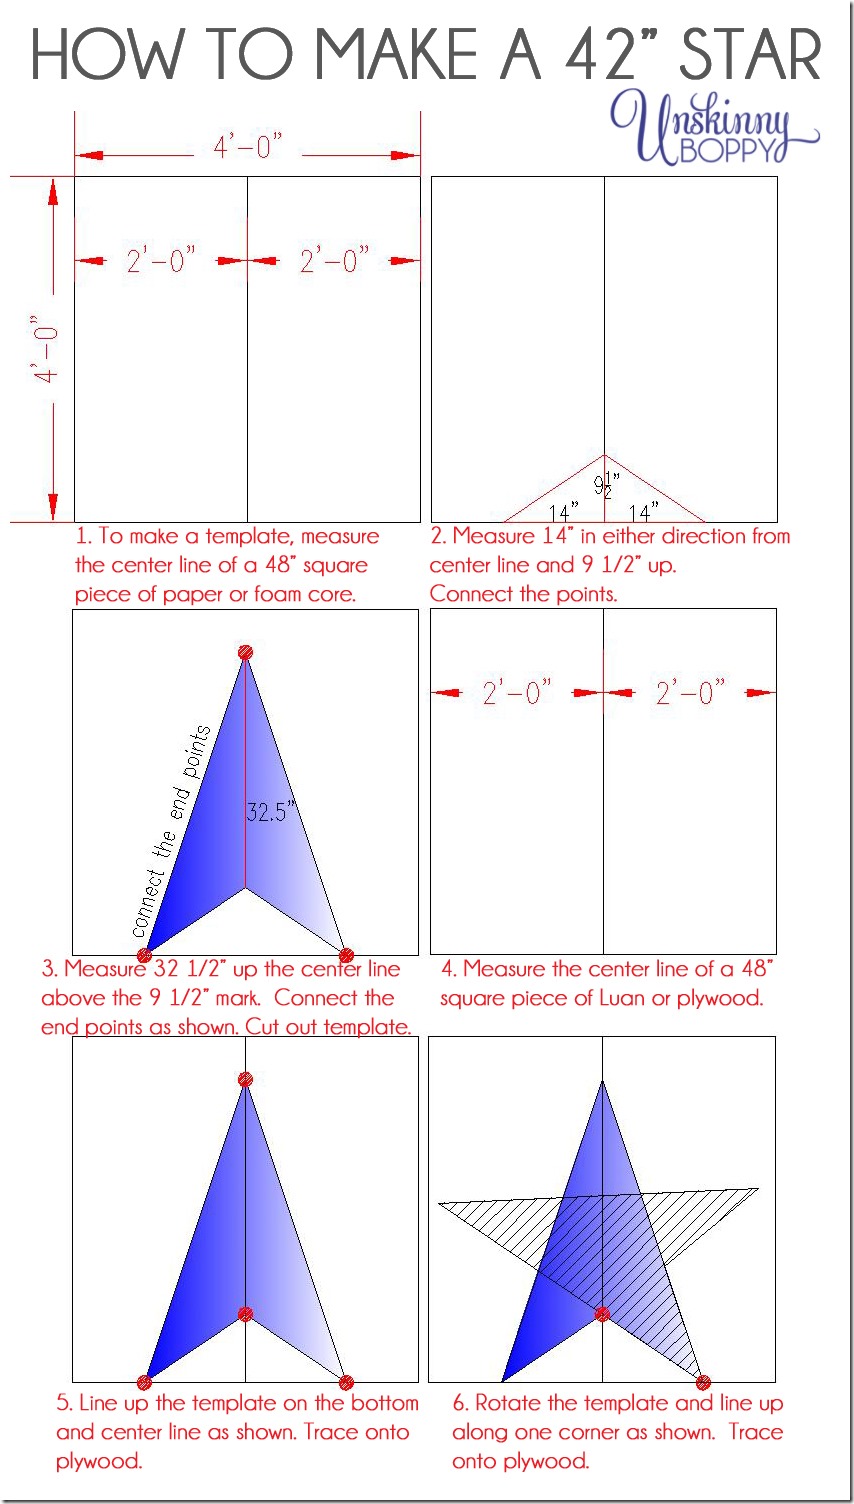
I’ve created this sketch in AutoCAD to show you the steps we took to cut out the star template. First we cut out a template using a large sheet of foam core, then used the template to trace out the star pattern onto a sheet of wood. You could use paper or even a cardboard box to create the template, as long as it starts out about 48” square you should be fine.
See how simple that is? In case you are a more visual learner, let me show you the step-by-step process in pictures. I picked up a 4’ x 8’ sheet of Luan at my local True Value Hardware, and the folks were nice enough to cut it in half for me right in the store. That gave us two 48” square pieces to use. You could use Luan, plywood, or MDF– just make sure it’s sturdy enough to support some weight without bending or cracking. You can check to see if your local True Value store carries lumber here.
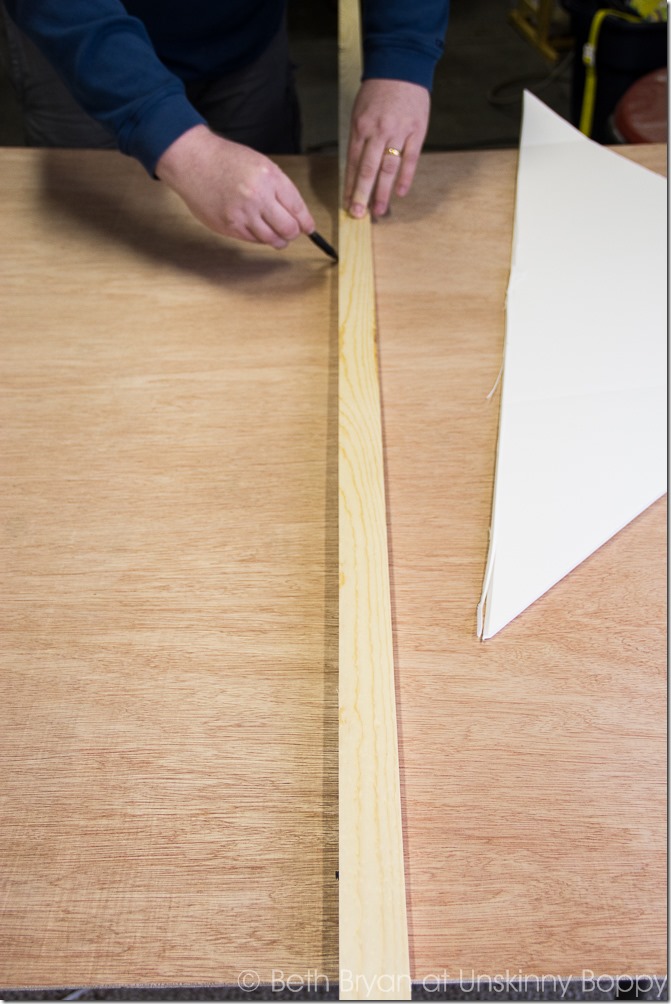
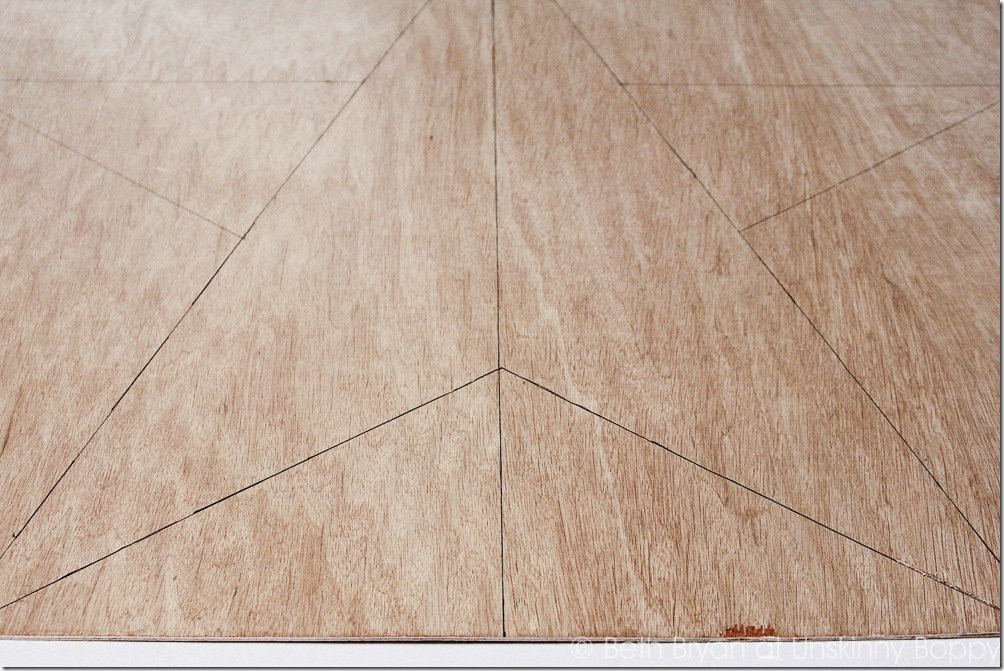
Once he had the foam core template created, he found the center line of a 48” piece of wood and marked it with a straight edge.
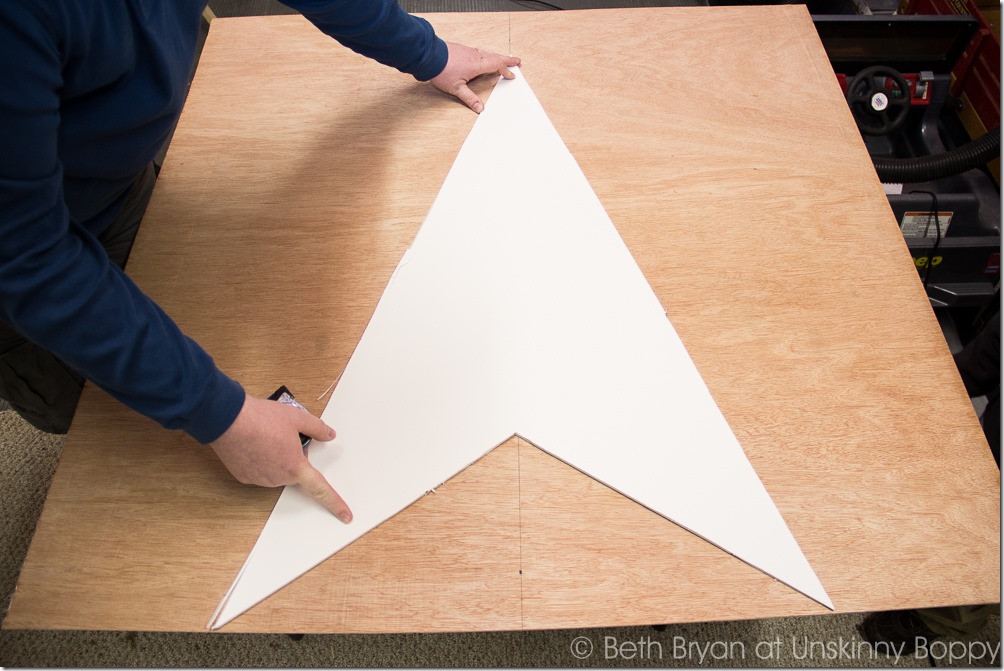
He lined up the bottom points of the template along the bottom edge of the wood and matched the center points along the center line that was already marked.
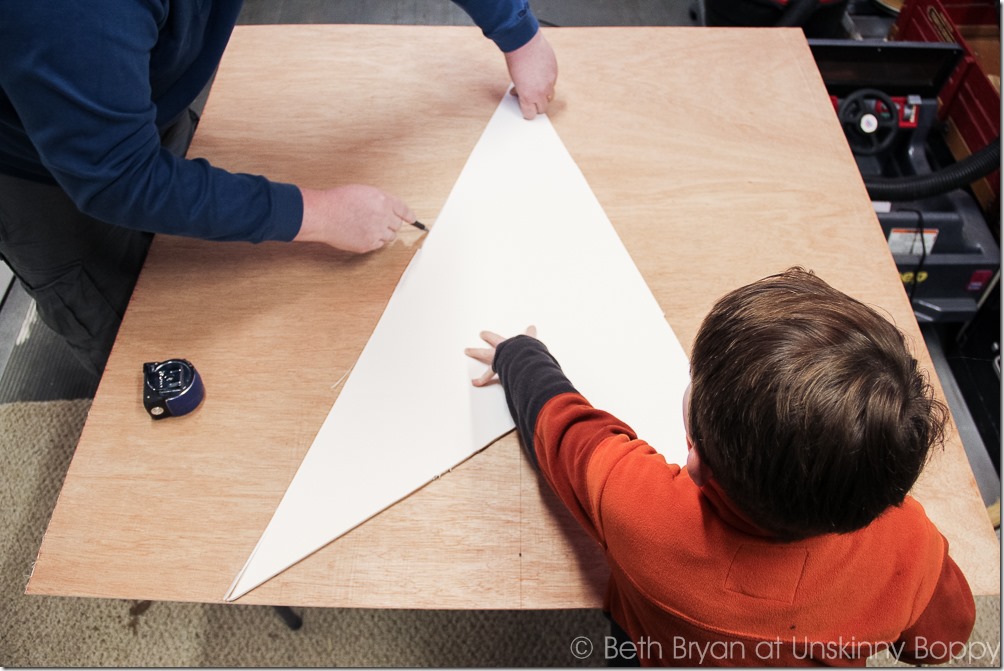
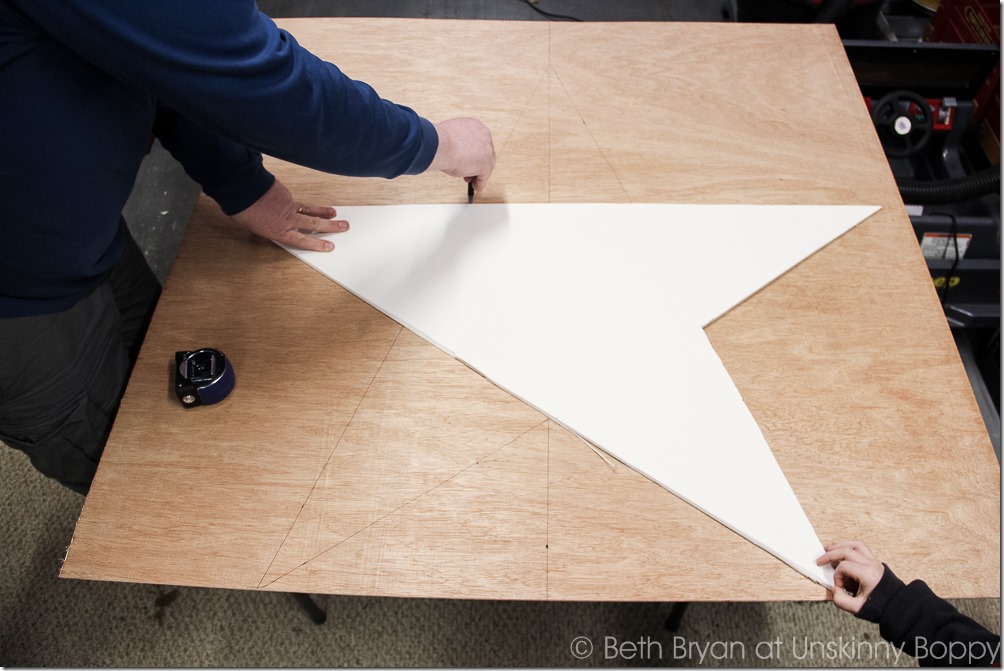
With the help of a very cute little helper who held the template steady, my husband traced all the way around the entire template.
Then, he simply turned the template 90 degrees and lined up the bottom corner of the template with the bottom right hand triangular corner that he had already traced. Then he traced all around the template once again.
This gave us a nearly perfect five-pointed star shape.
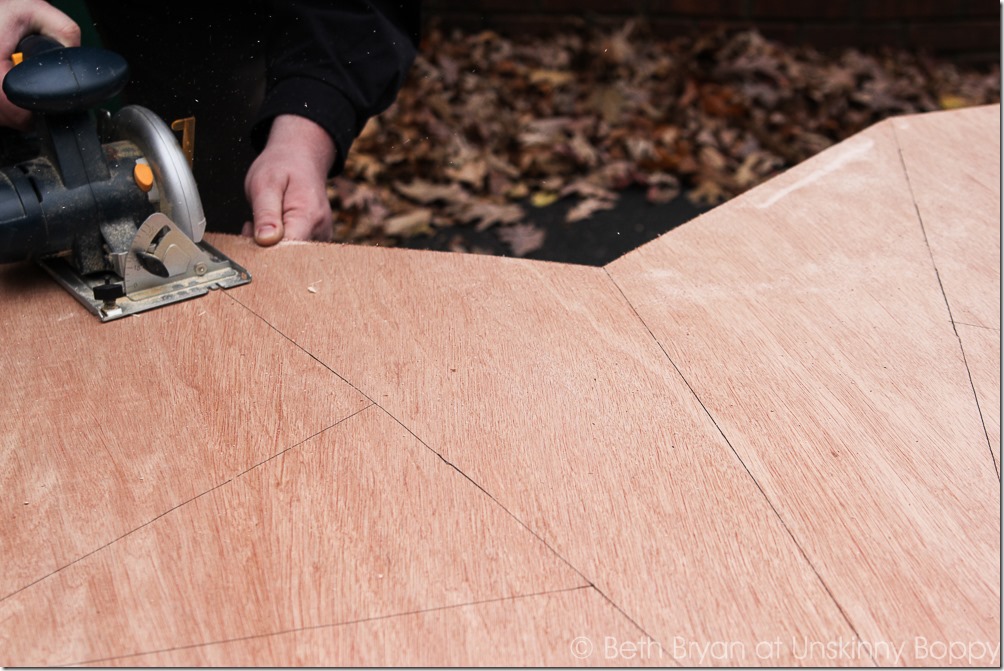
Using a cordless circular saw, we cut out the star shaped wooden backer. Don’t forget to wear eye protection during this part of the process!
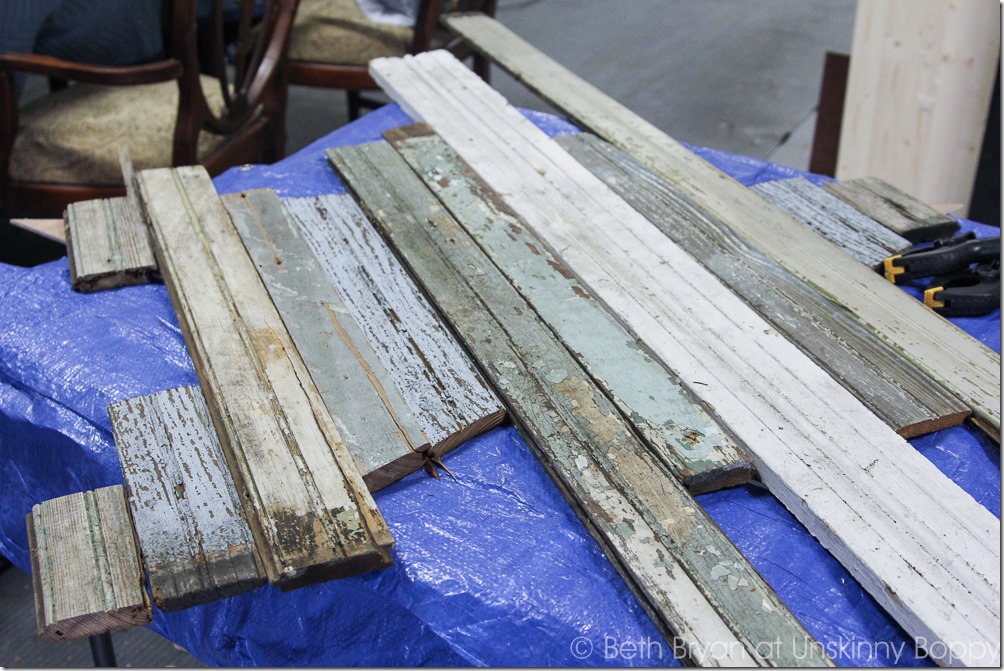
After that, I arranged the pieces of scrap wood in a pattern that I liked right on top of the wooden star backerboard. I found all of this chippy old wood at a local architectural salvage store called The Depot Architectural Antiques. I hit the jackpot with all of those beautiful weathered grey, blue and green colors. To get a nice pattern we cut a few of the planks into several pieces so they would show up more than once inside the star.
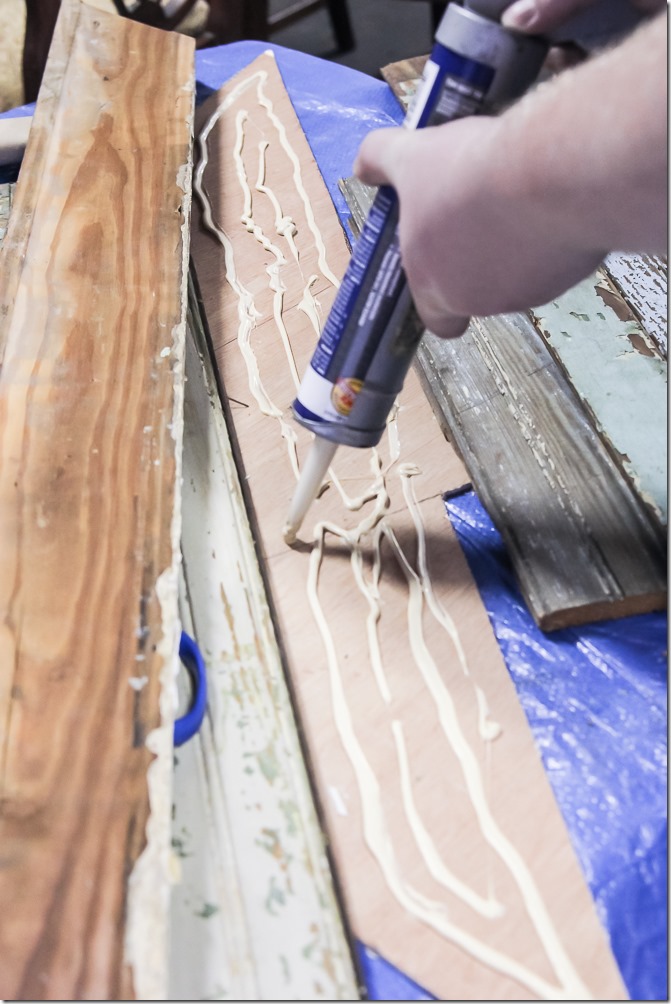
Next step? Glue it all down! We used a heavy duty construction adhesive like Liquid Nails inside of a caulk gun to apply the glue.
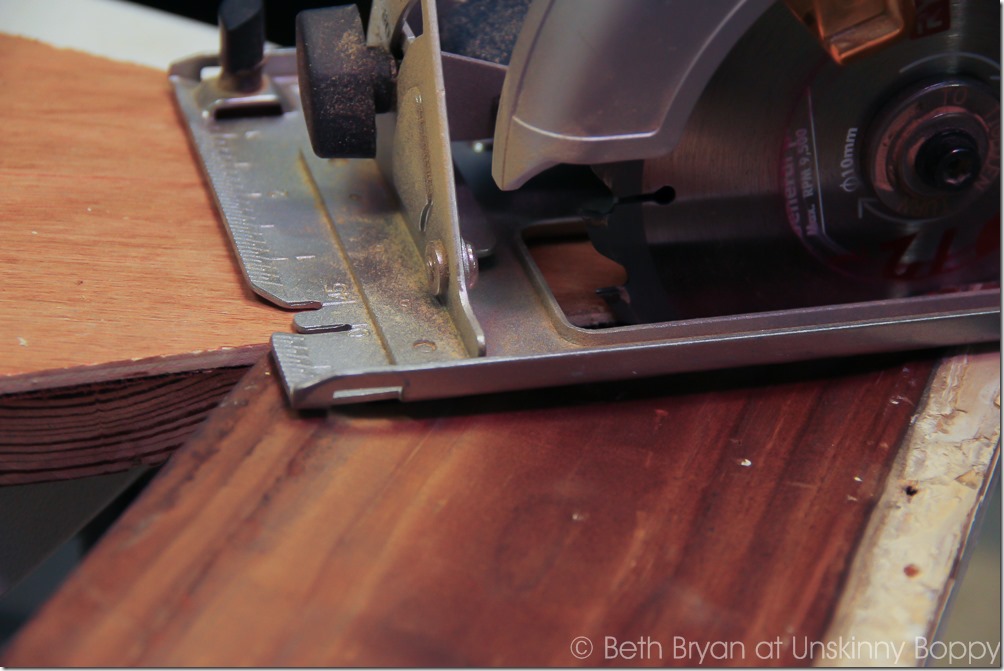
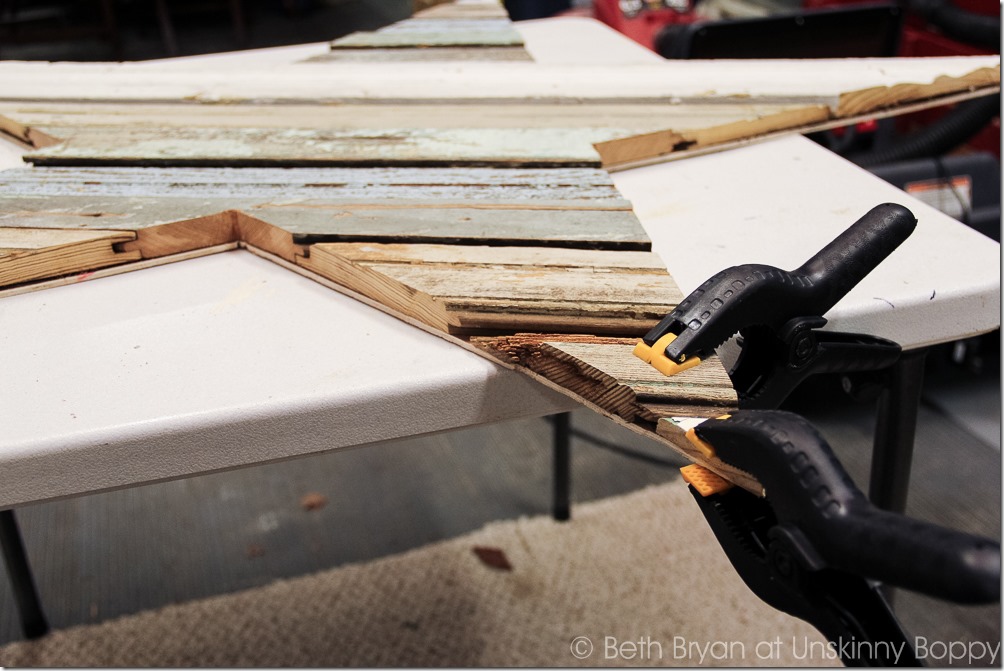
We clamped down some of the smaller pieces to apply pressure and hold them in place, then we let the whole thing dry overnight. Once all the glue was dry, we flipped the whole thing over and cut off the excess wood using the circular saw again. He followed the wooden star template to trim the excess, being careful not to cut the wooden backer board.
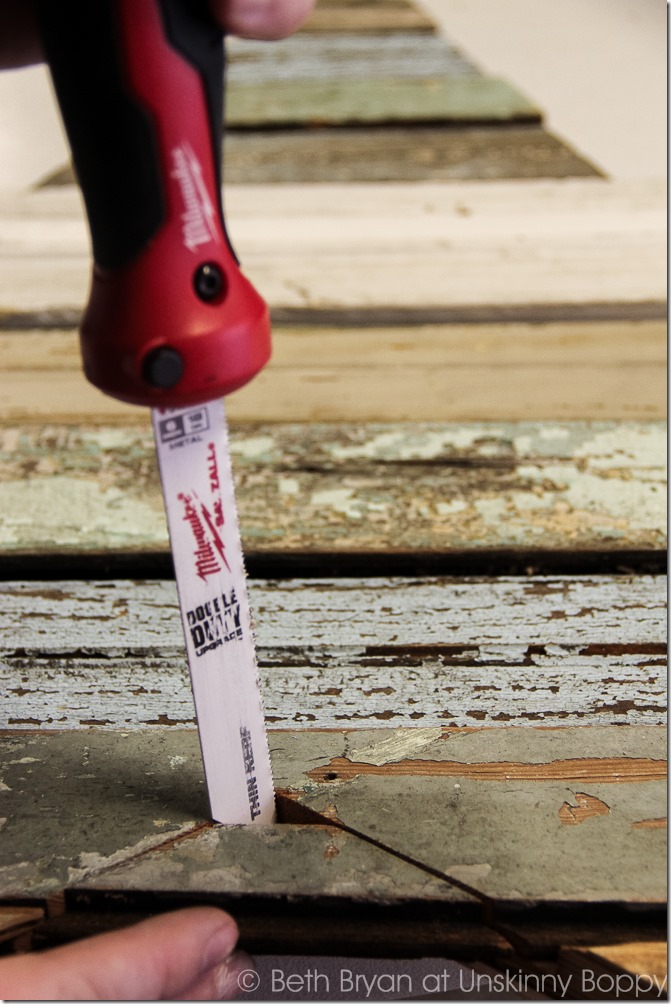
For the tight inner corner cuts, he abandoned the circular saw and used this folding jab saw to cut them by hand.
Some of the smaller wooden pieces came loose during sawing, so we added more glue and clamped them back down again for a few more hours.
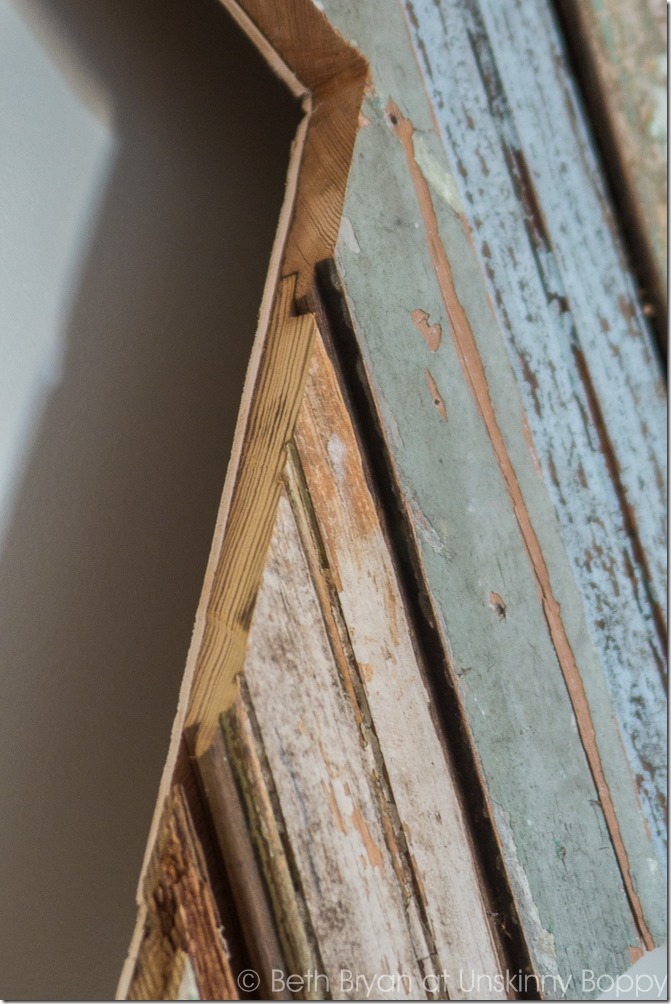
We chose to leave the cut edges exposed and unfinished since the scrap wood was already so worn and rustic. You can see here that a lot of the beadboard we chose was tongue-in-groove, which we made sure to join together if possible to get a tighter joint. Some of the pieces were so old and rotted that they broke off during construction. I didn’t mind, though- it just gives it more character!
I absolutely ADORE the way this star turned out. It is one of my top five favorite DIY projects that we’ve ever created. 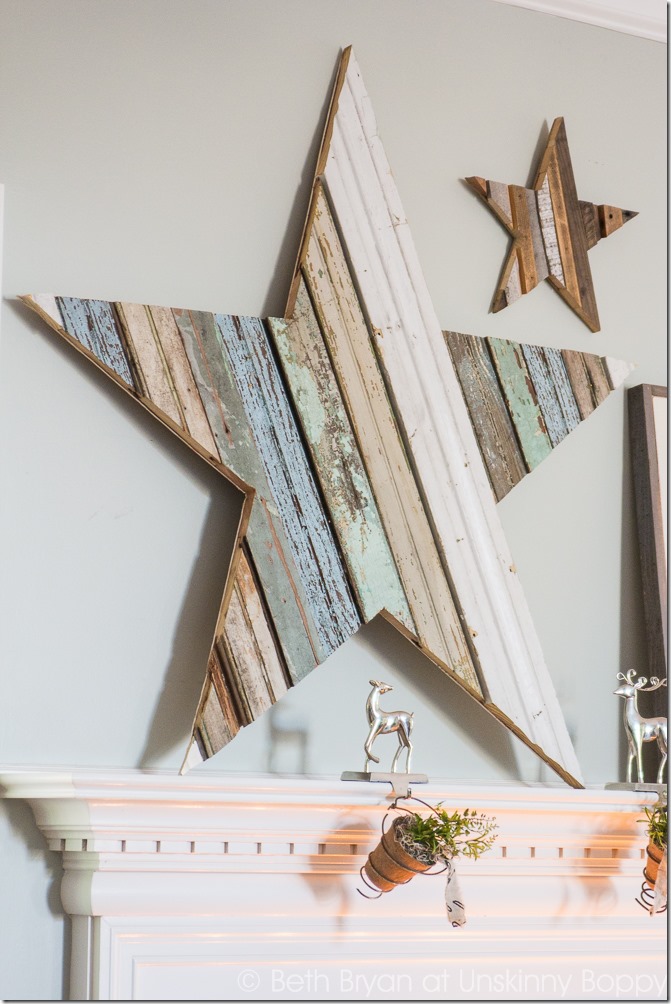
My mantel is having a holly jolly, rustic and weathered Christmas. I hope yours will, too, after seeing how simple this fun DIY project turned out to be.
If you enjoyed this post, please take the full tour of my 2013 holiday Housewalk Christmas decorations.
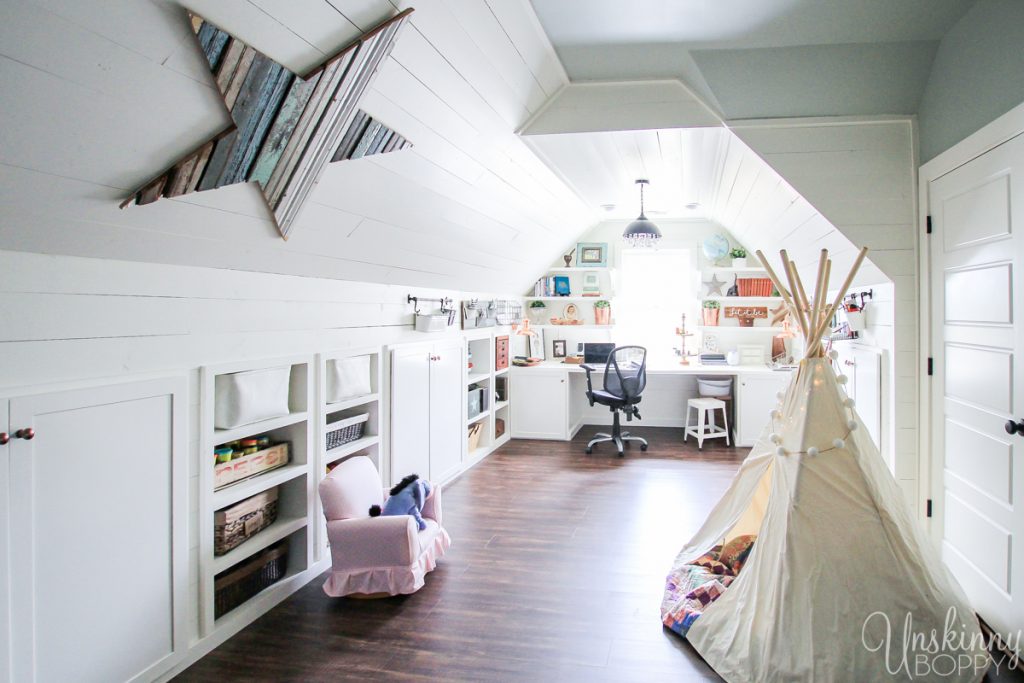
2017 update- come see where the giant star is hanging out now! Click here to see the attic tour.



I want one of these. Really really, like sit on Santa’s lap and ask for it sort of want one.
omigosh! I love this so much!!!! Pinning! Thanks for the tute Beth 🙂
Love this!! Thanks for the awesome tutorial – I can’t wait to give this project a try 🙂
You are just the most creative soul! I love your ideas and the way you express yourself. Thank you for sharing and for teaching all of us how to join in the fun!
I can hardly wait to see what you have for us next…
Happy Holidays…Lisa
In LOVE with this so much Beth! I truly want to make one! Pinned! 🙂
I am absolutely love that star! Well done.
Thanks so much Brittany! It’s one of my favorites!
I think this is the most fabulous thing I have seen this year! I love it and it’s on my list to make on for next year! Thanks for sharing how you made it!
Nothing short of ply and scrap wood awesomeness,
This is simply adorable, Beth! And the best part… you can totally keep it up year round! Thinking way ahead here… but how cute would that star be accompanied by mason jars filled with hydrangeas?? Ooooh… white hydrangeas in blue jars! Can you tell I am ready for spring already! Ha ha!! Nice work, friend! Sharing on FB today!!
The stars are absolutely gorgeous not to mention your family room! You were so lucky to find those cool planks of wood…. so envious! Thanks for the tutorial Beth. Pinning!
Love this tutorial. Thanks for sharing. Would you mind sharing the color on the walls? I am looking for the perfect blue/grey for our family room, thanks!
Hey Lauren- the wall color is Restoration Hardware Silver Sage colormatched by Sherwin Williams. Here is the can lid for matching it up: https://bethbryan.com/wp-content/uploads/2011/07/Sherwin-Williams-colormatched-RH-Silver-Sage.jpeg
Love it!
This. Is. Gorgeous. I love all the varying wood sizes/styles/colors. Too cool! Perfect for the holidays and all year. I want one above my mantel.
Pinning.
Wow! This is so lovely. The colors are perfect for a beachy summer display as well.
I love, love, LOVE this!! What an awesome craft and really you could leave it up all year long!!
Saw this on Pinterest yesterday and loved the look as well as the good directions. I will be making several next week for outbuilding decor. Perfect for our B&B named Country Star! Won’t be made with beadboard though. 🙁
Since Facebook is notorious for not letting page owners know when I tag them, I thought I would stop by myself and let you know I featured this post and my readers loved it! https://www.facebook.com/CraftsbyAmanda/photos/a.353593675216.349539.323548680216/10153932885940217/?type=1&stream_ref=10a
Such a wonderful ideal … Would love to see more
I know this if off topic but I’m looking into starting
my own blog and was curious what all is needed to get set up?
I’m assuming having a blog like yours would cost a pretty penny?
I’m not very web smart so I’m not 100% positive.
Any suggestions or advice would be greatly appreciated.
Thanks
Great tutorial will definitely be doing it this year!!
Hi loving the star, and DH is trying to make me one a bit smaller is there a formula to make it smaller as I’ve tried dividing by four and then multiplying by 3 as I’d like a 3 ft one, but one of the star points on the side seems way too long…please help as I soooo would love to have one for Christmas x
any help is appreciated x
I saved this from who knows when off of Pinterest…..Winter time and thinking of something that I could do in the garage. I love it! I also love your fireplace. I did something similar with ours. Thanks for the shore!
Where did you find the 48″ x 48″ poster board?
We used a trifold foam core for this cutout, but you could get matboard that large from Michaels or Hobby Lobby.
What an AMAZING job you did. I am Sooo going to make a few of these. Love them!
I have read so many articles about the blogger lovers however this article is truly a pleasant article, keep it up.
what are the measurements of the small star?
Well done! Absolutely love it!
I will make one of these for the outside of my home using tiny nails as well as the glue.
I adore rustic!
I love this! Thanks for the quick tutorial especially on how to make the template. I am in love with these stars and will definitely try to make some of my own!
I love this wreath. I’m making one to hang over the mantle year-round. Your tutorial is excellent. Thank you for taking the time to photograph all the steps.