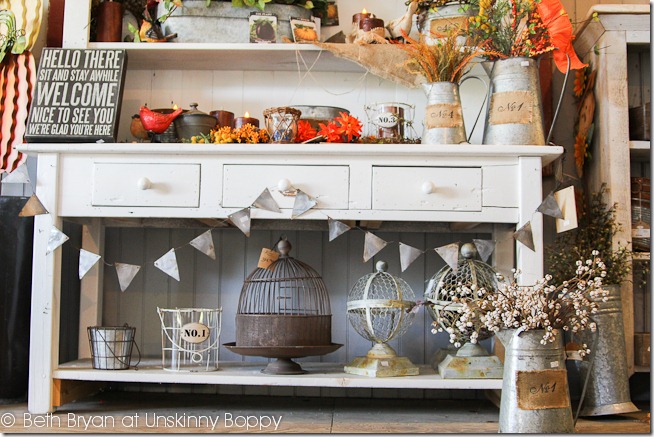
Ever since we took a trip to Pennsylvania Dutch country in October, I’ve had it in my mind to recreate this galvanized metal bunting that I saw draped on a store display in one of the Amish shops. Here is the photo I took that day of their bunting. I love the look of galvanized metal mixed in with rustic decor, and bunting is super popular right now.
I should have just purchased it when I found it, but for some reason I had a hard time pulling the trigger on a lot of things on that trip. I immediately knew I could DIY it, plus I didn’t want my baggage to get flagged by the airlines for setting off the metal detector with razor sharp teeth looking objects inside.
Trouble is, when I took on the challenge in my mind to DIY it, I never really anticipated how hard it would be to find sheets of galvanized metal that would be easy to cut and string up. I searched high and low throughout many big box stores, and each time I turned up empty handed. I own tin snips, but they are so hard to manage that I didn’t want to use any metal that required using them. I considered using the inside of cut up Coke cans, but they just curled up and wouldn’t keep their shape. Plus they were too shiny and not very galvanized looking. I got frustrated and gave up, until the idea popped into my head one day to search for galvanized spray paint.
And there it was, shining like a beacon of light down from the heavens. My hero in a can.
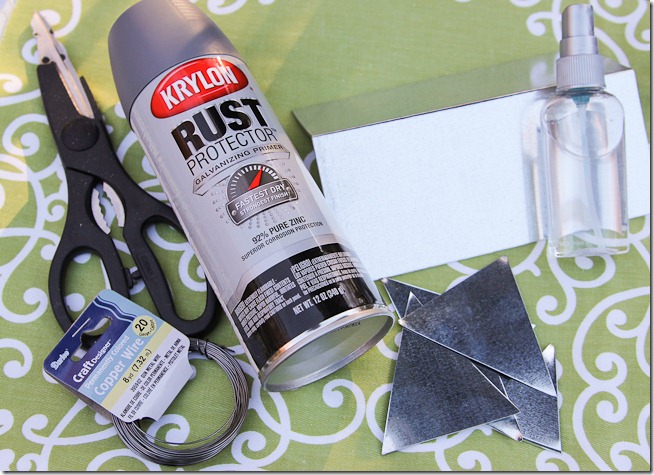
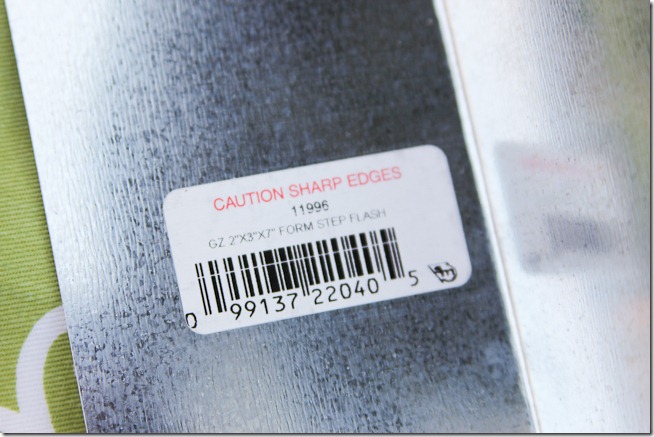
Then about the same time I discovered a metal flashing material in the roofing department that was SUPER CHEAP and easy to cut with a pair of old scissors. Make sure you use old scissors, because they will never be the same again after this project. Along with that I bought a little bit of copper wire to string the bunting. You’ll also need a bottle of water. Here are all the supplies:
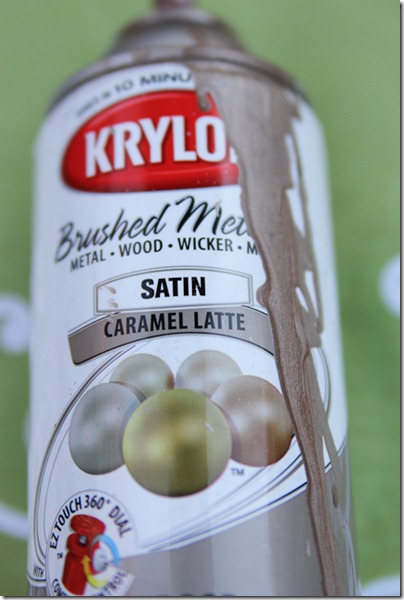
I also had a happy little accident that might require you to use some of this Brushed Metallic Caramel Latte. You’re also gonna need some gloves because it got a little messy on me. .
Before you start this project, PLEASE know that there is a great potential for slicing open a body part, so please be EXTREMELY careful when cutting the flashing. It does cut easily, but just use caution because this stuff is sharp.
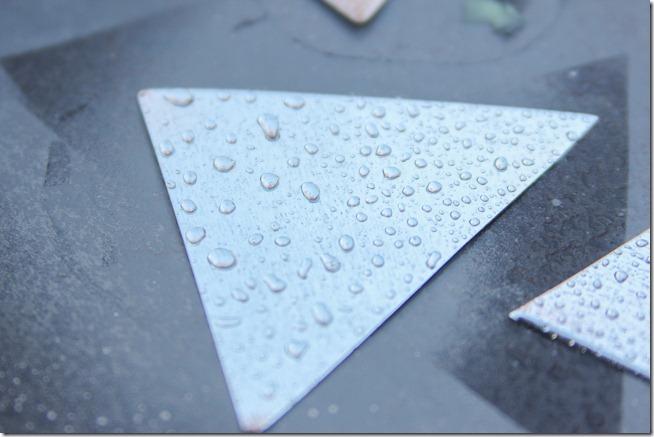
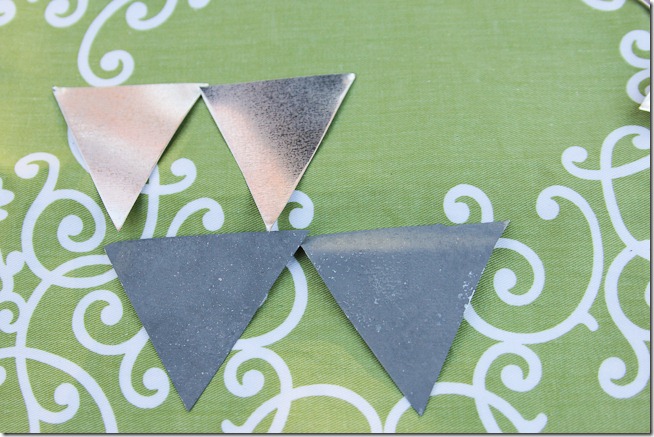
So I cut the flashing into triangles with my scissors that didn’t matter. I didn’t measure, just eyeballed it since there is nothing about this project that calls for perfection. Then I gave each wedge a spritz of plain old water.
I know you might be wondering why I did this, but I discovered that if I didn’t do this step the spray paint didn’t have any texture (or “spangle” as I discovered in my Google searches) like normal galvanized stuff has. I wanted it to look like actual galvanized steel, not just battleship grey tortilla chips.
You can see how it looked after two coats of water/ paint combo. Looking good!
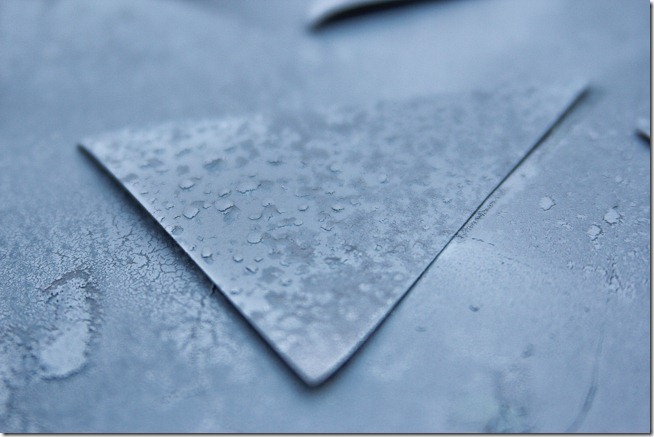
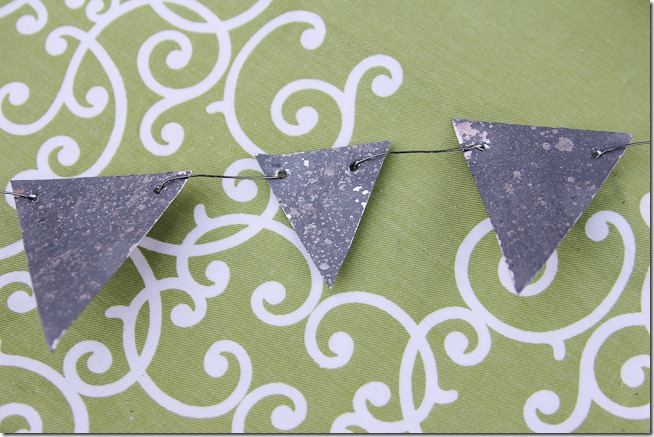
But, I thought it needed a little more dimension, so this is where the happy accident came through. I was testing out the brushed metallic paint for a different project when a little overspray got on one of my wet battleship grey tortilla chips. And BOOM. There was my old galvanized look! So I gave each one another squirt of water and then a tiny squirt of Brushed Metallic Caramel Latte and that sealed the deal. I had created faux galvanized metal. Well, semi-faux since it really is made of zinc.
I took a hammer and nail and punched a hole in the corners of each triangle, then strung them up on the copper wire in a big/small formation.
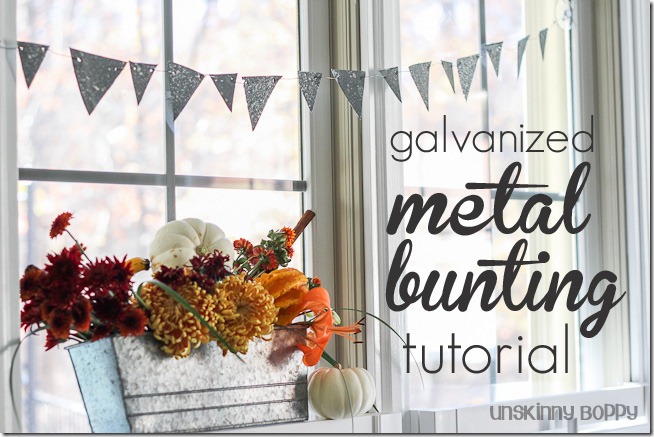
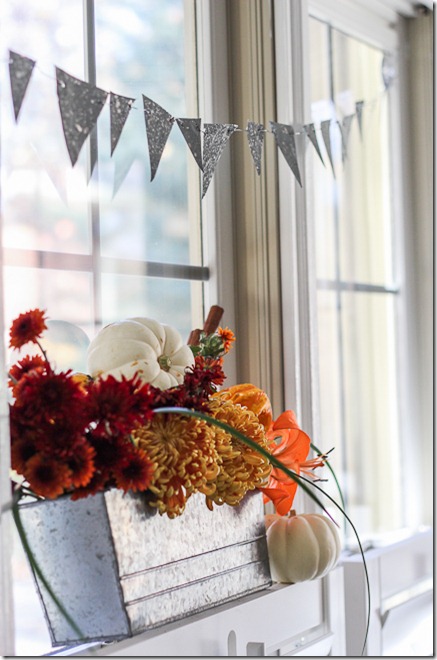
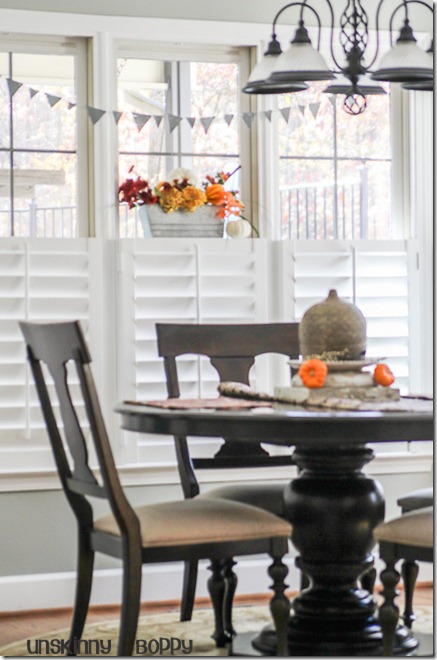
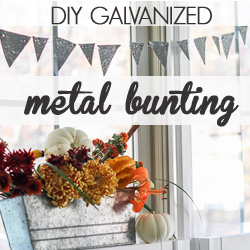
I made a string of bunting about six feet wide, and used two suction cup hooks to attach it to my kitchen window. I wanted to hang it somewhere high so my kid wouldn’t be tempted to tug on it. Extremely sharp, remember? Keep out of reach of kids and pets. For real.
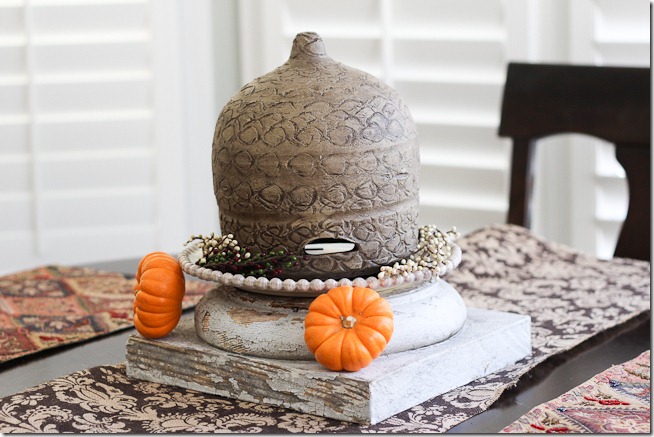
Since I am hosting Thanksgiving at my house I had to create a nice rustic tablescape to go with it, right?
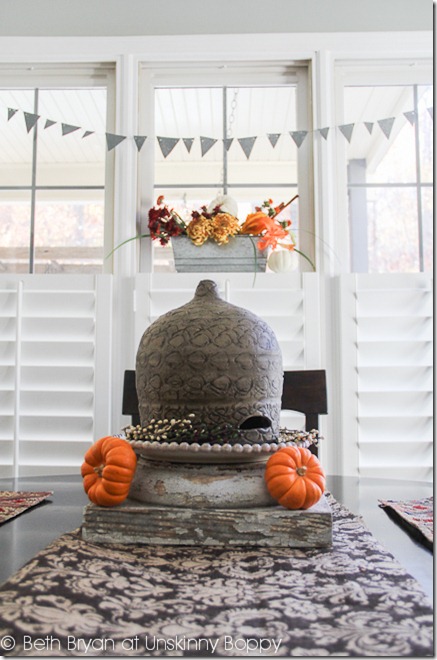
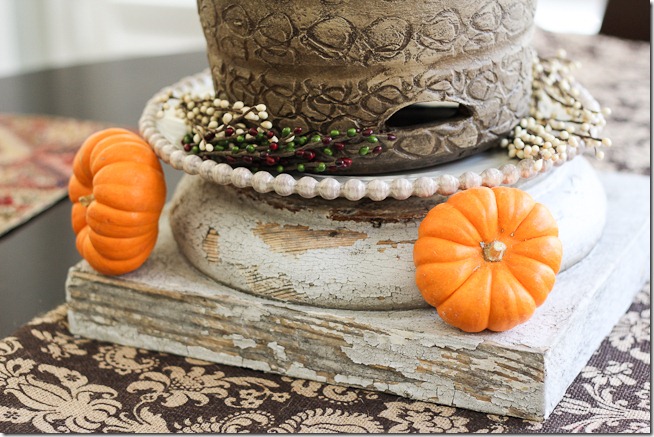
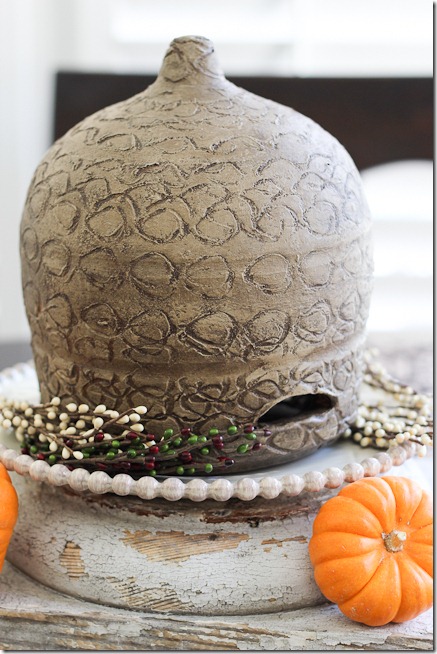
I had found this old chippy column base at Southern Accents Architectural Antiques, so I put that on top of some pretty brown damask burlap I found at a fabric store. On top of that went a beaded edged plate and some tiny Jack-be-Little pumpkins.
To top off the whole thing, I added the bee hive pottery that I scored at The Country Living Fair in Atlanta. The man who sold this to me told me it was made by the same man who used to make face pots in North Georgia. There is no signature, so I don’t know if he was pulling my leg or not, but I like to think it’s true. Either way, I still love my clay beehive.
Between the metal bunting and the chippy, rustic table centerpiece, I’m all ready for Thanksgiving at my house! Bring on the turkey and dressing!
Happy Thanksgiving everyone! Don’t forget to count your many blessings this year!
Also don’t forget that there is still time to enter the Make it Gr8 in 8 contest where you can submit your fast fix tips and win some great prizes! I am linking this up to Krylon Projects in a Can website where you can find lots of great inspiration for your holiday project using spray paint. You can also find this and many awesome spray paint project ideas on my Krylon Craft Pinterest board. Just in case you cannot get enough spray paint ideas, be sure to check out these amazing projects that my friends Kelly, Heather and Jenn have created as well!
Heather At The Picket Fence, Kelly at Electically Vintage and Miss Jenn Rizzo are some amazingly creative ladies!
I received compensation for my photographs and the Krylon spray paint project inside this post. I’m thankful to be partnered with Krylon yet again for another fun spray paint project. All opinions are 100% mine.
I’m linking this post to NewlyWoodwards Dare to DIY, Wow Us Wednesdays at Savvy Southern Style and Uncommonly Yours Link Party




This is such a cool project … I’m pretty sure even my welder hubby will appreciate the touch of metal in our house! I’m going to grab some gloves and give it a go!!
Are you serving gray tortilla chips on your Thanksgiving menu? Although they sound amazing – I much prefer your fabulous bunting!
Great idea – glad you didn’t sever any limbs and love that Kyrlon is your new hero in a can (I feel the same way)!
Kelly
Beth I love these! The technique can be used for all sorts of things. Really looks authentic!
It looks amazing! I am going to have to give that one a try!
Beth…..I LOVE THIS! Seriously! Did you just spray the water after you sprayed the paint? Was the paint still a little wet or did you let it dry? I have pinned it and tweeted and I am totally making this for my tree 🙂
Have a great day rock star!
karianne
Thanks Kari! I sprayed with water first, then spraypaint, then water again, then another layer of spraypaint, then more water, then a tiny spritz of the brushed metallic spraypaint for some depth.
And YES! This will look amazing on a Christmas tree!
This looks amazing! I have to tell you that I’ve been thinking about this bunting since you first posted the inspiration. In so glad you made this and I now want to make my own. Awesome job.
I don’t know if your interested, but we are having Dare to DIY link party through tomorrow and this would be perfect to link up for a thanksgiving project.
As always, you knock it out of the park! It’s fabulous Beth and so very creative! I bow to your faux galvanizing skills. 🙂
Heather
I love this. Love!!! 🙂
Fabulous…as usual! PINNING! 🙂
I wanna come to your house so bad — beth I LOVE this whole look…please make me one of those garlands, k??
So cool and cute at the same time! Love how you figured it out to use the flashing!
Beth – is there ANYTHING you can’t do???? I am in LOVE with this bunting – seriously fabulous.
I wanted to wish you (and all your readers) a wonderful Thanksgiving. I am missing my son terribly but I know he is here in my heart. I just wish I could see him one more time…..but that is im possible. Enjoy your time with your family – I am so thankful for all the blessings God has given me. SO THANKFUL!
Take care,
Diane
Aww, Diane, my heart goes out to you this morning. Prayers for you this Holiday season. Thank you so much for your sweet compliment.
Okay, well that is just too cool! I will definitely be keeping this one in my ‘to do’ list!! Thanks for sharing, Beth! Have a great day!
LOVE! As usual it is gorgeous and you are SO creative! I never would have looked at that column post and thought to use it on my table.
Ah-mazing. Gah, you are like my hero. I’m striving to be like you when I grow up!!!! Now, I’m going to decorate for Thanksgiving! It’s tomorrow, right? Btw, no one comes to my house for lunch and we will be gone ALL DAY LONG, but it will be fun to play! Thanks for the inspiration!
The bunting is gorgeous. What a great idea. Thanks for sharing the DIY.
LOVE that banner. So awesome.
The bunting is blowing my mind. Love!! Thanks for joining the Dare to DIY
Beth this is stunning! I just love how the metal hangs and looks so unique! thank you for sharing at our Uncommonly Yours party, we featured this tonight! 😉
Oh Beth!! I LOVE, LOVE, LOVE this!!!! What a fabulous project!!! Totally want to hang this everywhere… I think I’ll start in my kitchen too and hang it high – my little one is a climber! 🙂
Love your dining table centerpieces and love white or rustic theme…Have a good Holiday!
Woah! I’m really digging the template/theme of this website. It’s
simple, yet effective. A lot of times it’s very difficult to get that “perfect balance” between superb usability and visual appearance. I must say you’ve done a great job with this.
Also, the blog loads super fast for me on Opera. Excellent
Blog!
Wow, this article is good, my younger sister is analyzing these
things, therefore I am going to inform her.
Good day! Thiis is my first visit to your blog! We are a group of volunteers and starting a new projeect in a community in the same niche.
Your blog pprovided us beneficial information to work on.
You have done a wonderful job!
fantastic publish, very informative. I’m wondering why the other experts of this sector don’t realize this.
You should continue your writing. I am sure, you have a huge readers’ base already!
I think that everything typed was actually very reasonable.
However, what about this? what if you were to write a killer post
title? I ain’t saying your content isn’t solid., however suppose
you added a post title to possibly grab a person’s attention?
I mean DIY Galvanized Metal Bunting Tutorial – Unskinny
Boppy is a little plain. You should peek at Yahoo’s front page and
see how they create news headlines to grab viewers to open the links.
You might add a video or a picture or two to grab readers interested about what you’ve got
to say. In my opinion, it could bring your posts a little livelier.
You have saved me hours of searching. I need a simple 2-3″ band of galvanized metal to hide the seam where we modified the height of the old bathroom cabinet to make it taller like newer ones. A friend faux painted the untiled part of the bath using Ralph Laurens gray metal paint so we thought a metal band to hide that seam. Yikes, metal is out of this world expensive!! I wanted galvanized for the textured look of it and you have hit it on the nose! Bless you. This will so look great. Will forward photo when finished. I can’t begin to tell you how happy I am to find your site. Your room is wonderful and I am in love with your centerpeice. What a great find that clay peice. Awesome. Take care and have a lovely safe holiday. Thanks a million times over! Can you tell how excited I am?!!!
Mimzy